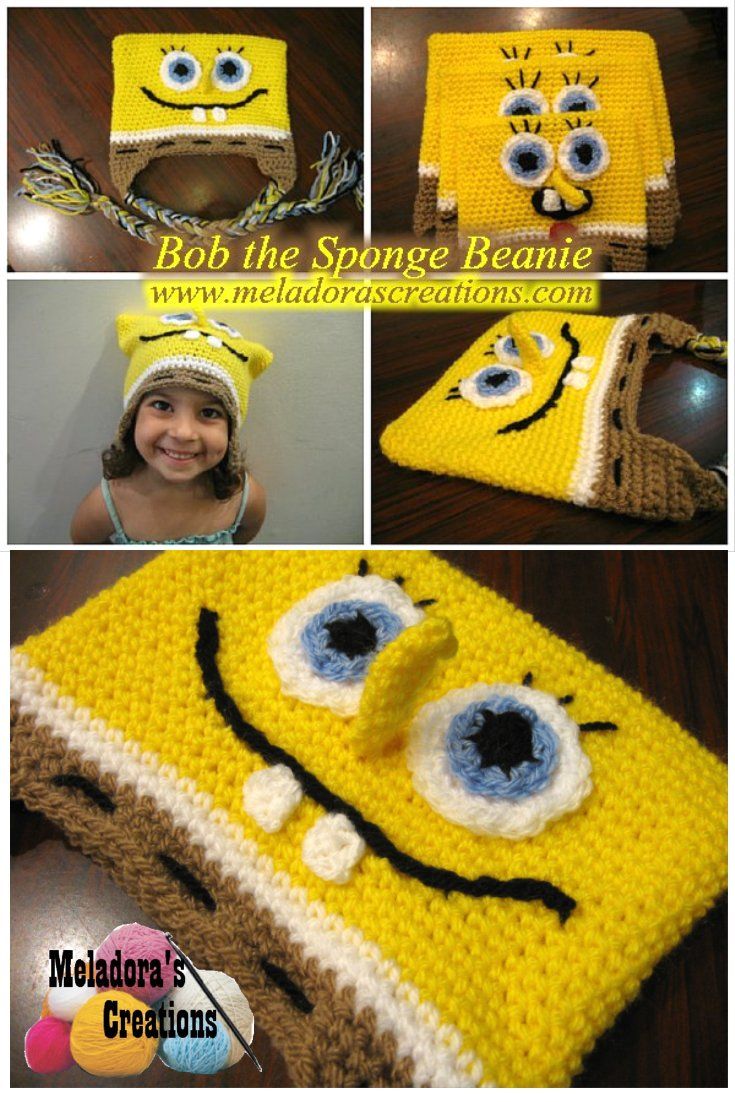
Crochet Bob the Sponge Beanie
The Crochet Bob the Sponge Beanie is guaranteed to bring a touch of whimsy and coziness to your wardrobe. Imagine walking out on a chilly day with this adorable beanie perched playfully on your head! Handcrafted with care, this beanie is not only cute but also incredibly soft and comfortable to wear. Whether you're a fan of SpongeBob SquarePants or just want to add a fun accessory to your outfits, the Crochet Bob the Sponge Beanie is sure to put a smile on your face. It's a charming blend of nostalgia and modern style that's bound to make you stand out with its unique design. Get ready to turn heads and spread joy wherever you go with this delightful beanie!
For this project you’ll need:
- HOOK: 5 mm hook or size H hook for the US and a 3.5mm hook (E)
- YARN: worsted weight yarn 10 ply for UK and 4 ply for US. In colors of yellow 1 skein, and small amounts of brown, white, small amounts of black,(for pupils, pants detail, eyelashes and mouth) and blue (for the eyes)
- at least 5 markers
- tapestry needle
ABBREVIATIONS
- ch = Chain
- sl st = Slip Stitch
- st = Stitch
- YO = Yarn Over
- sk = Skip
- Sc dec = single crochet decrease
- * = Repeat what’s in between * for rest of row.
To start: Using your 5 mm hook (H)
For 3 month to 8 olds ch 26
For 1-4 year olds ch 31
for 5 and up ch 36
Round 1
Sc in each st, pivot your work and sc down the bottom sts too
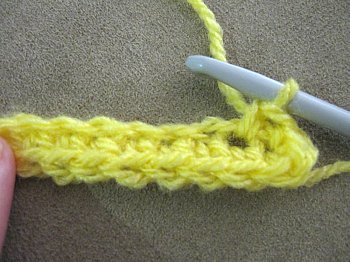
Round 2
Place marker here and continue around sc’s
18 rows for 3-8 months old
20 rows for 1-4 year olds
22 rows for 5 and up
3-8 months old Rounds (19 & 20,)
1-4 year olds Rounds (21 & 22)
5 and up Rounds (23 & 24)
Rounds (19 & 20,) (21 & 22) (23 & 24)
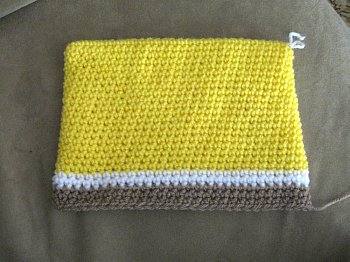
Attach white yarn and
Do 2 rows of sc’s
Rounds (21 – 23) (23 – 25) (25 – 27)
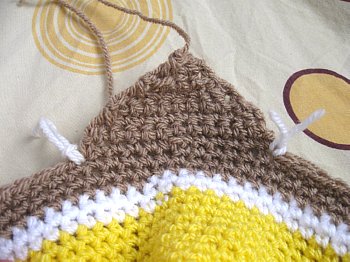
Attach brown yarn and Do 3 rows of sc
EAR FLAPS
Mark 10 sts for 3 month old symmetrically on each side of the hat
Mark 12 for rest of the size hats
Work all size ear flaps the same way, with first row of just sc’s and decrease first and last sts each row
EAR FLAPS FOR 3 – 8 MONTHS OLD
Attach your brown yarn at first marker
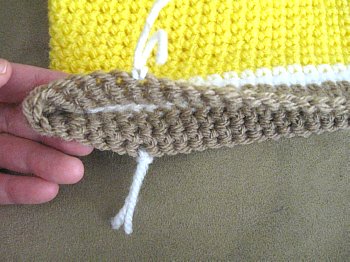
Round 1
Ch 1, work 1 sc in same st and in next 9 sts. Ch 1 turn (10)
Round 2
scdec, sc 6, scdec (8)
Round 3
scdec, sc 4, scdec (6)
Round 4
scdec, sc 2, scdec (4)
Round 5
scdec, scdec (2) cut yarn leave tail for sewing
EAR FLAPS FOR THE REST OF THE SIZES
Attach your brown yarn at first marker
Round 1
Ch 1, work 1 sc in same st and in next 12 sts. Ch 1 turn (12)
Round 2
scdec, sc 8, scdec, (10)
Round 3
scdec, sc 6, scdec (8)
Round 4
scdec, sc 4, scdec (6)
Round 5
scdec, sc 2, scdec (4)
Round 6
scdec, scdec (2) cut yarn leave tail for sewing
EYES
(make two) – still using your 5 mm hook
With White Yarn
Round 1
ch 2, sc 8 into second chain from hook (8)
Round 2
sc 2 in each st around (16)
Round 3
sc 2, sc 1 (24)
sl st into next st and ch 1 cut yarn leave tail for sewing
PUPILS
(make 2) – still using your 5 mm hook
With black yarn
Round 1
ch 2, work 6 sc’s in second ch from hook, (or use alternative ch 2 method) sl st into beginning sc and ch 1 fasten off yarn leaving a small tail for filling in the center of the pupil
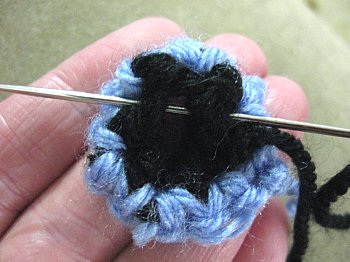
Round 2
Single crochet attach blue color now
sc 2 in each st around (12)
cut yarn leave tail for sewing
Sew pupil to white part of eye. An then using your black tail work a stitch through to close hole some if you didn’t use alternative method.
TEETH
(make two) – With your 3.5 mm hook
With White yarn(make 2) – still using your 5mm hook
Round 1
ch 3, sc in 2nd ch from hook and all sts (2)
Round 2
ch 1, sc in all sts, cut yarn leave tail for sewing (2)
NOSE
– With your 3.5 mm hook
Round 1
Ch 9, sc in 2nd ch from hook, pivot your work and work in bottom sts (16)
Round 2
sc in all sts around
sew the nose closed to the first row using slip stitches, cut yarn leave tail for sewing, when sewing the nose to the hat, make sure you sew it where the nose is tilted up.
Now sew on your eyes and nose
THE MOUTH
– with 3.5mm hook
Make a slip knot and grab a stitch where you wish to start your hat, loosely YO and pull through you loop. Important to keep working loosely so that you don’t pull the hat tight together.
To make the eye lashes and detail along pants if done the same way.
Attach a thread to your tapestry needle and pull up your yarn in the middle brown row (remember you did 3) and skip 3 sts and insert your needle and pull through, skip 3 sts and pull needle up, keep doing this, not to tightly
Make sure to stretch the hat to make sure it won’t be to tight, but snug. This is the way this hat has a rim, so if possible put the hat on the person you intend it for and pull yarn until it’s snug, tie a knot there. Leave your self some tail to work in. And also can be used to adjust the hat later if needed.