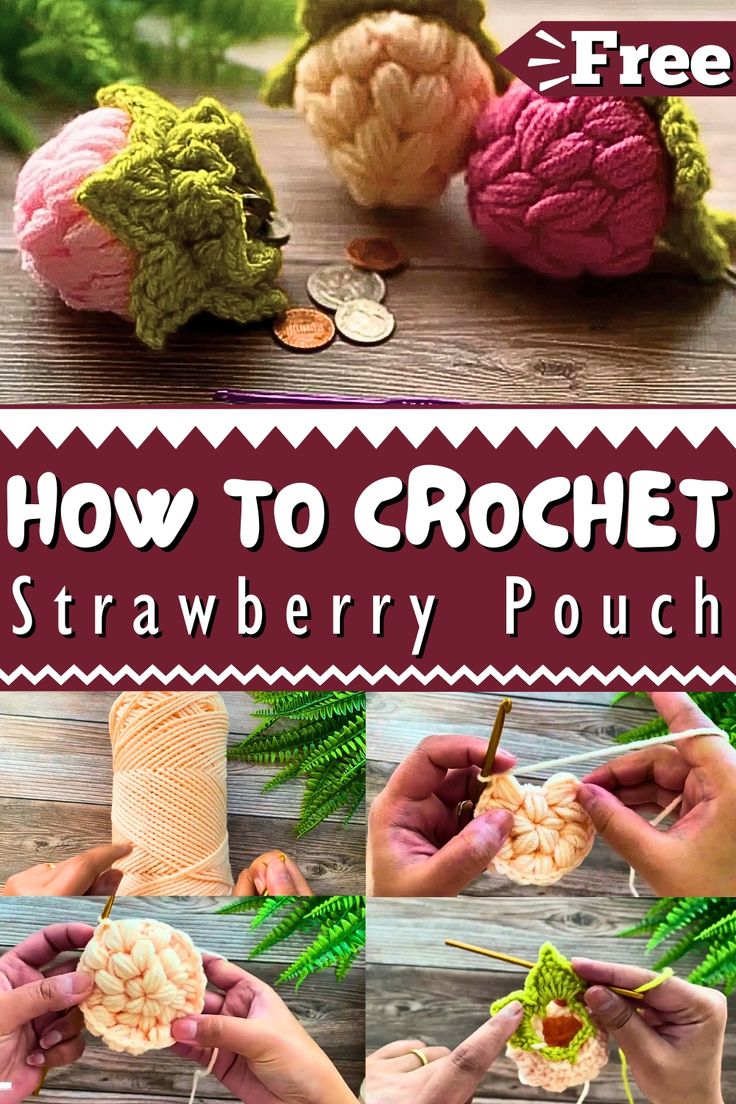
Crochet Strawberry Pouch
Looking for a fun and adorable way to carry your essentials? Look no further than the crochet strawberry pouch! This charming accessory is perfect for storing small items like lip balm, coins, or even a tiny snack. With its vibrant red color and cute green leafy top, you'll be turning heads wherever you go. The crochet strawberry pouch is not only practical but also a delightful addition to your everyday style. So, why settle for a boring old pouch when you can have this berry cute option instead?
Materials Needed
- Size 8 (4.0 mm) crochet hook
- Medium weight yarn in red and green colors
Step-by-Step Instructions
1. Forming the Base
Start with a Slip Knot: Create a slip knot.
Chain Four (Ch4): Chain four stitches.
Form a Circle: Insert your hook into the first chain made, yarn over and pull through both loops to form a circle.
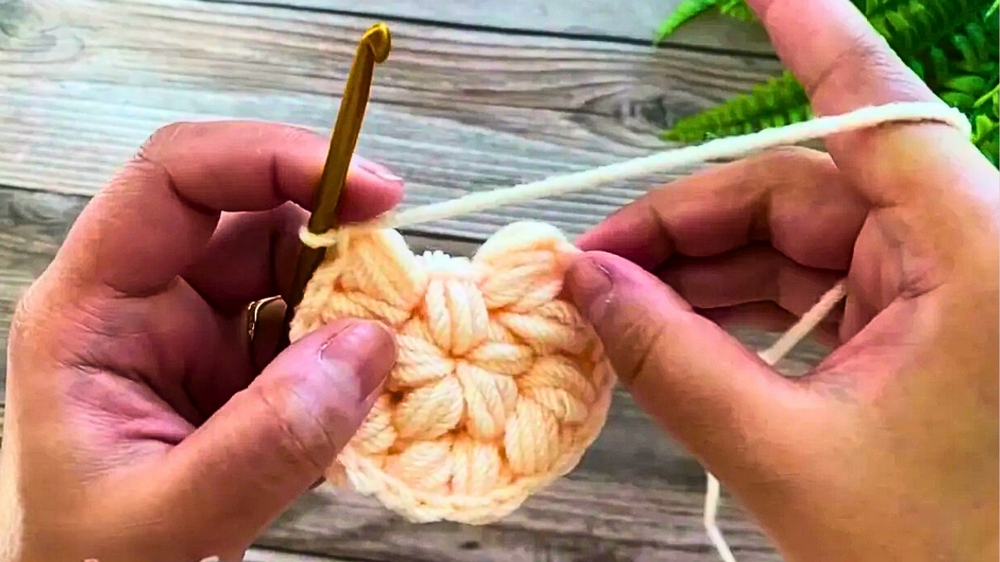
2. Round 1: Puff Stitches
Puff Stitch (PS) in the Circle:
Chain 1.
Pull up a loop, yarn over, insert hook into the circle, pull up a loop (repeat 4 more times for a total of 5 loops on the hook).
Yarn over and pull through all loops.
Chain 1 to secure the stitch.
Repeat: Continue making puff stitches in the circle until you have five puff stitches.
Join the Round: Join by inserting your hook into the space between the first two puff stitches, yarn over and pull through to close the round.
Round 2: Increasing the Circle
Two Puff Stitches in Each Space:
Chain 1.
In the space where you joined, work two puff stitches.
Continue around the circle, working two puff stitches in each space between puff stitches from the previous round.
Join the Round: Join as previously by slip stitching at the top of your first puff stitch pair, giving you 10 puff stitches.
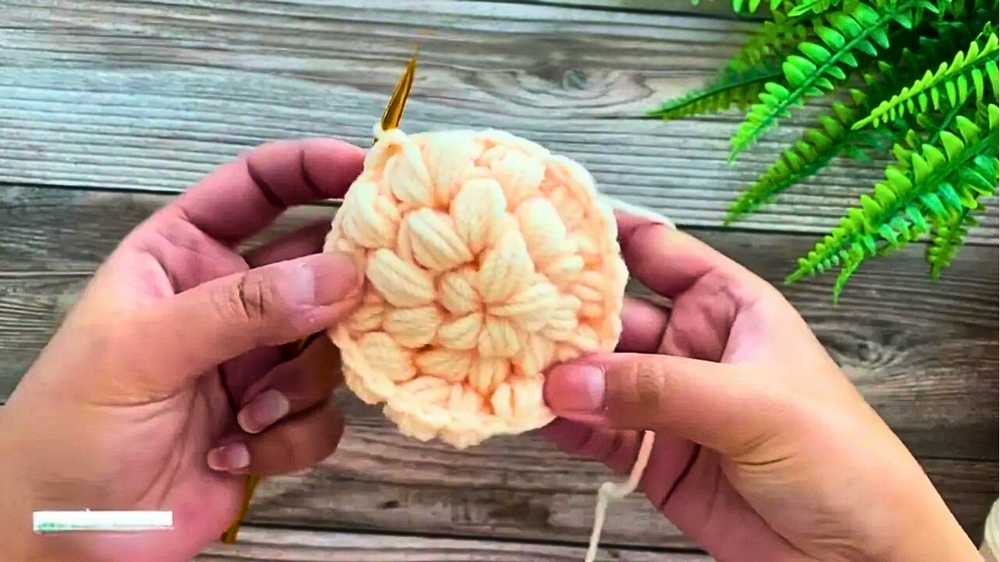
Round 3: Further Increasing
Pattern:
Chain 1.
Work two puff stitches over each previous two-puff stitch set and one puff stitch in each subsequent stitch around.
Total of 15 Puff Stitches:
Continue this pattern to have a total of 15 puff stitches at the end of the round.
Join the Round: Join by inserting the hook at the space between the first and second puff stitches.
5. Rounds 4 and 5: Single Crochets
Single Crochets:
Chain 1.
Work one single crochet in each stitch around.
Repeat for another round ensuring you finish with a total of 15 single crochets each time.
Join the Rounds: Join each round with a slip stitch into the first single crochet made.
6. Round 6: Creating Leaves
Attach Green Yarn:
Attach green yarn, chaining 3.
Skip 2 stitches, single crochet in the third stitch.
Create Leaf:
Repeat the pattern: Chain 3, skip 2 stitches, single crochet in the third stitch.
Finish with 5 chain-3 spaces.
Joining: Join with a slip stitch into the first single crochet of the initial chain 3 space.
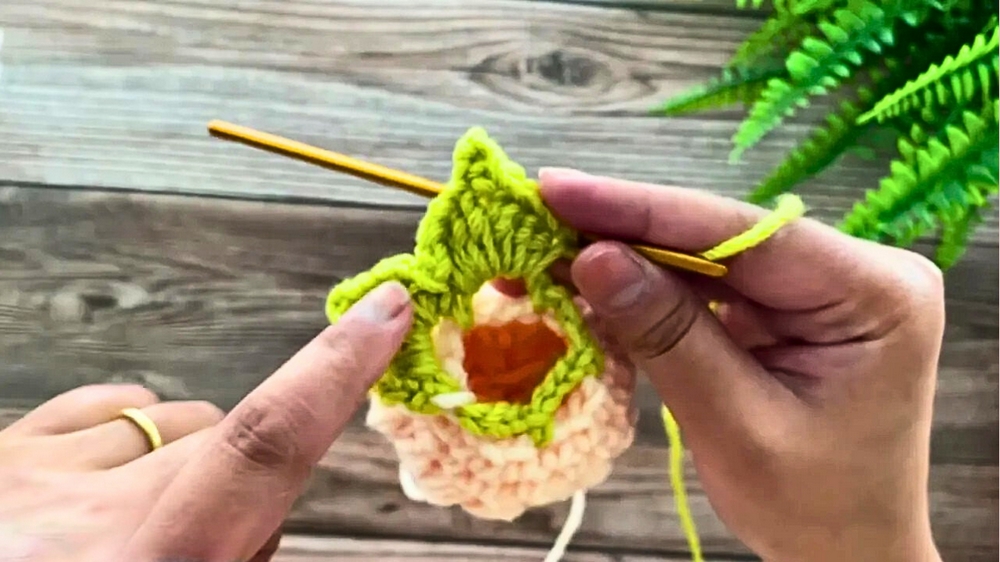
7. Round 7: Making Leaves
Turn Work:
Chain 1, turn work to the right.
Leaf Stitches:
In each chain 3 space, work: 1 single crochet, 1 half double crochet, 2 double crochets, 1 picot stitch (chain 3, slip stitch into the first chain), 2 double crochets, 1 half double crochet, 1 single crochet.
Complete All Leaves:
Repeat until you form a leaf in each of the chain 3 spaces.
Join the Round: Join with a slip stitch in the first single crochet of the initial leaf.
Round 8: Forming Spaces for Cord
Turn Work:
Chain 1, turn work.
Filling Spaces:
Two double crochet stitches into each skipped single crochet from round 5, chained 1 in-between.
Join: Join with a slip stitch into the first double crochet created.
9. Creating the Cord
Chain Stitches:
Chain as many stitches as desired for the cord length (31 recommended).
Insert Cord:
Weave through the last round's chain 1 spaces.
Conclusion
Your crochet strawberry pouch is now complete! The blend of puff stitches for the berry and detailed leaf stitches creates a vibrant, realistic strawberry pattern. This pouch is both functional for storing small items and visually appealing as a handcrafted accessory.