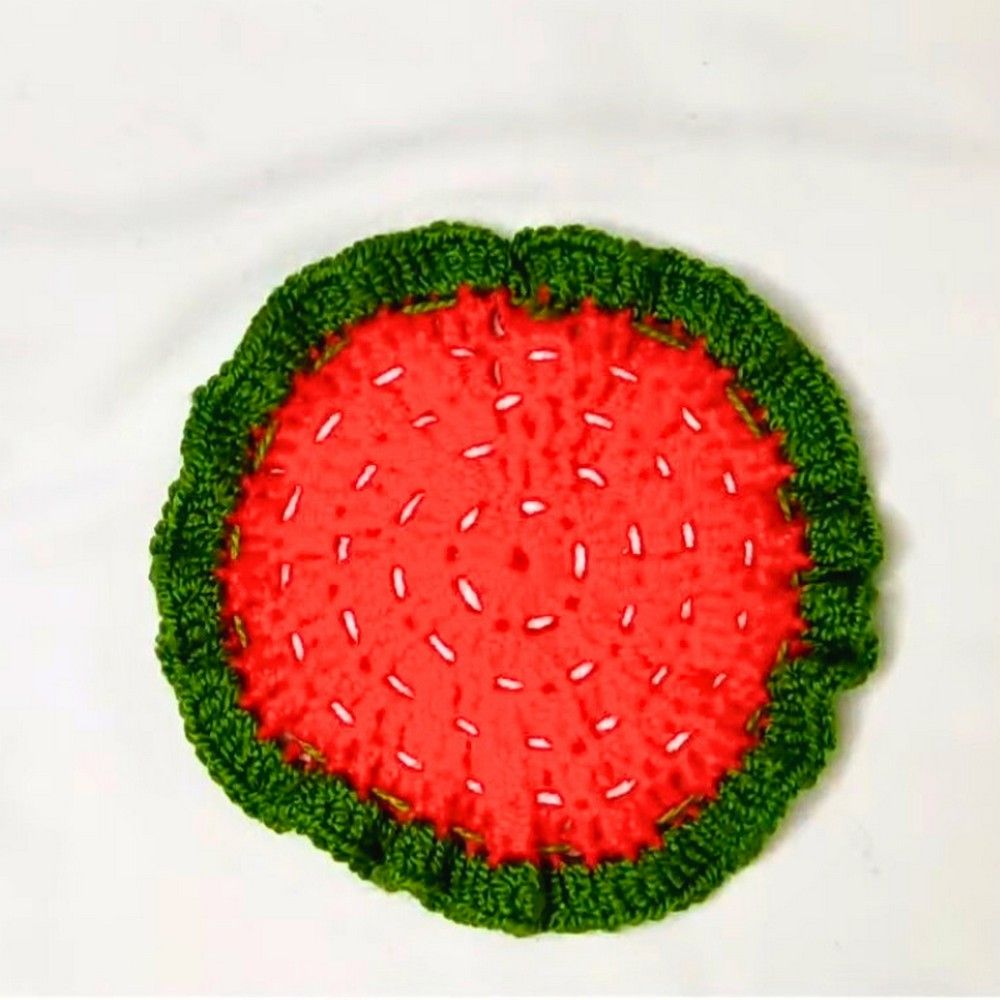
Crochet Strawberry Coaster
Crochet Strawberry Coasters are not only adorable but also practical additions to any home decor. These charming coasters bring a touch of sweetness to your table settings while protecting your surfaces from unwanted water rings. Handcrafted with love and attention to detail, each coaster is a delightful blend of creativity and functionality. They make a thoughtful gift for friends who appreciate handmade items or a lovely treat for yourself to add a pop of color to your daily routine. So, go ahead and sprinkle some strawberry sweetness into your home with these cute crochet coasters!
Materials and Preparation
To make your crochet strawberry coaster, you’ll need the following materials:
- Yarn: Medium-weight cotton yarn (you can use red for the strawberry, green for the leaf, and white/yellow for the seeds).
- Hook Size: Crochet hook suitable for the yarn weight, typically size 4.0 mm (G).
Additional Tools:
- Scissors
- Yarn needle (for weaving in ends)
- Stitch marker (optional)
- Yarn Weight Requirement: Ensure the yarn weight matches the pattern for ideal results.
Abbreviations and Notes
Here are common abbreviations used in this pattern:
- SC: Single Crochet
- HDC: Half Double Crochet
- DC: Double Crochet
- SS: Slip Stitch
- CH: Chain
- Inc: Increase (add more stitches in one space)
- Dec: Decrease (combine stitches)

Important Notes:
- If this is your first time crocheting, familiarize yourself with basic stitches like Single Crochet (SC) and Double Crochet (DC).
- Use stitch markers to keep track of your rounds.
- Properly tension your yarn to maintain an even look.
Gauge, Approximate Size, and Pattern Notes
Gauge: While exact gauge might not be critical for this project, aim for a tight stitch that forms a sturdy coaster. Try creating a swatch to determine if adjustments are needed.
Finished Size: Approx. 4–5 inches across (depending on yarn weight and hook size).
Pattern Notes:
The coaster is worked in rounds, forming the strawberry shape first and adding decorative elements (like leaves and seeds) afterward.
Special techniques may include color changes for different sections and surface embroidery for details.
Step-by-Step Pattern
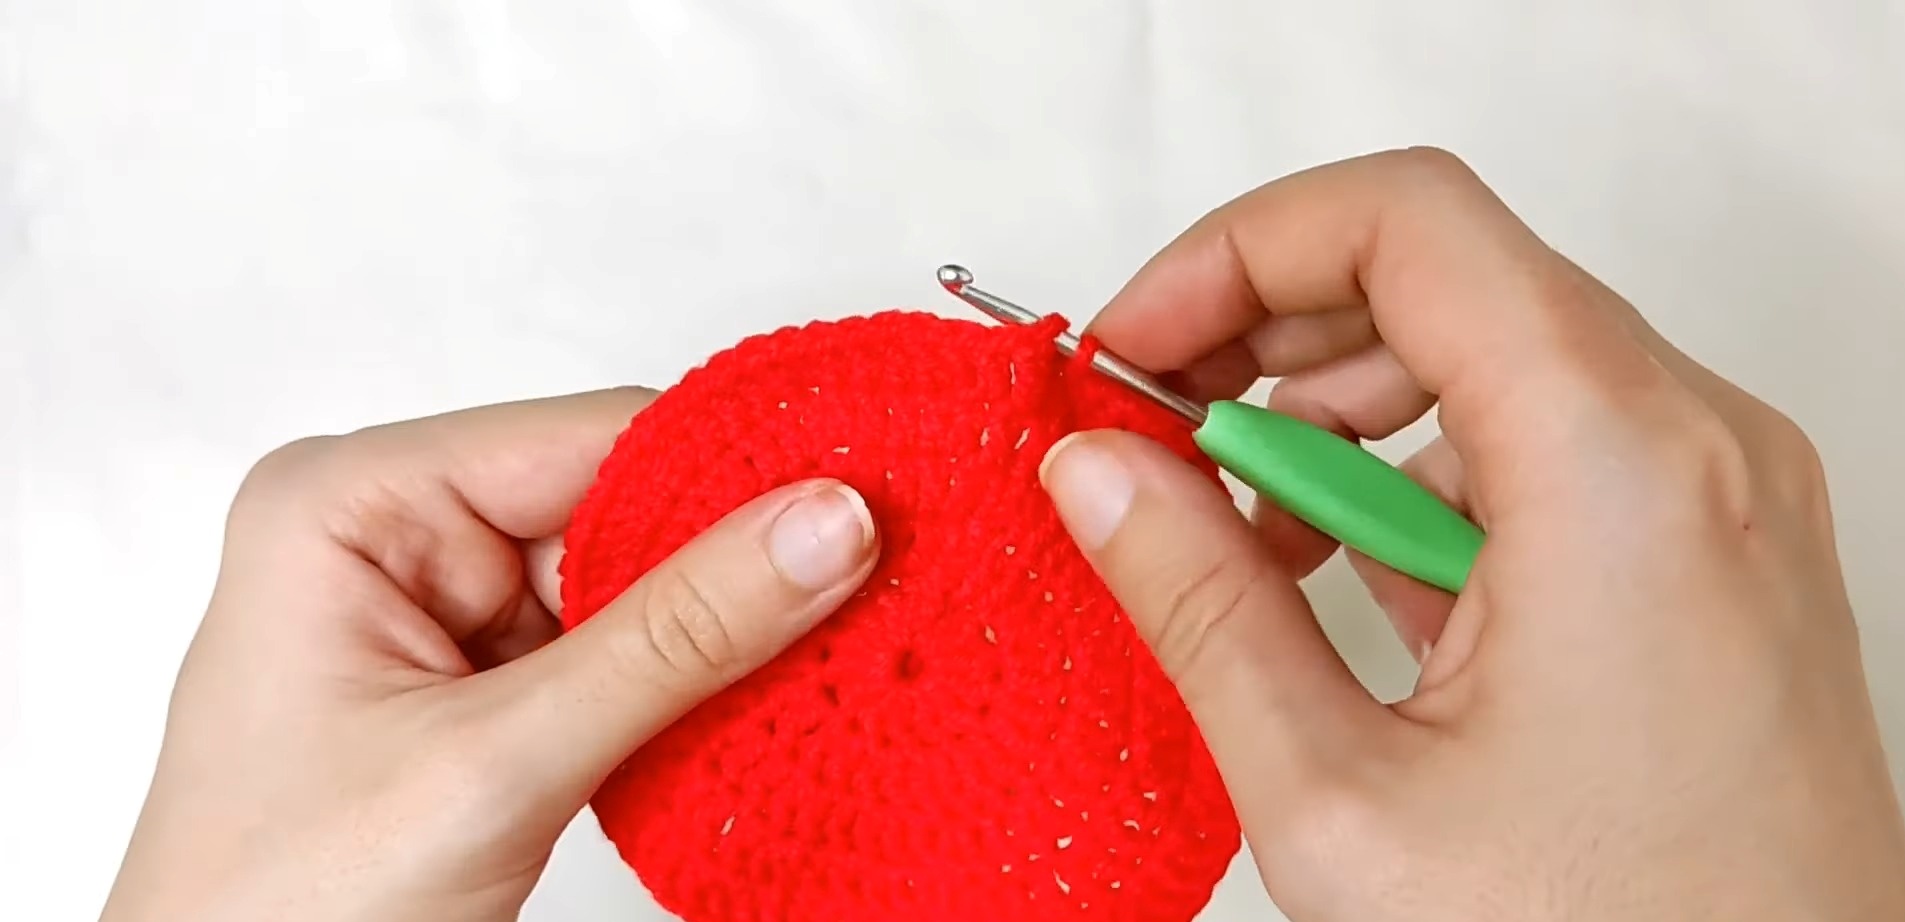
Strawberry Base
Start with a magic ring: Create a magic ring using your red yarn.
Round 1: CH 1, work 6 SC into the magic ring. SS into the first SC to join.
Round 2: CH 1, Inc in every stitch around (12 SC). SS to join.
Round 3: CH 1, (SC, Inc) in every second stitch around (18 SC). SS to join.
Rounds 4–6: Continue increasing every few stitches to shape the strawberry. For example, in Round 4 work (2 SC, Inc), and in Round 5 work (3 SC, Inc), until desired size is achieved.
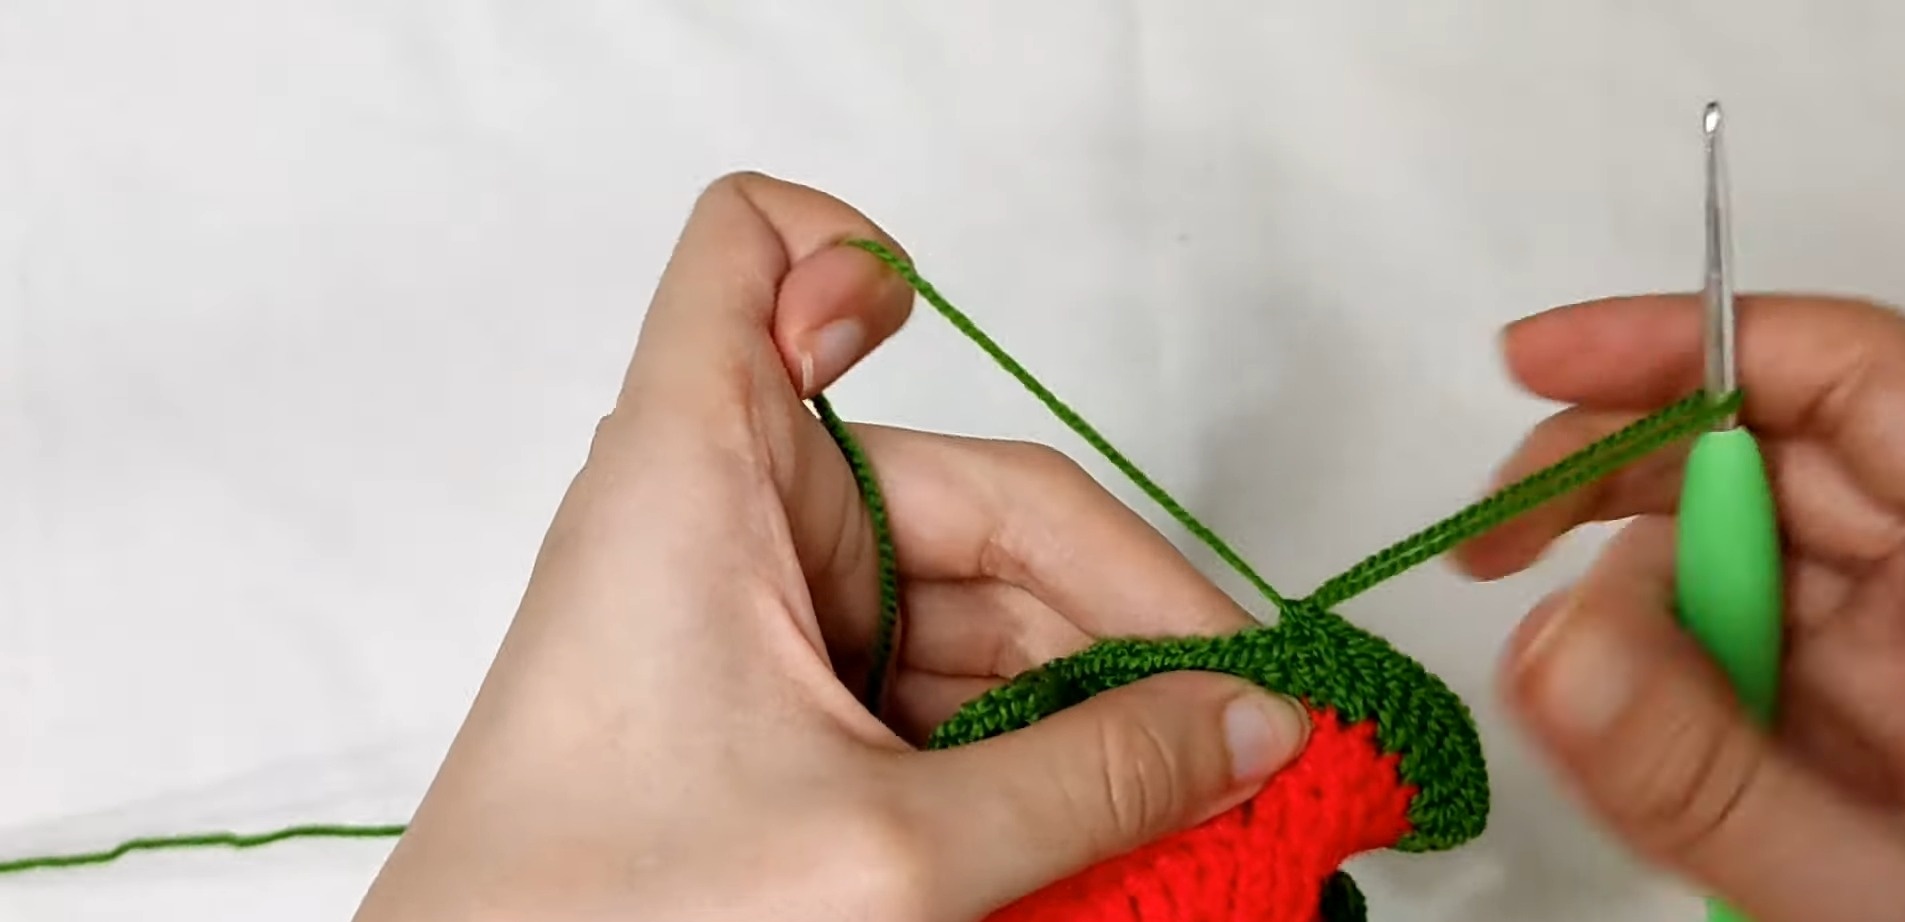
Leaf and Stem
Switch to green yarn at the top of the shape. SS to attach the new color.
Round 1: CH 1, work small leaf shapes using a combination of CH, DC, HDC, and SS stitches. For example: (CH 4, DC in same stitch, HDC, SS) around the top edge of the strawberry.
Repeat for 5–6 small leaves.
Seeds Decoration
Use white or yellow yarn with a yarn needle to embroider small seed shapes across the red area of the strawberry. Space them evenly for a realistic look.
Finishing
Weave in all ends using the yarn needle, ensuring a clean finish.
Block the coaster if needed by lightly wetting it and shaping it flat.

Tips for Success
Keep your stitches tight to avoid gaps between seed embroidery.
Experiment with different yarn colors for unique strawberry designs (e.g., pink or darker red).
If making multiple coasters, consider varying leaf styles for added charm.
Key to Success
Choose high-quality yarn for durability.
Follow the tutorial carefully for precise shaping.
Practice stitch techniques to refine your skills.
Focus on color coordination for added appeal.