

Lucky Crochet: Make a Four-Leaf Clover (Easy Amigurumi Pattern)
Create a charming four-leaf clover you can display or gift — perfect as a lucky desk decoration or small handmade present. This amigurumi-style project combines two layered clover heads, a wired stalk, and a small brown “ground” that fits into a tiny flower pot. The pattern below uses finer yarn and a 3 mm hook; finished size varies with yarn, hook and stuffing.
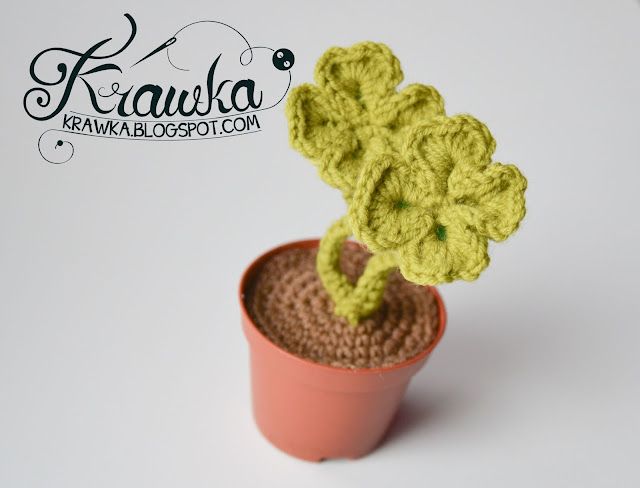
Materials
- Brown, lighter green, and darker green yarn (author used yarn with gauge 24–30 sts = 4 inches)
- Cotton wool or other stuffing (author used green foam — visible in the photo)
- Black beads (about 4 mm recommended) for eyes
- 3 mm crochet hook
- Small flower pot
- Small wire (to insert into stalk for shaping)
- Hot glue (to glue the ground into the pot)
Pattern
Clover head (Make 2)
Use lighter green yarn.
R1: 6 sc in MR (6)
R2: inc around (12)
R3: *sc, inc* x6 (18)
R4: sc 18 (18)
R5: sc 18 (18) FO
Clover (Make 2)
Use darker green yarn.
R1: 4 sc in MR
R2: *4 ch, ss (in MR)* x4 — you should now have 4 loops.
Make the next stitches into the loops, not into the chain.
R3: ss, sc, hdc 2, dc 3, hdc 2, dc 3, hdc 2, sc, ss
Make row 4 in the next (second) loop:
R4: ss, sc, hdc 2, dc 3, hdc 2, dc 3, hdc 2, sc, ss
Make row 5 in the 3rd loop:
R5: ss, sc, hdc 2, dc 3, hdc 2, dc 3, hdc 2, sc, ss
Make row 6 in the last loop:
R6: ss, sc, hdc 2, dc 3, hdc 2, dc 3, hdc 2, sc, ss
Stalk (Make 2 — one for each clover; author made one slightly shorter)
Use dark green yarn.
R1: 18 ch for longer one (15 ch for shorter one)
R2: sc 17 for longer one (sc 14 for shorter one)
Insert wire inside your work and make the next row with the wire inside.
R3: TURN. Take 1 loop from R2 and one from R1 and make sc (see photo for reference). Continue making sc like that to the end of the stalk. The stalk is ready!
Sew the clover head to the stalk. Stuff the head. Sew the clover (the petal layer) on top of the head. Sew two black beads for eyes.
Ground (Make 1)
Use brown yarn. Size depends on the flower pot you chose — the author’s ground was about 6 cm diameter.
R1: 6 sc in MR (6)
R2: inc around (12)
R3: *sc, inc* x6 (18)
R4: *sc 2, inc* x6 (24)
R5: *sc 3, inc* x6 (30)
R6: *sc 4, inc* x6 (36)
R7: *sc 5, inc* x6 (42) FO
If your ground needs to be larger, continue increasing in the same pattern (*sc N, inc* x6) — e.g. next round would be *sc 6, inc* x6 (48) and so on.
Optional: place small coins in the bottom of the pot for extra stability. Stuff the flower pot (or fill with foam), sew your two clovers to the ground, place the ground on top of the pot and glue the edges to secure.
Finishing tips
- Hide wire ends inside the stalk by folding them down and securing with a bit of glue or by stitching through the stalk.
- Adjust stuffing firmness to give the clover heads a smooth, round shape.
- Use contrasting yarn shades (lighter and darker green) to emphasize the layered look as shown in the photo.