DIY Crochet Houndstooth Twisted Ear Warmer: Free Pattern & Step-by-Step Guide
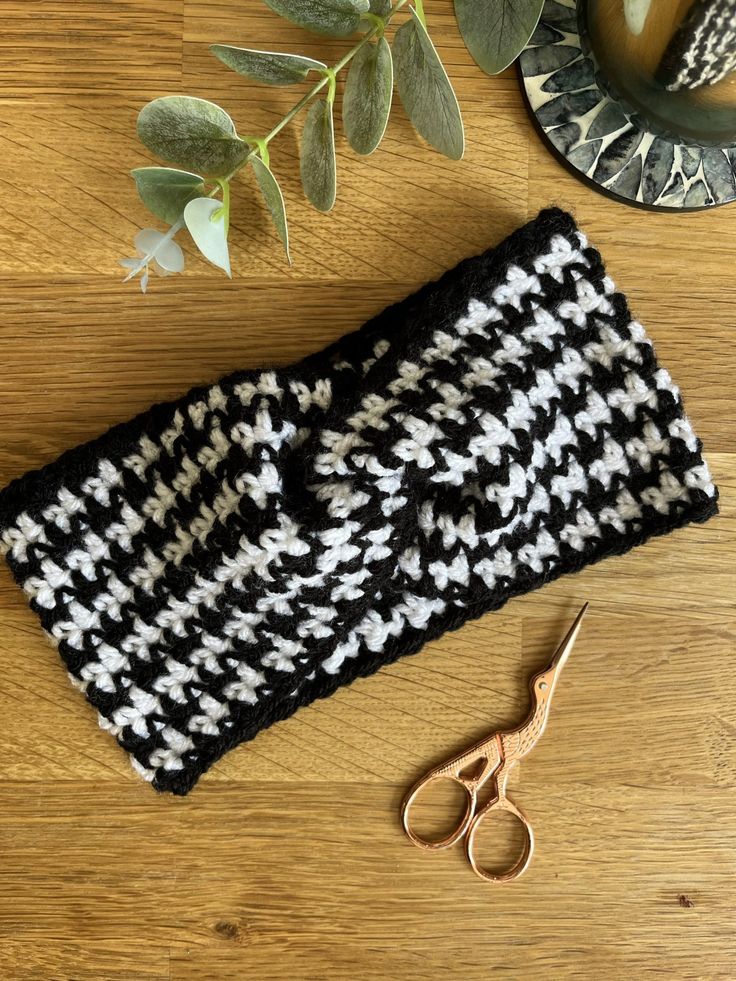
The Crochet Houndstooth Twisted Ear Warmer is a cozy, stylish winter accessory that combines the classic houndstooth stitch pattern with a chic twisted front. This tutorial provides a clear materials list, stitch notes, full step-by-step instructions for several sizes, and finishing tips so you can make a neat, comfortable ear warmer that keeps you warm and looks great.
Before you begin, check your starting chain fits comfortably around your head (allowing for the stretch of crochet fabric). The pattern uses alternating colors to create the houndstooth effect and finishes with a simple twist at the front.
What you need
- Approximately 50g Aran weight yarn (adult size). (I use Paintbox Aran from Lovecrafts.)
- 5mm crochet hook
- Scissors
- Darning needle (one with a wider eye so that you can thread the yarn)
Notes on the pattern
The pattern can be easily adjusted by adding or removing chains from your starting chain. There will be a slight stretch to your headband so you will want it to be approximately 1" smaller than the circumference of your head. After making your starting chain, wrap it around your head to check the fit.
Keep the chain and the first row fairly loose so the band is comfortable. Instructions between * and * mean to repeat the instructions. To get the houndstooth look you will change colours each row: when you work the final sc of the row, finish the stitch with the new colour by pulling through the two loops on your hook with the new colour. Carry the other colour yarn across the row to avoid lots of ends to weave in.
Sizes
Work an even number of chains for the starting chain.
Adult – chain 72 + 2 for your turning chain
Child – chain 62 + 2
Toddler – chain 58 + 2
Abbreviations
- Ch = chain
- Dc = double crochet
- Sc = single crochet
Instructions
Row 1 – Starting in the third chain from the hook, dc into the chain. Sc in the next chain. *Dc in the next chain, sc in the next ch.* Repeat from * to * until the end of the chain. Ch 2, turn.
Row 2 – Turn your work so that you are now working back along the stitches you just made. Dc in the first stitch (the sc from the previous row), sc in the next stitch. Repeat from * to * until the end of the row. Ch 2, turn.
Rows 3–10 – Continue as in Row 2 until you have a total of 10 rows (or until you reach your desired height). I aim for a height of about 4"; if you’d like it taller or shorter, add or remove rows accordingly. When you have reached your desired height, cut the yarn leaving a tail of approx 20 cm. Pull the yarn through the last stitch to make a knot.
Finishing and the twist
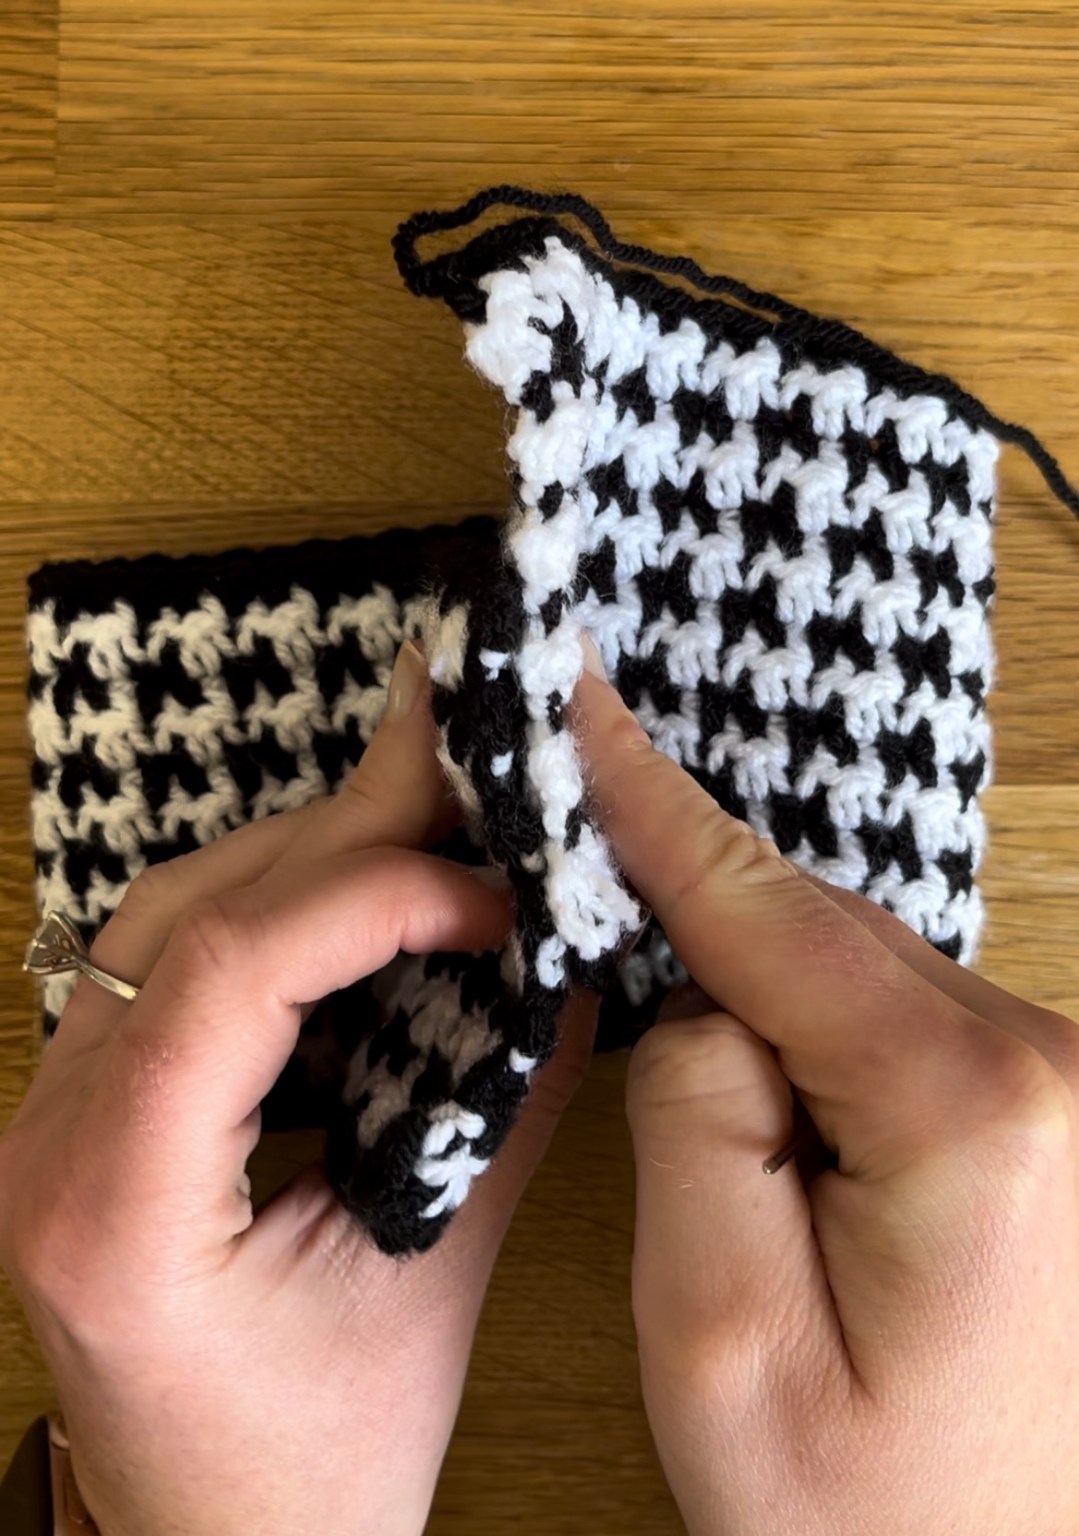
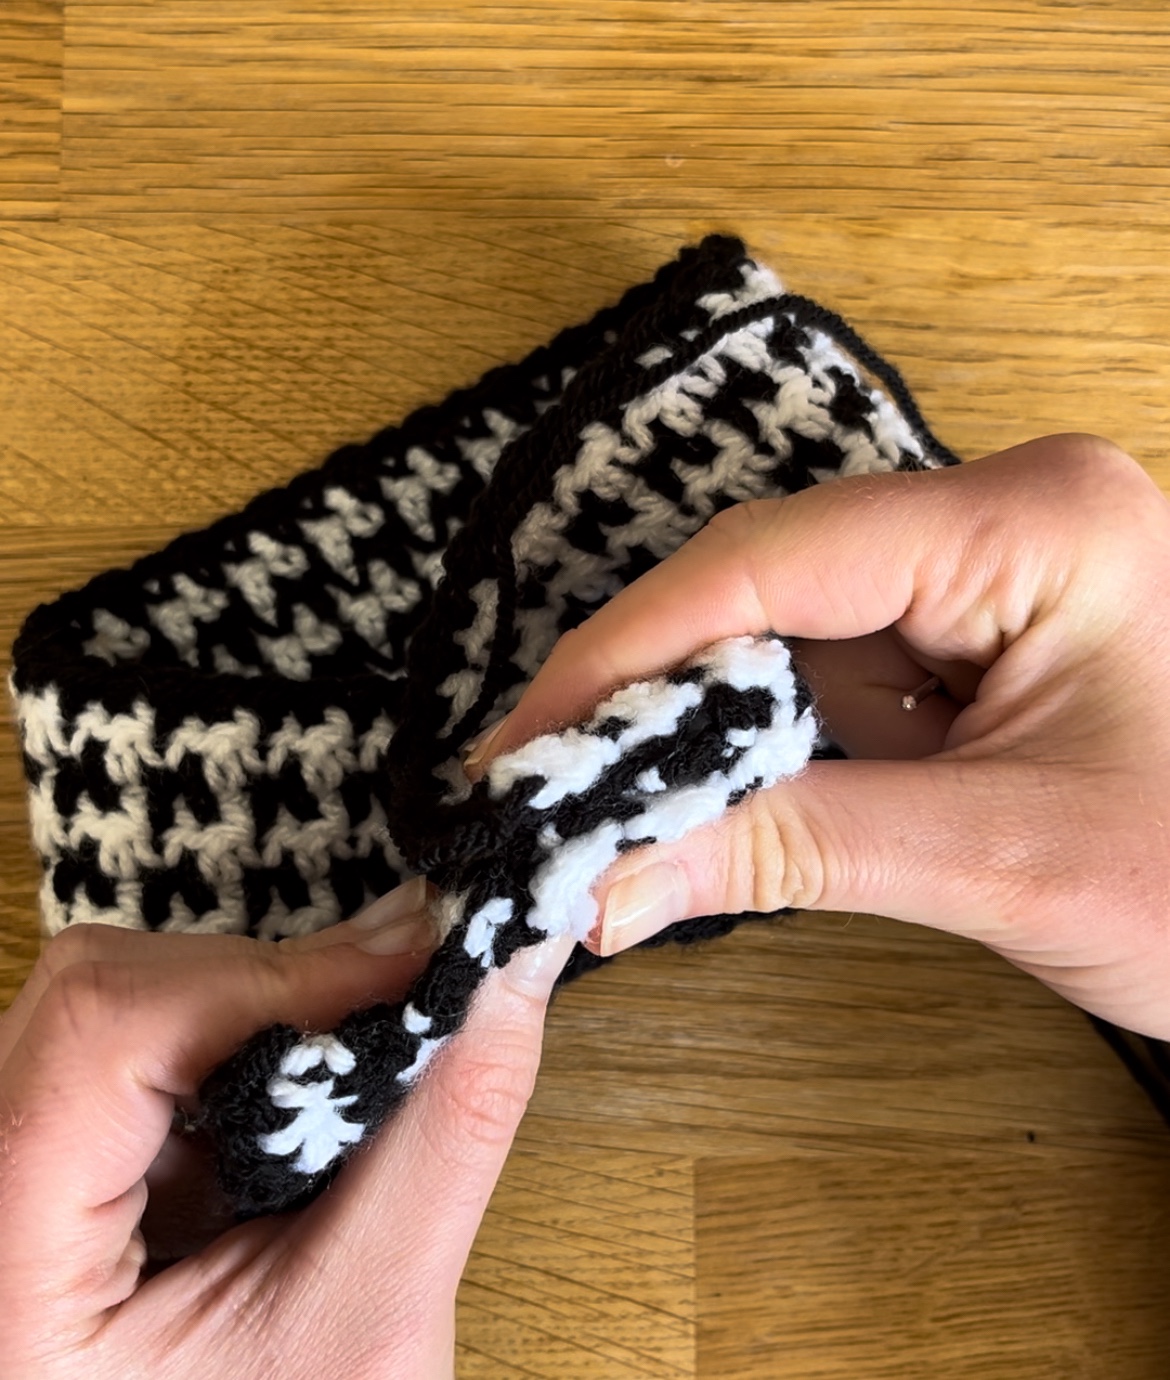
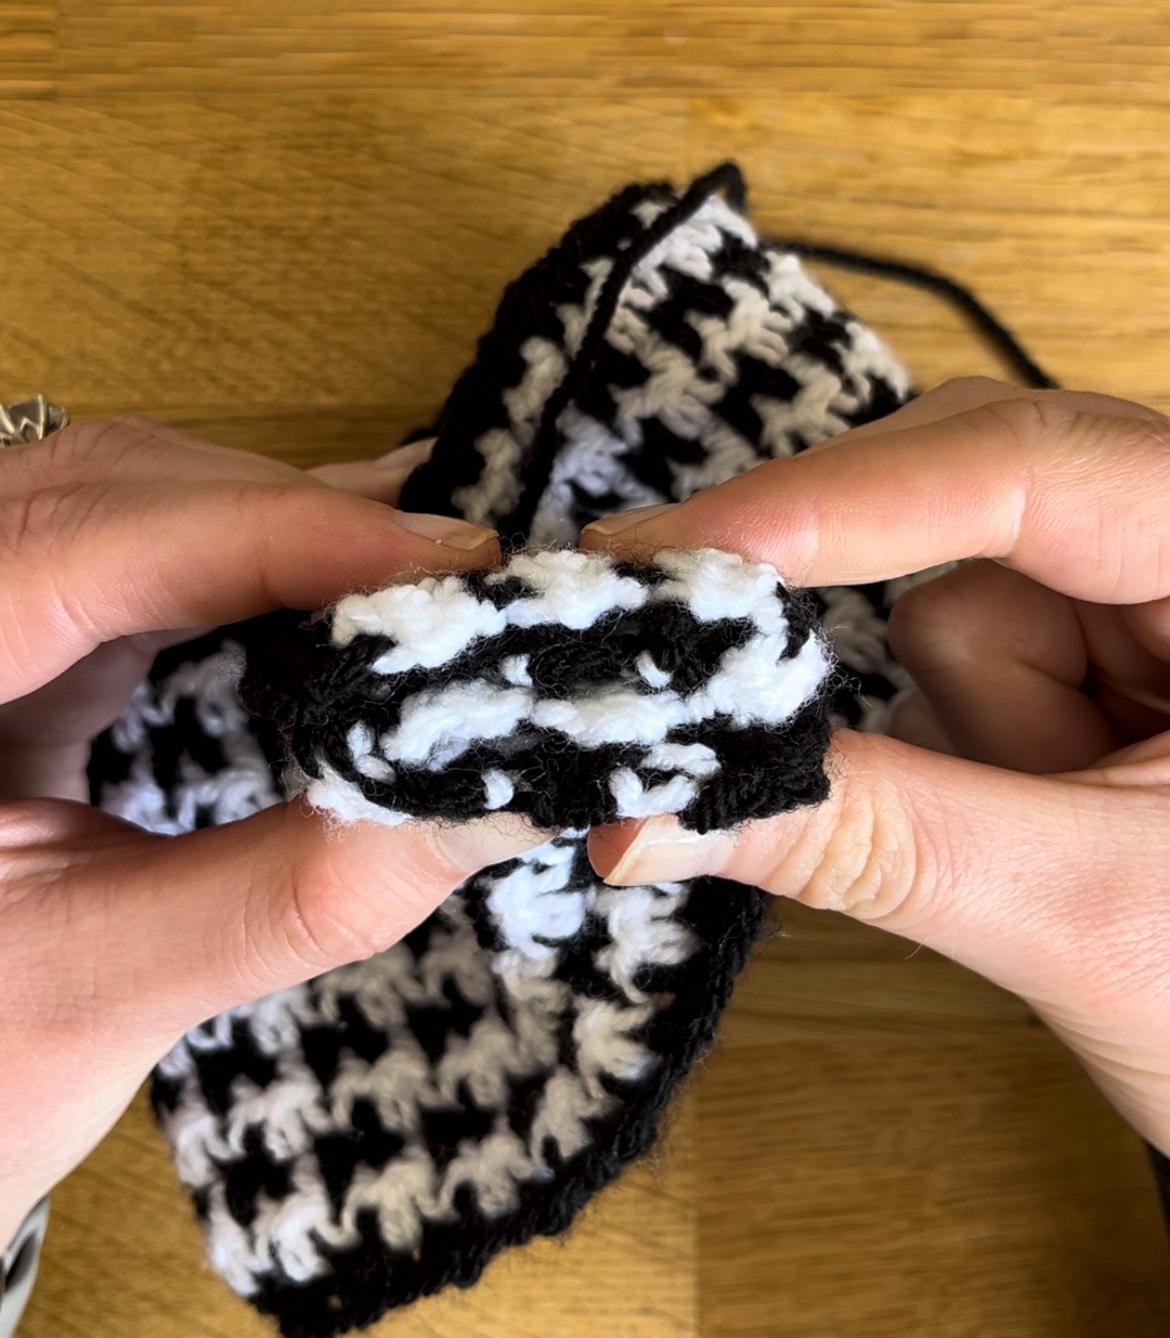
With the right side of your work facing inwards, join the short ends together to create a loop (use your darning needle and the yarn tail to stitch the ends together invisibly). Now form the twisted front:
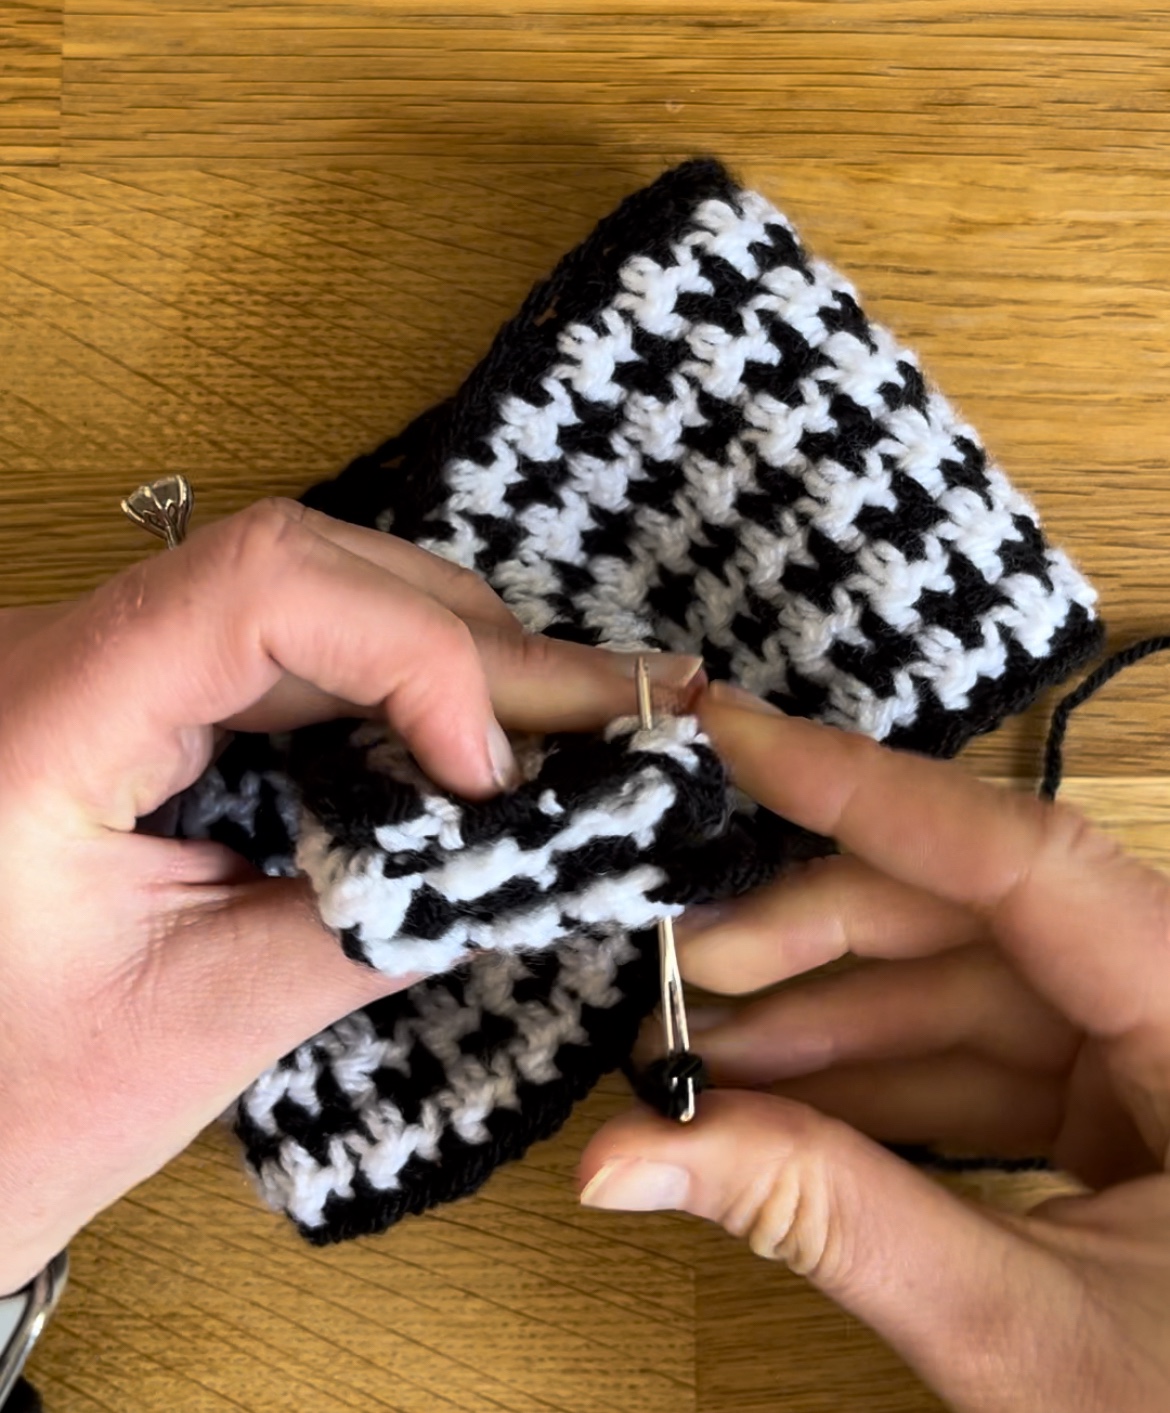
Place the bottom of one side in the centre of the other side. Fold the top piece from one side around the other side, then fold the remaining bottom piece around the bottom so the band forms a neat twist at the front. Adjust the layers so the twist sits flat and even.
Use your darning needle and any remaining tails to stitch the overlapping layers together at the back and/or centre as needed to secure the twist so it holds its shape when worn. Weave in any remaining loose ends.
Style tip: Block gently if needed to even out the stitches, and try on as you sew to make sure the twist sits where you want it.