

How to Crochet a Corner-to-Corner (C2C) Granny Square — Step-by-Step Guide
The Corner-to-Corner (C2C) Granny Square is a fun, diagonal technique that builds a textured, block-like square from one corner to the opposite. It's perfect for blankets, scarves, or mixed-projects where you join multiple squares. This guide walks through the increase and decrease sections so you can make neat, even C2C granny squares.
The Corner to Corner Granny Square is a delightful crochet technique that creates a lovely textured pattern perfect for blankets, scarves, or even potholders. It starts at one corner and grows diagonally, making it an engaging and fun project to work on. With its repetitive yet soothing rhythm, you'll find yourself quickly mastering this technique and creating beautiful squares in no time. Whether you're a seasoned crocheter or a beginner looking to try something new, the Corner to Corner Granny Square is a fantastic addition to your crochet repertoire. So grab your hook and yarn, and let's get stitching!
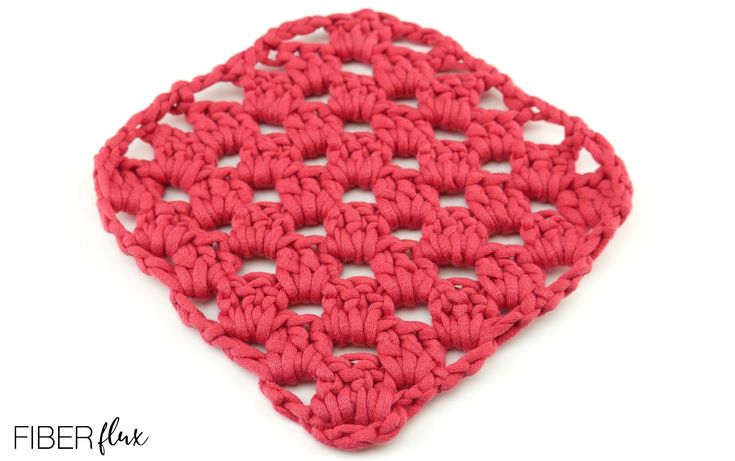
C2C granny square in progress — diagonal blocks form as you work from one corner toward the opposite corner.
Instructions For C2C Increase Portion:
Chain 6, then work a sl st into the furthest ch from the hook to create a ring.
Row 1: Ch 4 (counts as a dc, ch 1), then work 3 dc into the ring. Then ch 1, then work a dc into the center of the ring.
Row 2: Ch 4, then work (3 dc, ch 1) into the first ch 1 space of the row. Work (3 dc, ch 1, 1 dc) into the last ch 1 space of the row.
Row 3: Ch 4, then work (3 dc, ch 1) into the first ch 1 space of the row. Work (3 dc, ch 1) into each ch 1 space across. Then work (3 dc, ch 1, 1 dc) into the last ch 1 space of the row.
Repeat row 3 until your square is roughly half the size you’d like it to be (or you’ve used half of your yarn), then continue onto the next section to begin the decrease part.
Important! Be sure the number of rows for your increase is an EVEN number before you begin the decrease. I worked a total of 6 rows in the square pictured before decreasing.
Instructions for C2C Decrease Portion:
Row 1: Ch 4, then skip the first ch 1 space. Work (3 dc, ch 1) in each ch 1 space across until just before the last space (turning chain space). Instead of working into this space, work a dc into the top chain of the turning chain.
Repeat row 1 of the decrease until just a top point remains. Fasten off and weave in ends that remain. Note: if the top is challenging for you, be sure to check out the video for this part (or any other part) to see me walk through it step by step!
Weave in any ends that remain and you’re finished!
Tips & Finishing Notes
— Keep an even tension so the diagonal blocks lay flat. Count turning chains and ch-1 spaces to make sure your stitch placement stays consistent.
— Use an appropriate hook and yarn weight for the finished size and drape you want; swatch if sizing matters for a larger project.
— When joining multiple C2C squares, plan your color changes before blocking or joining so seams line up neatly.
— Blocking your squares can help even out the edges before joining, but it’s optional depending on your yarn.
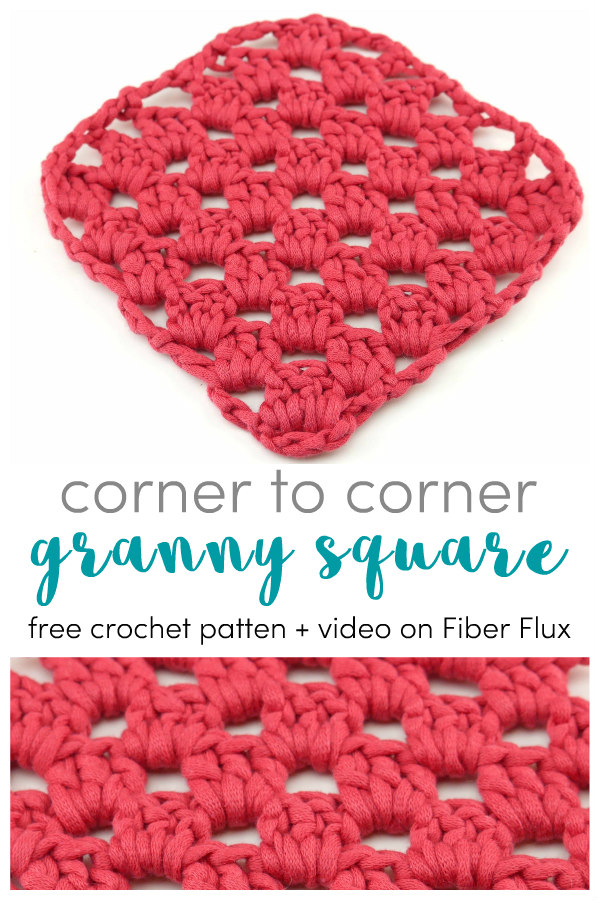
Finished C2C granny square — the diagonal block pattern creates a distinctive texture ideal for joining into larger projects.