


Katrin Spring Shawl Crochet Pattern — Easy & Elegant Shawl Using Mandala Yarn
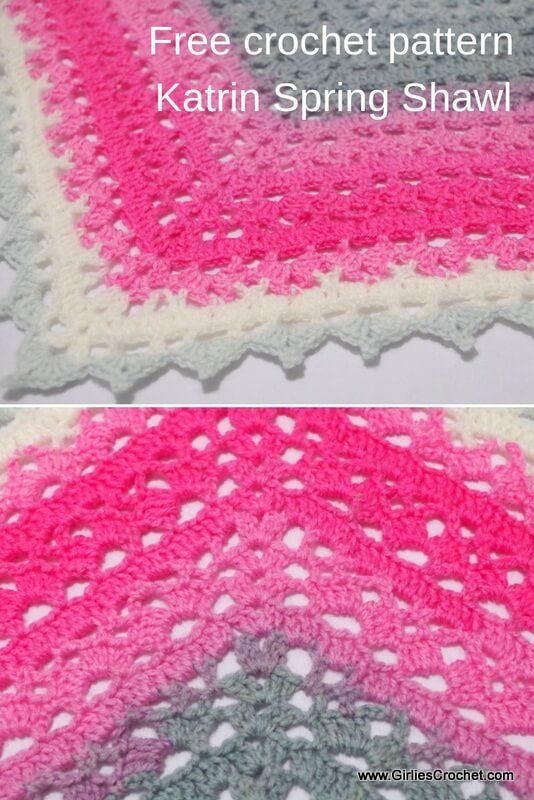
The Katrin Spring Shawl is an easy, elegant triangular shawl worked in repeating rows and decorative shell motifs. It’s perfect for spring layering and is designed to be made with one Mandala cake (Unicorn, 590 yd) and a 4.00 mm [US G-6] hook. This pattern uses USA terminology and includes step-by-step rows with photos to guide your progress.
The full pattern, stitch guide, materials and row-by-row instructions are below. Skill level: Easy.
Materials Needed:
- Yarn Weight: Light weight 100% acrylic
- Yarn: Mandala, 1 cake, 590 yd, Unicorn
- Hook size: 4.00 MM [US G-6]
Terms Used: All terms are in USA terminology
Ch: Chain, Sc: Single Crochet, Dc: Double Crochet, Hdc: Half Double Crochet, Sl st: Slip Stitch, Sp: Space, Sk: Skip
Stitch Guide:
- V-st: 2 dc, ch 2, 2 dc in specified st.
- Shell St (sh): 3 dc, ch 5, 3 dc in specified sp.
- Dc2tog: Yarn over the hook, draw up a loop in the same sp or in next dc, yarn over the hook, draw through first 2 loops on hook, yarn over the hook, sk next dc, draw up a loop in next dc or ch 3 sp, yarn over the hook, draw through first 2 loops on hook, yarn over the hook, draw through all 3 loops on hook: dc2tog made.
- Shell St with picot (sh-p): 3 dc, ch 4, sl st in 4th ch from hook, ch 1, 3 dc in specified sp.
- Picot: Ch 3, sl st in top of specified dc.
Gauge: 2” square = 9 sts x 4.5 rows of DC
Katrin Spring Shawl Instructions:
Row 1: Ch 5, sl st in 1st ch to form a ring, ch 3, dc-ch3-v-st-ch3-2dc in the ring.
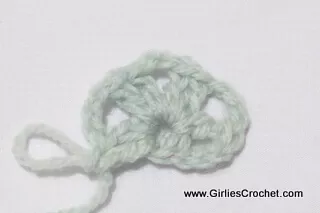
Row 2: Ch 4, turn, dc in the same st, *ch 3, sc in next ch 3 sp, ch 3*, v-st over v-st, rep *to* once, sk next dc, 2 dc in last dc.
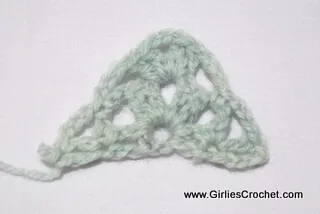
Row 3: Ch 4, turn, dc in the same st, *ch 3, sc in next ch 3 sp, ch 5, sc in next ch 3 sp, ch 3*, v-st over v-st, rep *to* once, sk next dc, 2 dc in last dc.
Row 4: Ch 4, turn, dc in the same st, *ch 3, sc in next ch 3 sp, sh in next ch 5 sp, sc in next ch 3 sp, ch 3*, v-st over v-st, rep *to* once, sk next dc, 2 dc in last dc.
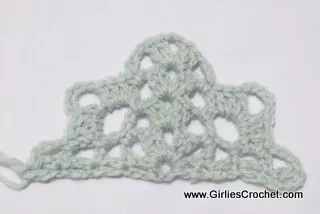
Row 5: Ch 4, turn, dc in the same st, *ch 3, dc in next 3 ch sp, ch 3, dc2tog, ch 3, sc in next 5 ch sp, ch 3, dc2tog, ch 3, dc in the same sp, ch 3*, v-st over v-st, rep *to* once, sk next dc, 2 dc in last dc.
Row 6: Ch 4, turn, dc in the same st, sk next dc, *3 dc in next 3 ch sp, (dc in next st, 3 dc in next 3 ch sp) across*, v-st over v-st, rep *to* once, sk next dc, 2 dc in last dc.
Row 7: Ch 4, turn, dc in the same st, ch 3, sk next 2 dc, *sc in next dc, (ch 5, sk next 3 dc, sc in next sc in next dc) across, ch 3*, v-st over v-st, ch 3, sk next 3 dc, rep *to* once, sk next dc, 2 dc in last dc.
Row 8: Ch 4, turn, dc in the same st, *ch 3, sc in next ch 3 sp, (sh in next ch 5 sp, sc in next ch 3 sp) across, ch 3*, v-st over v-st, rep *to* once, sk next dc, 2 dc in last dc.
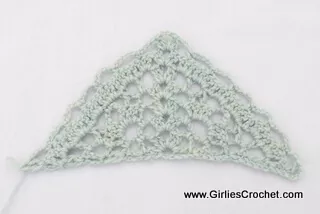
Row 9: Ch 4, turn, dc in the same st, *ch 3, dc in next 3 ch sp, ch 3, dc2tog, ch 3, (sc in next 5 ch sp, ch 3, dc2tog, ch 3) across, dc in the same sp, ch 3*, v-st over v-st, rep *to* once, sk next dc, 2 dc in last dc.
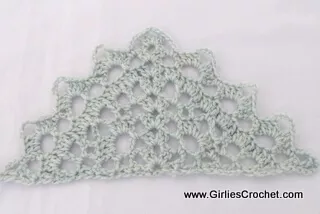
Row 10: Rep row 6
Row 11: Rep row 7
Row 12 and onwards: Rep row 8-11, gradually increasing the count of sh.
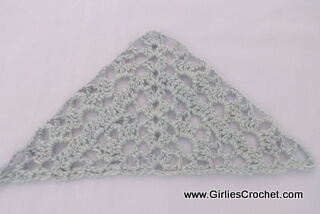
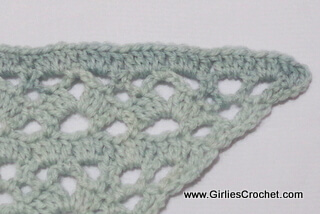
Last Row: Ch 4, turn, dc- ch 4 — picot in 4th ch from hook — ch 1 — 3 dc in the same st, *sc in next ch 3 sp, (sh-p in next ch 5 sp, sc in next ch 3 sp) across*, sh-p (but make 5 dc instead of 3 dc only) over v-st, rep *to* once, sk next dc, 3 dc- ch 4-picot-ch 3- 2 dc in next dc.
Upper Shawl Edging:
Row 1: On the upper side of the shawl, ch 1, sc in the same st, (ch 3, sc in next dc post) across.
Row 2-3: Ch 1, turn, sc in the same st, (ch 3, sk next 3 ch sp, sc in next sc) across.
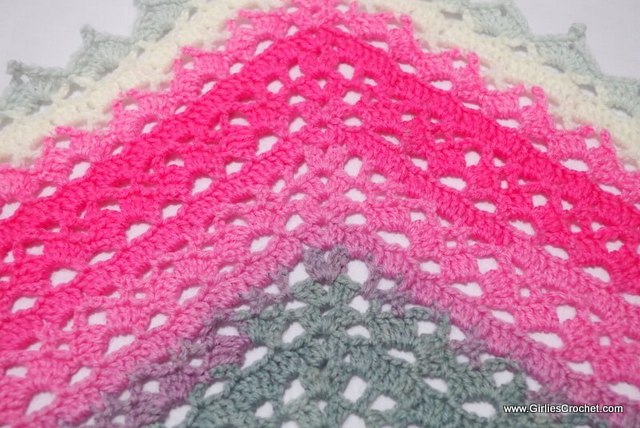
Notes: Follow the photo sequence as you work the rows to track increases and shell placement. Repeat rows and shell counts as instructed to build your desired shawl size.