


DIY Crochet Summer Top: Easy Boho Pattern & Step-by-Step Guide
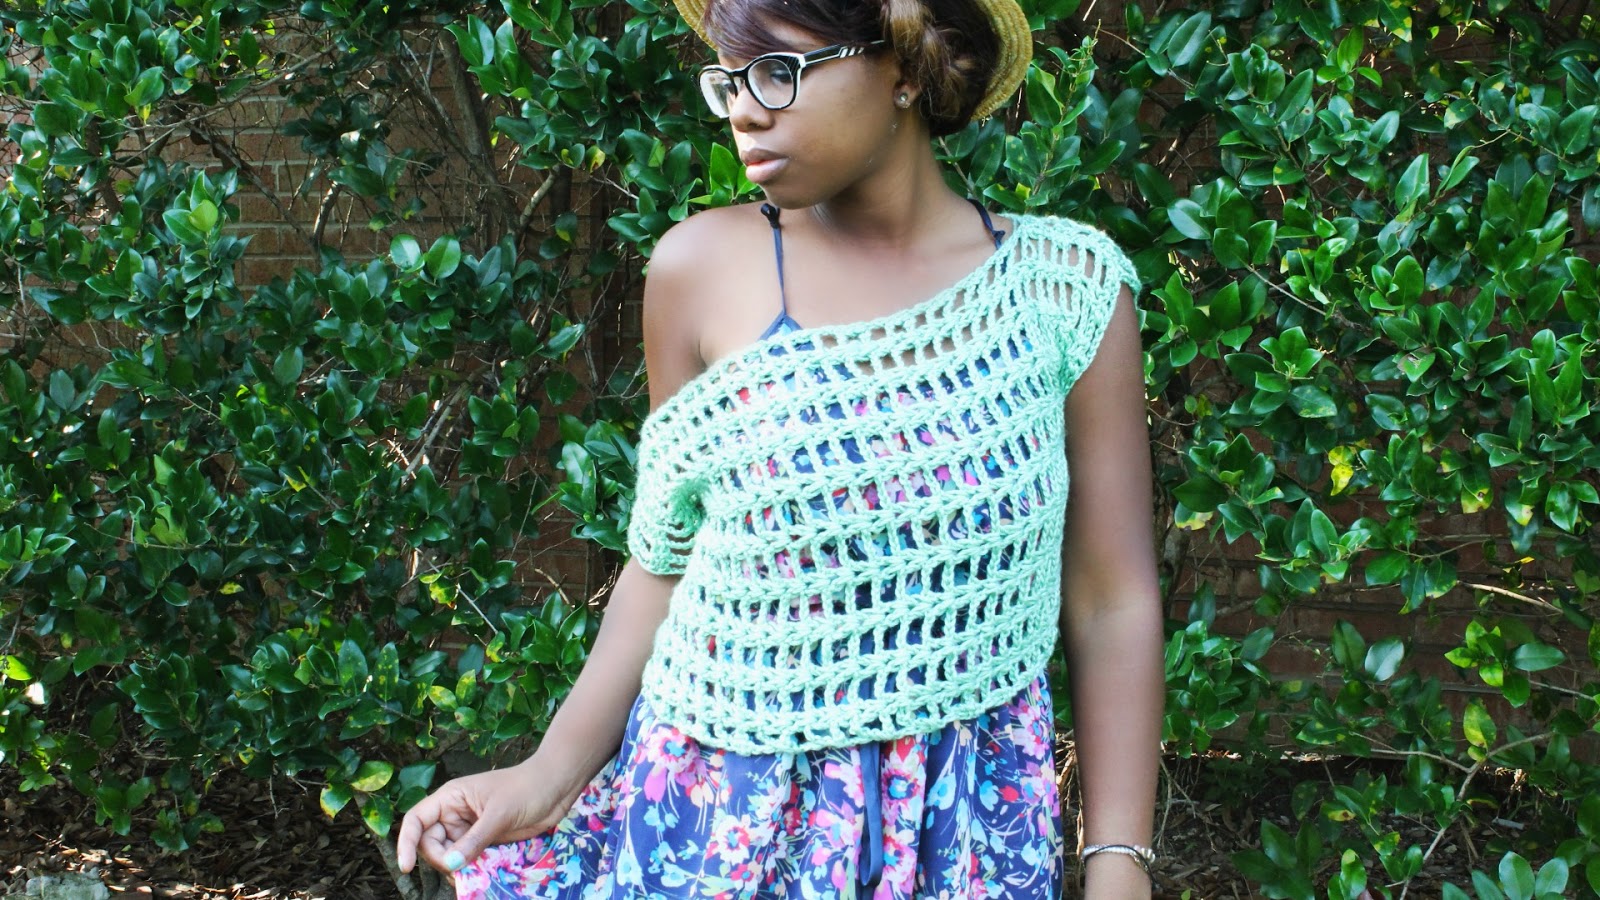
Crochet summer tops are a must-have for adding a touch of boho chic to your wardrobe! This easy DIY pattern walks you through creating a breezy, open-stitch summer top in simple vertical panels that are sewn together. Perfect for layering over a swimsuit or pairing with high-waisted shorts, this project uses basic stitches and a medium-weight yarn—great for crocheters who want a quick, wearable make.
Below you'll find materials, a stitch guide, and clear steps to construct the front and back panels, form the armholes, and sew the pieces together. Adjust the starting chain to fit your desired waist measurement (the pattern lists CH 61 as an example).
Starting vertical panel showing the open lace stitch pattern used for the front and back pieces.
Crochet materials:
- Crochet Hook: H/8 — 5.50 mm
- Craft Scissors
- Yarn Sewing Needle
- Yarn used: 1 Skein Green (Caron Simply Soft Yarn) Medium 4
Stitch guide:
- HDC = half double crochet
- DC = double crochet
- SC = single crochet
- SS = slip stitch
- ST(S) = stitch(es)
- CH = chain
- R[number] = Row
Step 1
This is to start the top. You will be working vertically to create the top panels (make two identical pieces: one for the front and one for the back).
CH 61 (or half desired waist measurement)
R1 — R29: DC into the first ST, *CH 3, skip 3 STS, DC two times into the following ST, CH 3, skip 3 STS, DC two times into the following ST...* Repeat this pattern to the end of each row. Turn work after each row. At the end of Row 29, finish the row with a SS to complete the piece.
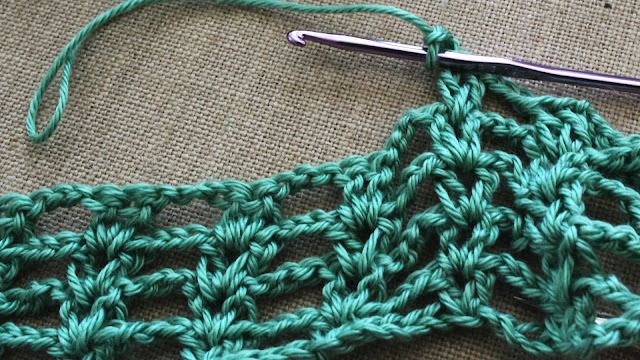
Close-up of the stitch pattern and the vertical panel worked from the starting chain.
Note: You will create STEP 1 TWICE (one panel for the front and one for the back).
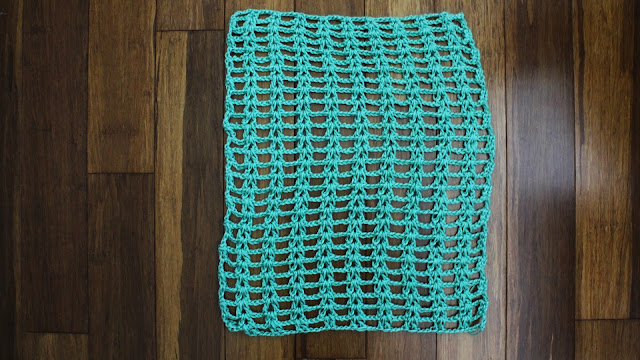
Both vertical panels laid out side-by-side — these become the front and back of the top.
Once both pieces are created (front and back), turn each vertical crocheted piece horizontally to begin forming the armholes/sleeves of the top.
Note: You will be creating the armholes on EACH side of the vertical crocheted piece.
Step 2
This step creates the armholes/sleeves of the top. Insert your hook into the 5th double crochet down (see photo reference) to begin the sleeve shaping.
R1 — R3: DC into the first two STS, *CH 3, skip 3 STS, DC two times into the following STS...* Repeat this method until the end of every row. Turn work after each row. At the end of Row 29, finish the last row with a SS to complete the sleeve/armhole section.
Step 3
This step sews the crocheted pieces together to create your top. Once both parts are complete, lay both pieces flat with wrong sides together (if applicable). Sew the sides together, leaving openings for the armholes, the neckline and the bottom hem free.
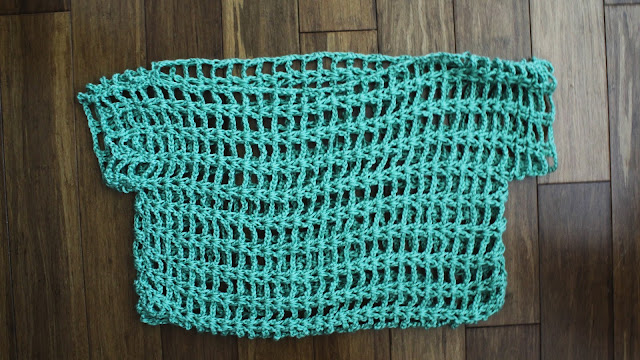
Sewing the panels together at the sides—leave the armholes and neckline open.
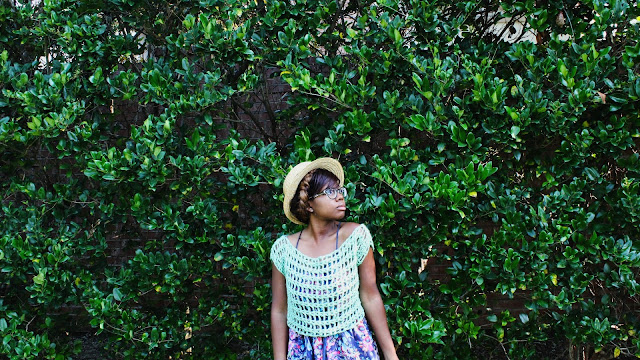
Final layout of the assembled top showing where the panels join and the open armhole/neckline areas.
Styling tips: wear this crochet top over a swimsuit for the beach or layer it over a cami and pair with high-waisted shorts for a casual summer look. Adjust the starting chain to customize the fit and make the top longer or shorter by changing the number of rows.