


Crochet 'Arctic Night' Mittens — Cozy Starry-Sky Pattern & Step-by-Step Guide
These «Arctic Night» mittens combine bold color changes with a dense, textured stitch to create a cozy, stylish pair perfect for cold weather. This pattern is worked in the round using the Waistcoat (waist coat) knit stitch for a neat, fabric-like finish. Suitable for intermediate crocheters who are comfortable working in the round, changing colors, and shaping thumb holes. Follow the step-by-step rounds below and refer to the photos for visual guidance.
The project uses super-bulky yarn and a large hook, so it works up quickly and makes a warm, sturdy mitten with a defined striped look. Make the pattern twice (once per hand) and use tapestry sewing to close the top.
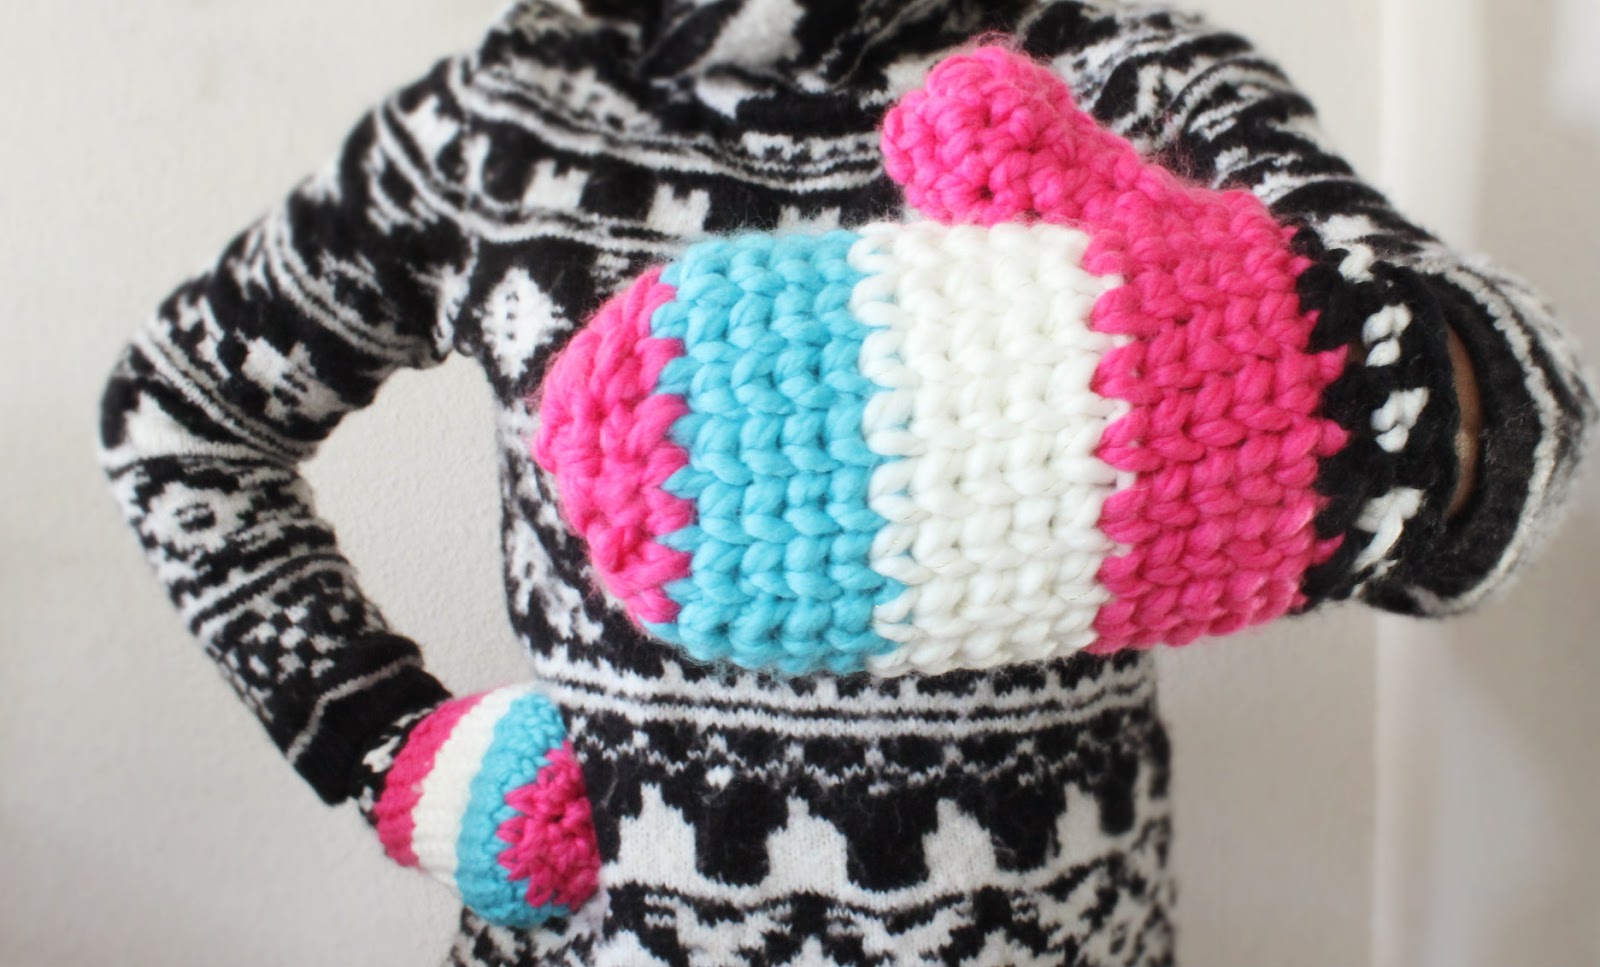
Materials:
- 4 Colors of Super Bulky 5 yarn [Black yarn not Shown]
- Used Lion Brand's Wool-Ease Thick and Quick // 80% Acrylic, 20% Wool // 106 yards
- N 9.00 MM Crochet Hook
- Yarn Needle
- Craft Scissors
Abbreviations / Stitches Utilized
- sc = single crochet
- hdc = half double crochet
- hdc blo = half double crochet back loop only
- dc = double crochet
- tch[s] = turning chain[s]
- sts = stitches
- sl st = slip stitch
- ch = chain
The Pattern
NOTE: Repeat every step twice to make both mittens.
First Color:
CH 16
Connect the last st to the very first st with a sl st to start working in the round.
RND 1–RND 5: sc utilizing the Waistcoat Knit Stitch by placing the hook into the middle of the single crochet stitch. After each round, sl st to continue work.
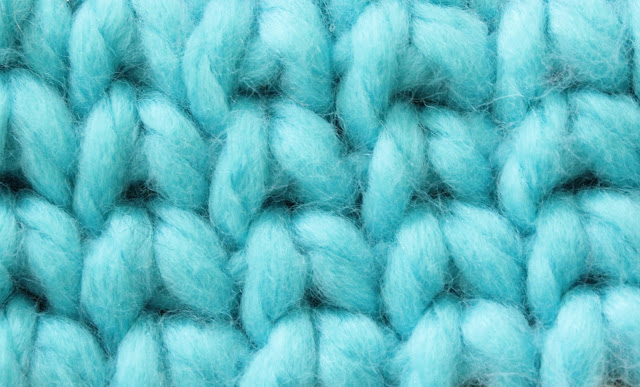
Second Color:
RND 6–RND 10: sc utilizing the Waistcoat Knit Stitch by placing the hook into the middle of the single crochet stitch. After each round, sl st to continue work.
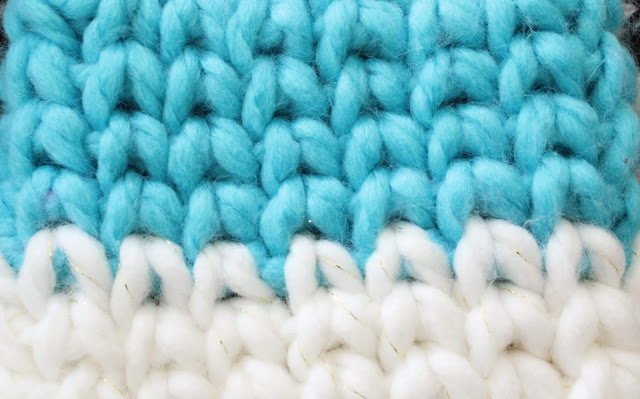
Third Color:
RND 11–RND 12: sc utilizing the Waistcoat Knit Stitch by placing the hook into the middle of the single crochet stitch. After each round, sl st to continue work.
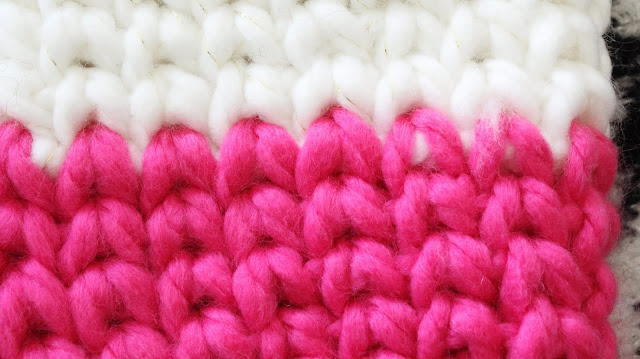
Creating the Thumb Holes — LEFT SIDE
Third Color:
RND 13: sc into the first 12 sts, ch 2, skip 2 sts, then sc into the remaining 2 sts for the round.
Creating the Thumb Holes — RIGHT SIDE
Third Color:
RND 13: sc into the first 12 sts, ch 2, skip 2 sts, then sc into the remaining 2 sts for the round.
Third Color:
RND 14–RND 15: sc utilizing the Waistcoat Knit Stitch by placing the hook into the middle of the single crochet stitch. After each round, sl st to continue work.
Bottom Band [Black and White Yarn]
Black Yarn
RND 16: SC2OG every st to decrease for the entire round. After the round, sl st to continue work.
White Yarn
RND 17: SC2OG every st to decrease for the entire round. After the round, sl st to continue work.
Black Yarn
RND 18: sc into all of the sts for the entire round. At the end of the round, sl st to complete final work.
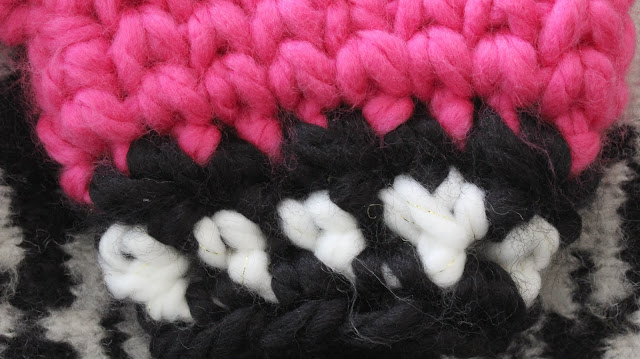
Thumb Section
Third Color:
Insert your hook into one of the skipped sts from RND 13 and work 4 rounds of sc around the thumb opening. Sl st to finish the final round. Use a tapestry needle to weave in ends.
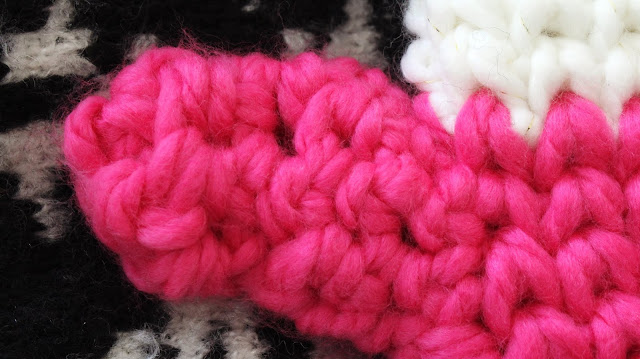
Closing the Top Portion of the Mittens
Insert hook into Round 1 utilizing the Third Yarn Color.
RND 1–RND 3: SC2OG every 2 sts to decrease for the entire round. After each round, sl st to continue work. At the final round, sl st to complete final work. Use a tapestry sewing needle to enclose the top of the mitten.
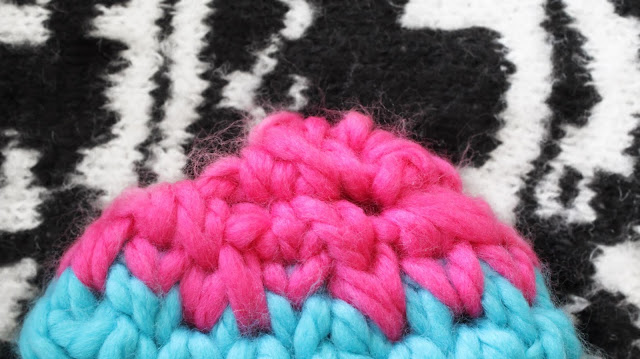
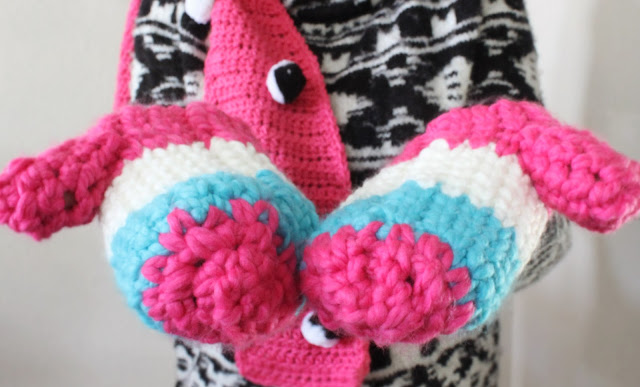
Finishing tips: Weave in all yarn ends neatly on the inside. Block lightly if desired to soften the stitches and even out the shape. If you need a different fit, adjust starting chain length and test gauge by trying the mitten on as you work.