


Make This Adorable Crochet Panda Bag — Easy Step‑by‑Step Pattern
Make a charming and practical Crochet Panda Bag with this easy-to-follow pattern. This black-and-white panda purse is fun to wear for casual outings and makes a great handmade gift. The finished bag measures approximately 11 inches wide by 11 inches tall and is worked in two circular panels that are sewn together, then lined and fitted with a strap and snap closure.
The pattern below includes the full materials list, stitch abbreviations, and step-by-step instructions to create the front and back pieces, applique facial features, add fabric lining, and attach the strap.
The Ingredients
- 1 SKEIN each of White and Black — Red Heart Super Saver Yarn: Medium 4 Weight (No-Dye-Lot Solids), 7 oz (198 g)
- Yardage: Approx. 364 yards (333 m) per skein / 100% Acrylic
- 1 yard of fabric (for lining)
- metal snap buttons
- H/8 5.00 mm crochet hook
- yarn needle
- craft scissors
Abbreviations / Stitches Utilized
- sc = single crochet
- hdc = half double crochet
- dc = double crochet
- tch[s] = turning chain[s]
- sts = stitches
- ss = slip stitch
- ch = chain
Pattern Overview
*You will repeat the body piece steps TWICE to create both the FRONT and BACK panels of the bag.
STEP ONE — Create circular panels (make 2)
Chain 6, then insert your hook into the first chain stitch you made, forming a ring.
YO, then draw the yarn through the stitch and through the loop on your hook.
CH 1, insert your hook into the center ring and YO and draw the yarn through the center ring.
RND 1: SC into all of the STS for the entire round, 8 STS total. At the end of the round, SL ST to continue work.
RND 2: DC into all of the STS TWICE for the entire round. At the end of the round, SL ST to continue work.
RND 3: DC into the first ST once, then into the following ST DC TWICE for the entire round. At the end of the round, SL ST to continue work.
RND 4: DC into the first TWO STS once, then into the following ST DC TWICE for the entire round. At the end of the round, SL ST to continue work.
RND 5: DC into the first THREE STS once, then into the following ST DC TWICE for the entire round. At the end of the round, SL ST to continue work.
RND 6: DC into the first FOUR STS once, then into the following ST DC TWICE for the entire round. At the end of the round, SL ST to continue work.
RND 7: DC into the first FIVE STS once, then into the following ST DC TWICE for the entire round. At the end of the round, SL ST to continue work.
RND 8: HDC into all of the STS for the entire round, 8 STS total. At the end of the round, SL ST to continue work.
RND 9: SC into all of the STS for the entire round, 8 STS total. At the end of the round, SS to complete final work.
Work until the panel measures about 11 inches in diameter.
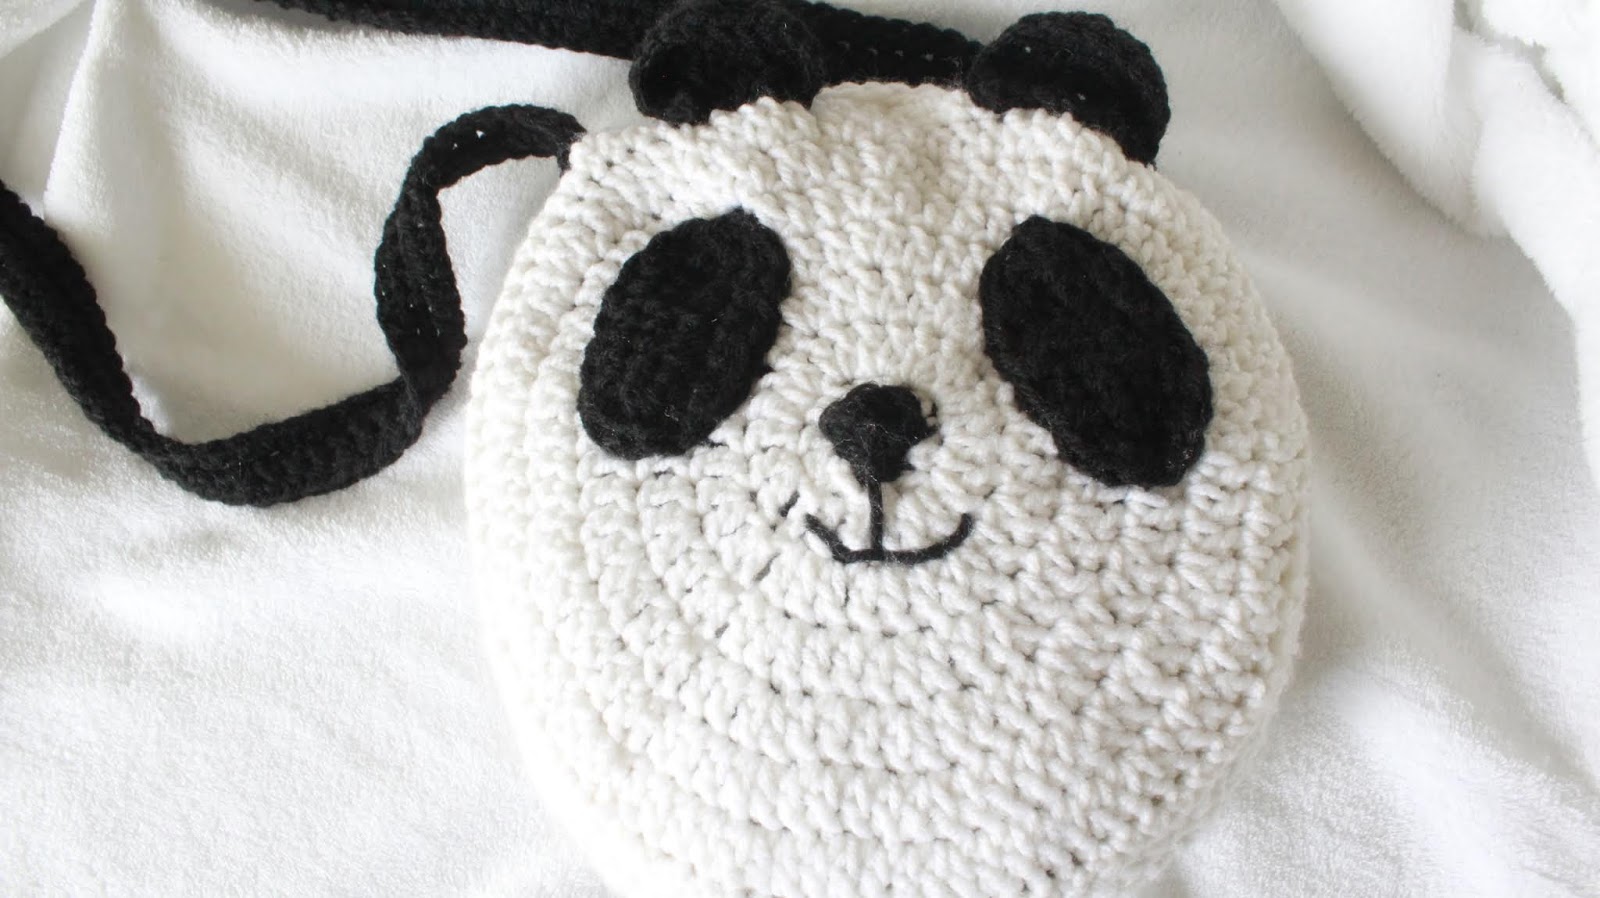
Finished Crochet Panda Bag — front view showing the panda face and strap.
Sew the two circular panels together using a yarn needle and a strand of white yarn, leaving a 6.5-inch wide opening for the lining and access.
STEP TWO — Make and attach facial features (use black yarn)
Creating the eyes (make 2 ovals):
CH 8.
Single crochet (sc) in the second chain from the hook, then sc into remaining chains across (8 sc total along foundation).
Crochet 3 sc in the last chain. Rotate the work to work along the bottom of the foundation chain and continue: sc across and 2 sc in the last chain at the position of the first sc of the previous row — your first round is complete.
Round 2: Crochet 2 sc in the first stitch of the previous round; sc 4, 2 sc in each of the next three stitches, sc 4, 2 sc in the next 2 stitches.
PLACEMENT: Place the eyes at approximately Round 5 of the circular panel in an inverted V shape, about 3 inches apart.
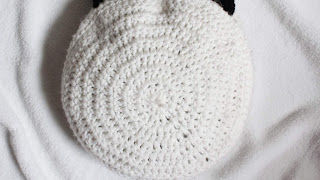
Two crocheted circular panels — front and back panels ready to be sewn together.
Creating the nose (black):
Chain 6, insert your hook into the first chain to form a ring.
YO and draw the yarn through the stitch and through the loop on your hook.
CH 1, insert your hook into the center ring and YO and draw the yarn through the center ring.
RND 1: SC into all of the STS for the entire round, 8 STS total. At the end of the round, SL ST to continue work.
RND 2: DC into all of the STS TWICE for the entire round. At the end of the round, SL ST to continue work.
PLACEMENT: Place the nose at Round 1, centered between the eyes.
Using black yarn and a yarn needle, create the nose detail by sewing from the inside out: stitch from Round 1 to Round 2, then loop through the Round 2 stitches several times to form the mouth detail.
Creating the ears (use black yarn):
Create small bear/panda ears using any ear tutorial you prefer; attach them with a yarn needle and black yarn.
PLACEMENT: Place the ears at approximately Round 8 of the panel, about 3 inches apart.
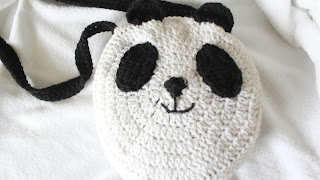
Close-up: panda face details — black eye patches, nose, and mouth stitched into place.
STEP THREE — Lining and hardware
Cut two fabric circles to match the crocheted panels. Align the fabric with the inside of each crochet panel and hand-sew the fabric to the crochet using needle and thread. Add metal snap buttons to the opening of the purse to create a secure closure.
STEP FOUR — Strap
CH 136 (or until strap reaches desired length — approx. 48 inches).
R1–R3: SC into all of the STS for each row, turn work at the end of each row. At the end of Row 3, SS to finish.
Placement: Sew the straps securely to the sides of the purse.
Finishing
Weave in all loose ends, double-check appliqué placement and stitching, and press the fabric lining if needed before inserting it fully into the bag. Make sure the snap aligns correctly and test the strap attachment for strength.
Enjoy your handmade Crochet Panda Bag!