


Cozy Scalloped Crochet Fingerless Hand Warmers — Easy Pattern & Step-by-Step Guide
These Crochet Scalloped Finger Free Hand Warmers are a quick, stylish project that keeps your hands warm while leaving fingers free for tasks like texting or crafting. The subtle scalloped edging gives a feminine, finished look that makes these perfect as a gift or a wardrobe staple. The pattern below is written in rounds and works well for a medium-weight (worsted) yarn. Adjust the starting chain or hook size to customize fit.
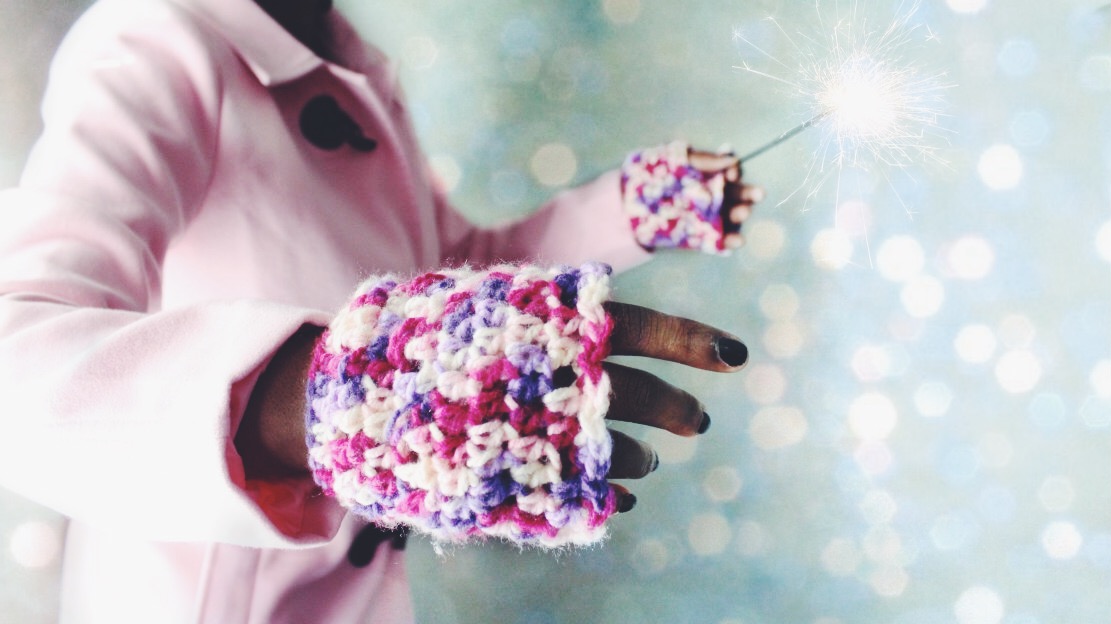
Scalloped fingerless hand warmer shown flat to display shape and edge detail.
Materials:
- Half a skein of medium weight (4) yarn
- Craft scissors
- Crochet Hook H/8 (5.00 mm)
- Tapestry/sewing needle
- Measuring tape
ABBREVIATIONS
- hdc = half double crochet
- dc = double crochet
- [number]tch[s] = turning chain(s)
- sts = stitches
- ** = Repeat sequence until end of round
THE PATTERN
CH for 24 (about 10 inches width). Final length: 5.5 inches. Note: measure your wrist for exact width and adjust chain count if needed. Work in rounds, connecting by SS (slip stitch) and using turning chains (TCH) as indicated.
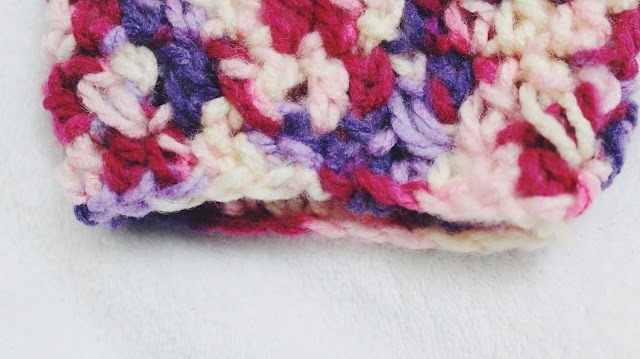
Beginning rounds worked in the round; here the piece is forming the tube for the wrist.
Left Side
R1: HDC the entire row into all sts; at end of the round, SS to connect and 3 TCHs.
R2: DC into the first st, **skip the next st, then DC into the following st. Next, return to the skipped st and DC into it — then DC into the next open st. [**Repeat this method until you reach the end of the round.] SS to continue and 2 TCHs.
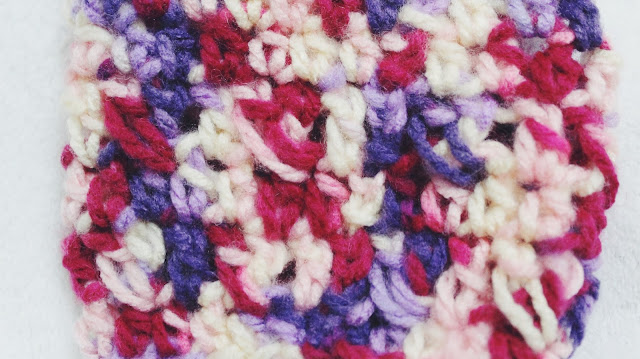
Close-up of textured stitch pattern created by alternating double crochet placements.
R3: HDC the entire row into all sts; at end of the round, SS to connect and 3 TCHs.
R4: Repeat R2: DC into the first st, **skip the next st, DC into the following st, return to the skipped st and DC into it; proceed by repeating this across the round. SS to continue and 2 TCHs.
R5: HDC the entire row into all sts; at end of the round, SS to connect and 3 TCHs.
R6: HDC into the first 5 sts, CH 3, skip 3 sts and HDC into the remaining sts for the round; at end of the round, SS to connect and 3 TCHs.
R7: HDC the entire row into all sts, including the chains; at end of the round, SS to connect and 3 TCHs.
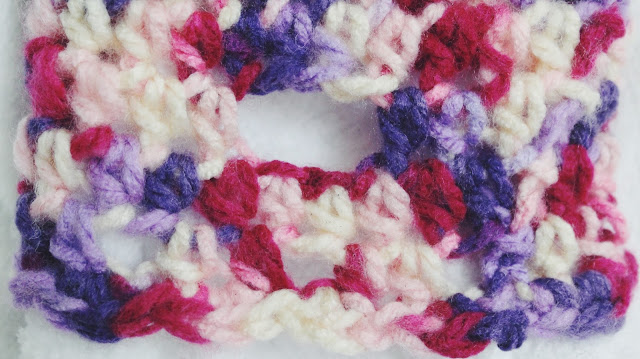
Hand warmer after several rounds, showing placement for thumb/space shaping.
R8: HDC into the first 5 sts, CH 2, skip 2 sts and HDC into the following 2 sts. [**Repeat this method until you hit the end of the round.] SS to continue and 1 TCH.
R9: SC into first st, then SC two times into the following st, then SS into the next st to create the scalloped look — next, SC into the next st two times, then SS into the following st to create the scallop. [**Repeat this sequence until the end of the round.] At end of the round, SS to complete final work.
Right Side
R1: HDC the entire row into all sts; at end of the round, SS to connect and 3 TCHs.
R2: DC into the first st, **skip the next st, then DC into the following st. Return to the skipped st and DC into it, then DC into the next open st. [**Repeat across the round.] SS to continue and 2 TCHs.
R3: HDC the entire row into all sts; at end of the round, SS to connect and 3 TCHs.
R4: Repeat the DC alternating pattern as in R2. SS to continue and 2 TCHs.
R5: HDC the entire row into all sts; at end of the round, SS to connect and 3 TCHs.
R6: HDC into all of the first 18 sts until you hit the 19th st — CH 3, skip 3 sts and HDC into the remaining 3 sts for the round; at end of the round, SS to connect and 3 TCHs.
R7: HDC the entire row into all sts, including the chains; at end of the round, SS to connect and 3 TCHs.
R8: HDC into the first 5 sts, CH 2, skip 2 sts and HDC into the following 2 sts. [**Repeat this method until you hit the end of the round.] SS to continue and 1 TCH.
R9: SC into first st, then SC two times into the following st, then SS into the next st to create the scalloped look — next, SC into the next st two times, then SS into the following st to create the scallop. [**Repeat this sequence until the end of the round.] At end of the round, SS to complete final work.

Final view of the scalloped edge and finished hand warmer shape.
Finishing: Weave in all ends using a tapestry needle. Block lightly if desired to even out stitches and shape the scalloped edge.