


How to Crochet a Swiss Roll Cake — Easy Amigurumi Dessert Tutorial
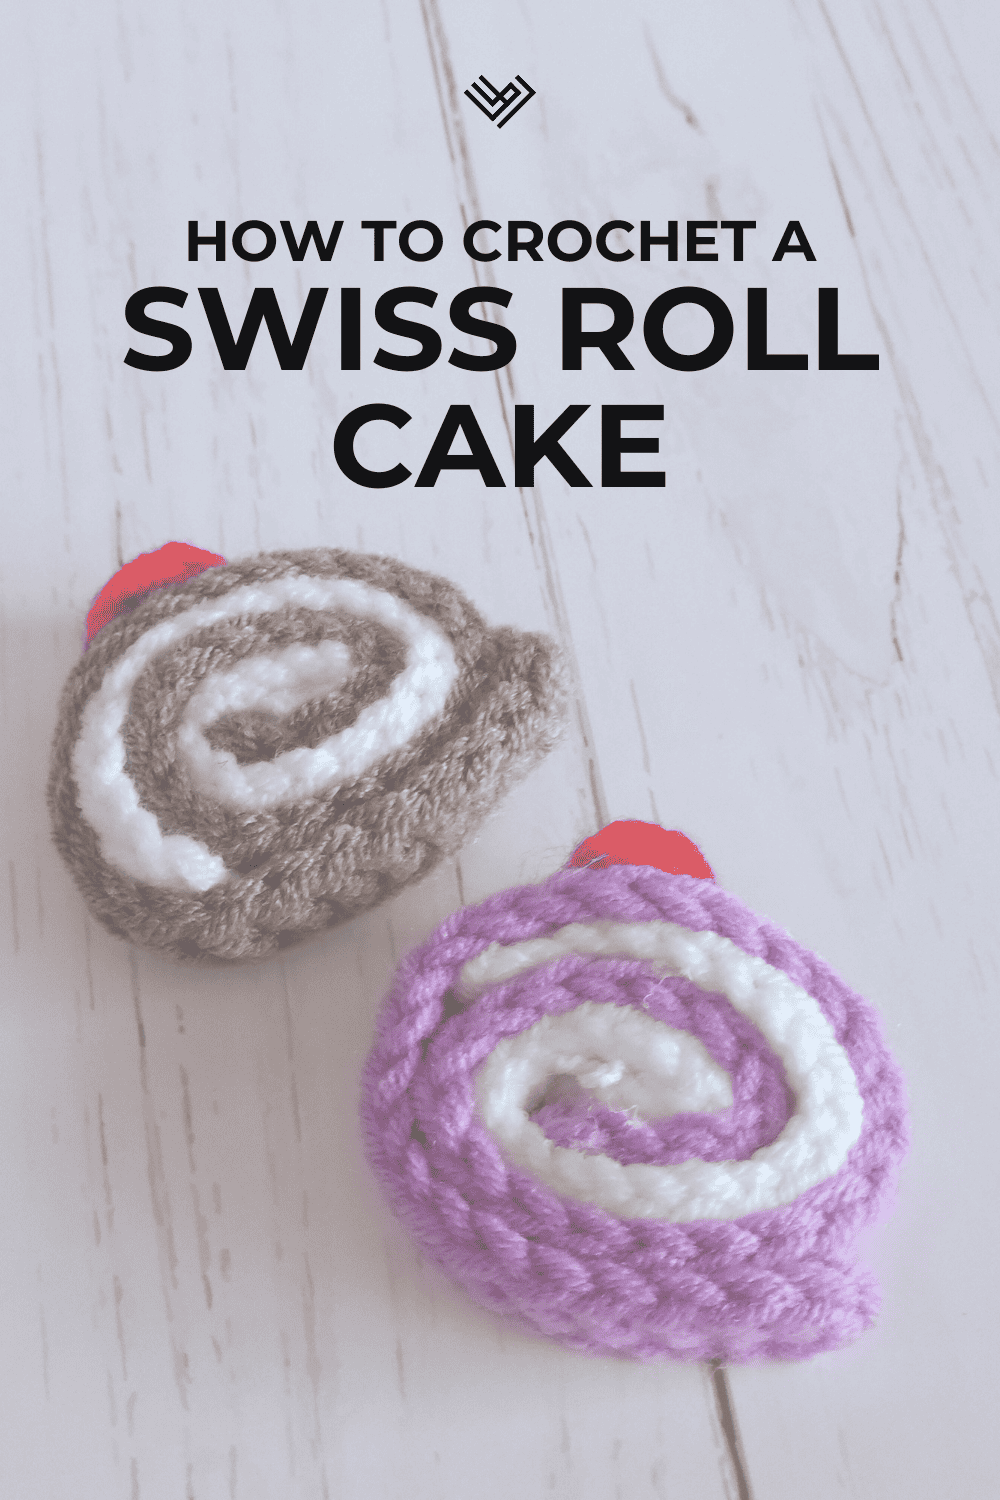
Create a charming Crochet Swiss Roll Cake that looks good enough to eat! This amigurumi-style project combines simple stitches and a few small parts to produce a rolled sponge cake with creamy filling and a cherry on top. The pattern is beginner-friendly and broken into four clear sections so you can follow along step by step.
Materials
Here’s what you need to get started:
- Cotton crochet yarn (colors used in this example: white #01, brown #58 or purple #09, red #10)
- Crochet kit (3.0 mm hook, yarn needle, yarn snips, stitch markers)
- Glue gun
This crochet roll cake pattern tutorial is divided into 4 sections:
- Cake (sponge base)
- Cream (filling)
- Cherry (topper)
- Putting it together (assembly)
Cake
Step-by-step instructions
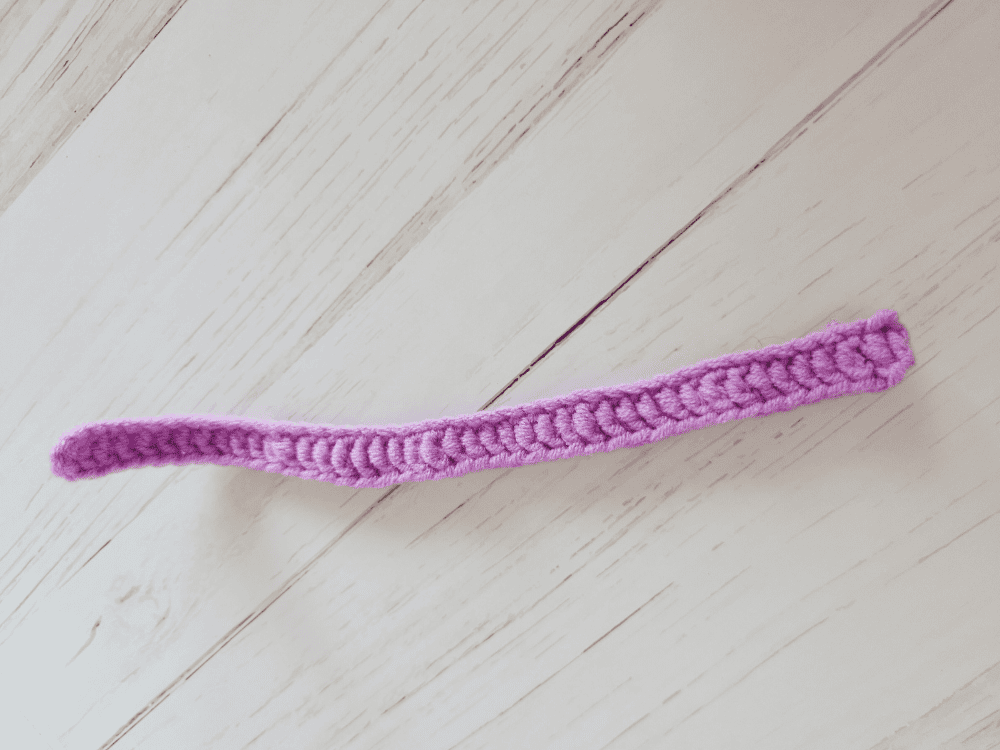
Start by making the cake base. You can switch out the color to customize your swiss roll, but for this tutorial the sample uses classic brown (or purple as an option).
45 CH, go back 4 chains, 42 DC
Cream
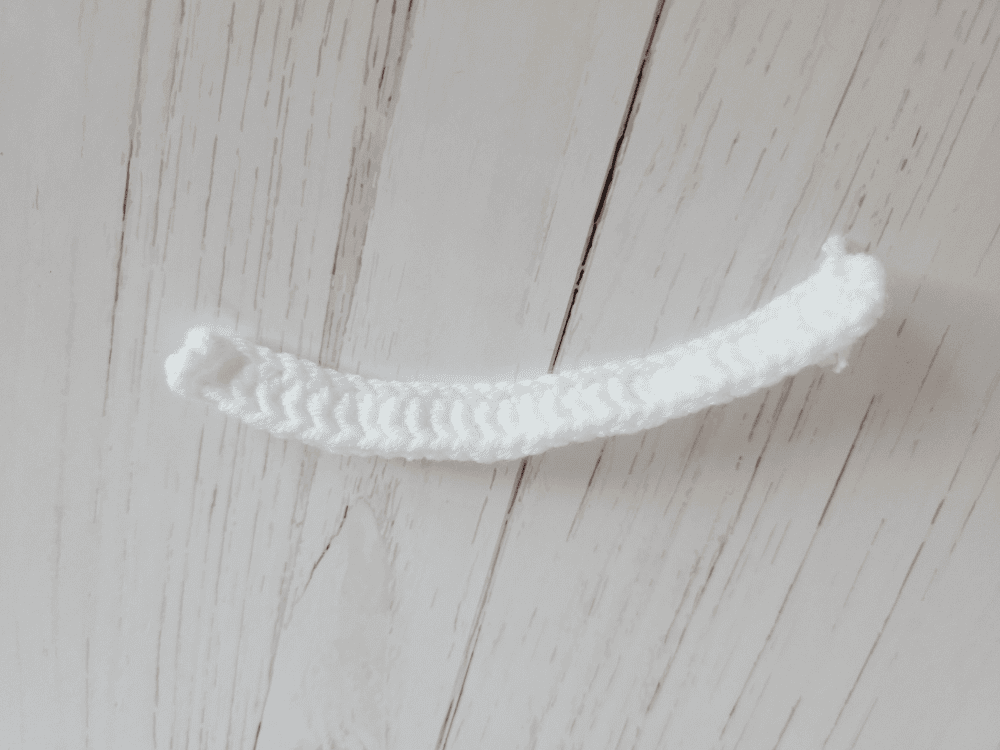
Next, add the cream filling for that yummy layered look.
33 CH, go back 4 chains, 30 DC
Cherry
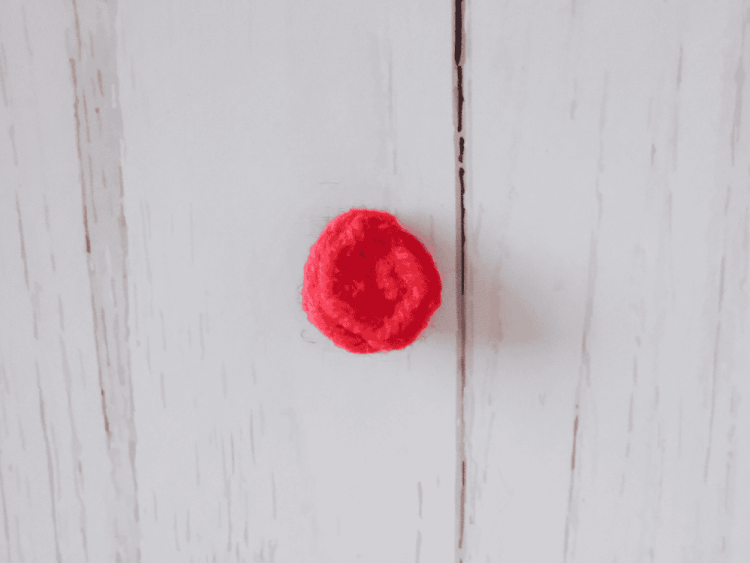
No cake is complete without a cherry on top! Here’s a simple cherry piece:
MR, 1 CH, 5 HDC, SL ST
Putting It Together
Now, let’s bring everything together:
1. Glue the cream piece onto the cake base so the cream strip lines up along the long edge of the sponge.
2. Carefully roll up the swiss roll, securing it with small dabs of glue as you go to hold the shape.
3. Attach the cherry to the top with glue.
Finish by tidying any loose ends and trimming excess yarn. You are done!