


Easy Crochet Single Bracelet: Quick DIY Pattern & Step-by-Step Guide
Crochet single bracelets are a cute, lightweight accessory that add charming, handmade detail to any outfit. This quick DIY uses the single crochet stitch to create a sturdy, comfortable bracelet you can customize with different yarns, colors and a button closure. Suitable for beginners, the project works up fast and makes a great gift or wardrobe accent.
Supplies: yarn, crochet hook (see yarn label for recommended size), scissors, button, yarn needle.
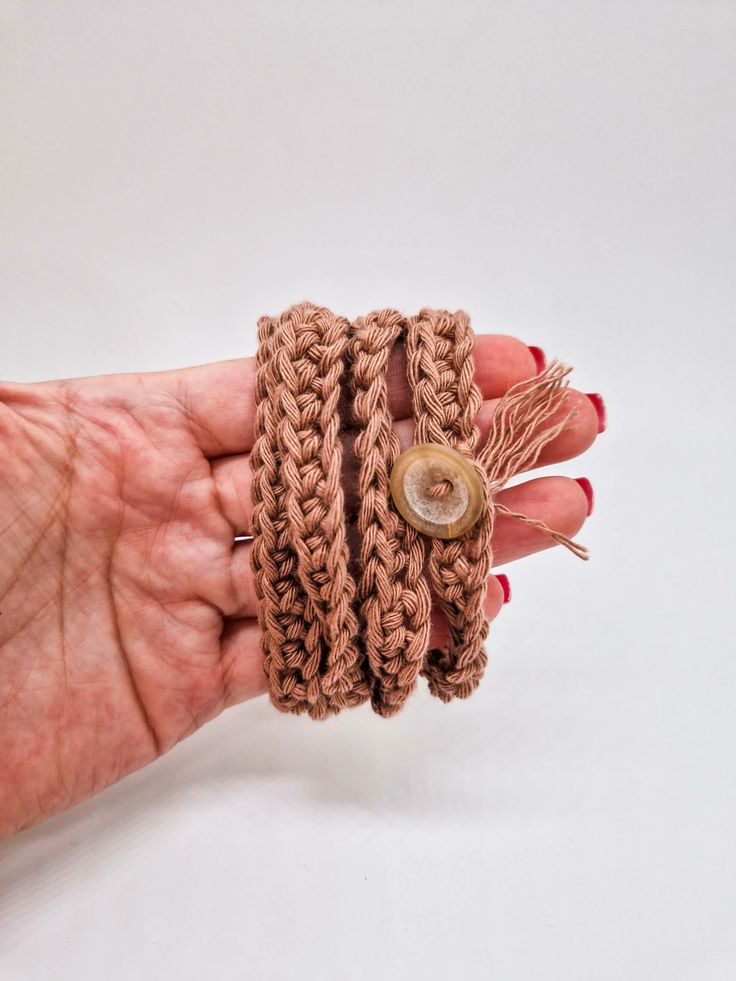
Caption: A simple single-crochet bracelet finished with a sewn-on button for closure.
Choosing size and yarn
Measure the wrist you want to fit. Chain a foundation to match that measurement with a little extra for comfort (or make a short sample and adjust). Use a yarn weight and hook that give a neat, dense fabric—sport or DK weight yarn with the recommended hook is a good starting point.
Basic single crochet stitch (refresher)
The single crochet (sc) creates a firm fabric ideal for a bracelet band. Brief steps:
1. Start with a foundation chain of your desired length.
2. Insert your hook into the second chain from the hook.
3. Yarn over (YO) and pull through; you now have two loops on the hook.
4. Yarn over again and pull through both loops to complete the single crochet.
Repeat across the foundation chain. At the end of a row, chain 1 to turn and work into the first stitch of the new row.
Making the bracelet
1. Chain a length to fit the wrist (see measurement note above). Work a row of single crochet across the chain.
2. Continue working rows of single crochet until the band reaches the desired width—usually a few rows for a narrow bracelet or more for a cuff-style band.
3. To add the button loop: on the final row, chain a small number of stitches (test the chain around your button) and slip-stitch it to the edge to form a loop, or leave a short tail and create a sewn-on loop when finishing. Alternatively, sew the button to one end and make a small loop of chain at the other end to fasten.
4. Fasten off, weave in ends neatly with a yarn needle, and sew on the button securely. Try the bracelet on and adjust the button placement or loop length if needed.
Tips
— Make a small gauge swatch to ensure the band isn’t too loose or too tight.
— Use contrasting yarn for a stripe or add beads as you work for extra detail.
— If you prefer a stretchier closure, use an elastic thread loop instead of a yarn chain for the button loop.
With these simple steps you can make multiple bracelets in different colors and widths—perfect for mixing and matching or gifting to friends.