


DIY Crochet Bowler Hat — Easy Step-by-Step Pattern
Crochet bowler hats are a charming twist on a classic silhouette. This easy step-by-step pattern walks you through making a cozy, handmade bowler-style hat using basic stitches. Perfect for gifting or adding a whimsical touch to your wardrobe — suitable for adults and children depending on size adjustments.
Ingredients:
- Crochet hook (H/8 5.00mm)
- Yarn (Red Heart)
- Scissors
- Yarn Needle
Abbreviations:
- SC = single crochet
- HDC = half double crochet
- SS = slip stitch
- CH = chain
- YO = yarn over
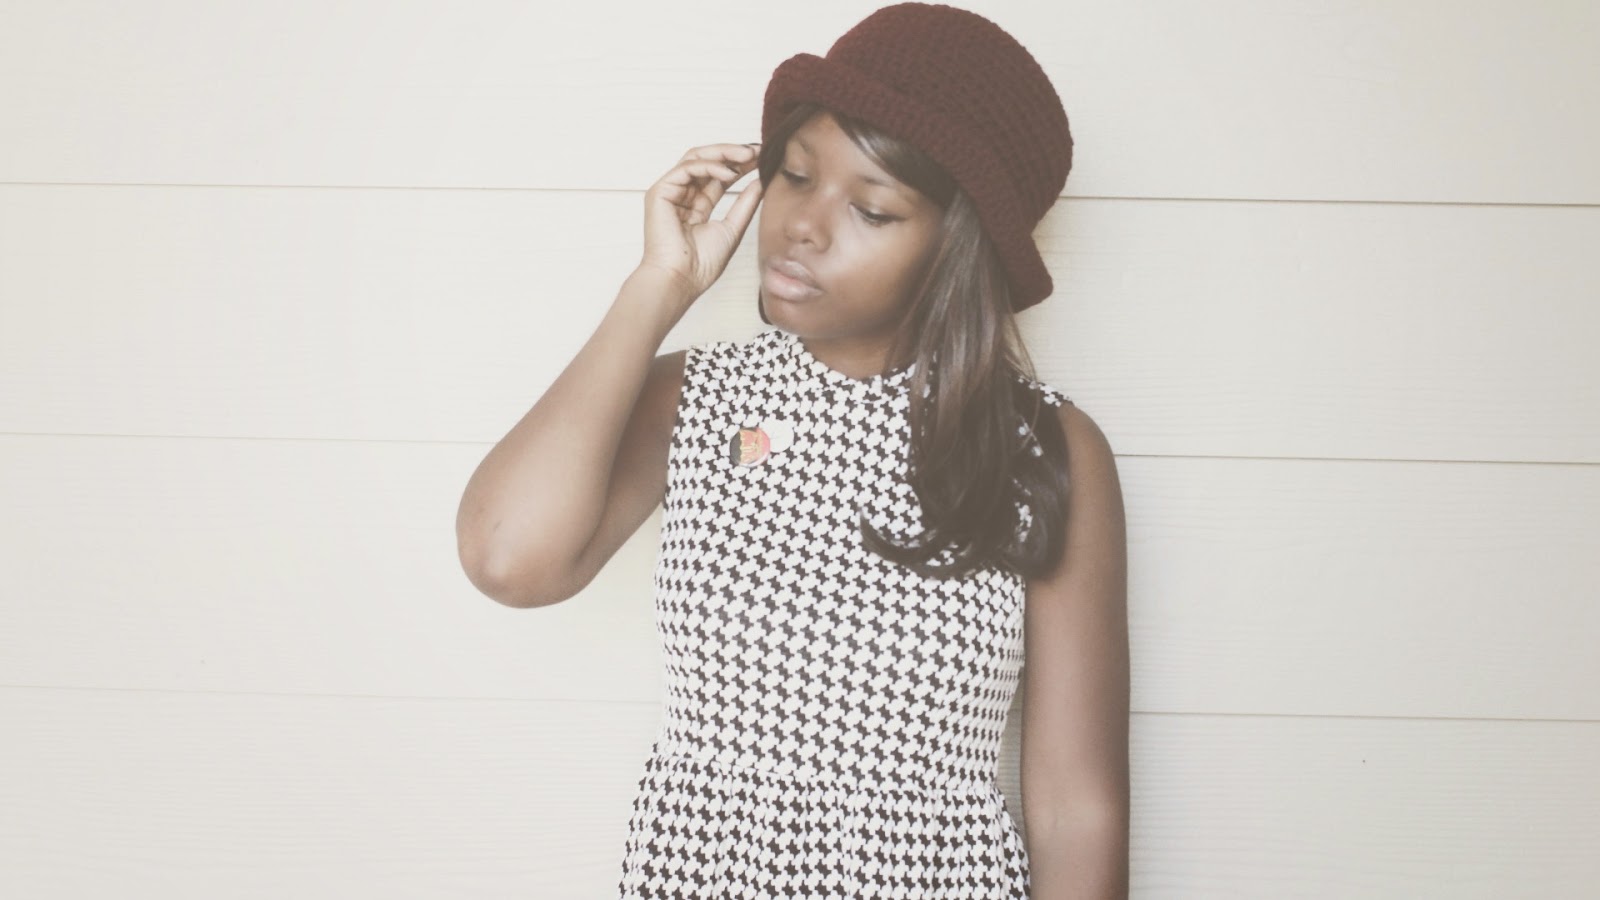
Finished crochet bowler hat — the completed look from this pattern.
Starting ring:
CH 3. Connect the last stitch to the very first stitch with a SS to form a small ring.
CH 1.
Row 1:
SC into the first stitch two times. For the remaining stitches in the round, SC into each stitch two times. This will equal a total of 6 SC. Connect the last stitch to the very first stitch. CH 1.
Row 2:
SC into the first stitch one time. SC two times into the next stitch. Continue alternating (one SC in one stitch, two SC in the next) around. This will equal a total of 9 SC. Connect the last stitch to the very first stitch. CH 1.
Row 3:
SC into the first two stitches one time each. For the following stitch, SC one time. Alternate this method for the entire round. Connect the last stitch to the very first stitch. CH 1.
Row 4:
SC into the first three stitches one time each. For the following stitch, SC one time. Alternate this method for the entire round. Connect the last stitch to the very first stitch. CH 1.
Row 5:
SC into the first four stitches one time each. For the following stitch, SC one time. Alternate this method for the entire round. Connect the last stitch to the very first stitch. CH 1.
Row 6:
SC into the first five stitches one time each. For the following stitch, SC one time. Alternate this method for the entire round. Connect the last stitch to the very first stitch. CH 1.
Row 7:
SC into the first six stitches one time each. For the following stitch, SC one time. Alternate this method for the entire round. Connect the last stitch to the very first stitch. CH 1.
Row 8:
SC into the first seven stitches one time each. For the following stitch, SC one time. Alternate this method for the entire round. Connect the last stitch to the very first stitch. CH 1.
Rows 9–15:
HDC the entire round. Connect the last stitch to the very first stitch. CH 1 after each round.
Row 16:
CH 3. Skip the next stitch. DC into the following two stitches. CH 1. Skip the next stitch. DC into the following two stitches. Alternate this pattern across the round. Connect the last stitch to the very first stitch. CH 1.
Row 17:
HDC the entire round. Connect the last stitch to the very first stitch. CH 1.
Row 18:
SC into the first stitch two times. For the rest of the stitches, SC into each stitch two times (which will equal 6 total). Connect the last stitch to the very first stitch. CH 1.
Row 19:
SC into the first stitch one time. SC two times into the next stitch. Then SC one time into the following stitch. Alternate this sequence across the round (one, two, one). This will equal out to 9 total. Connect the last stitch to the very first stitch. CH 1.
Rows 20–22:
HDC the entire round. Connect the last stitch to the very first stitch. CH 1 after each round.
Row 23:
SC the entire round. Connect the last stitch to the very first stitch. SS the last stitch. Sew in the remaining yarn ends with a yarn needle.
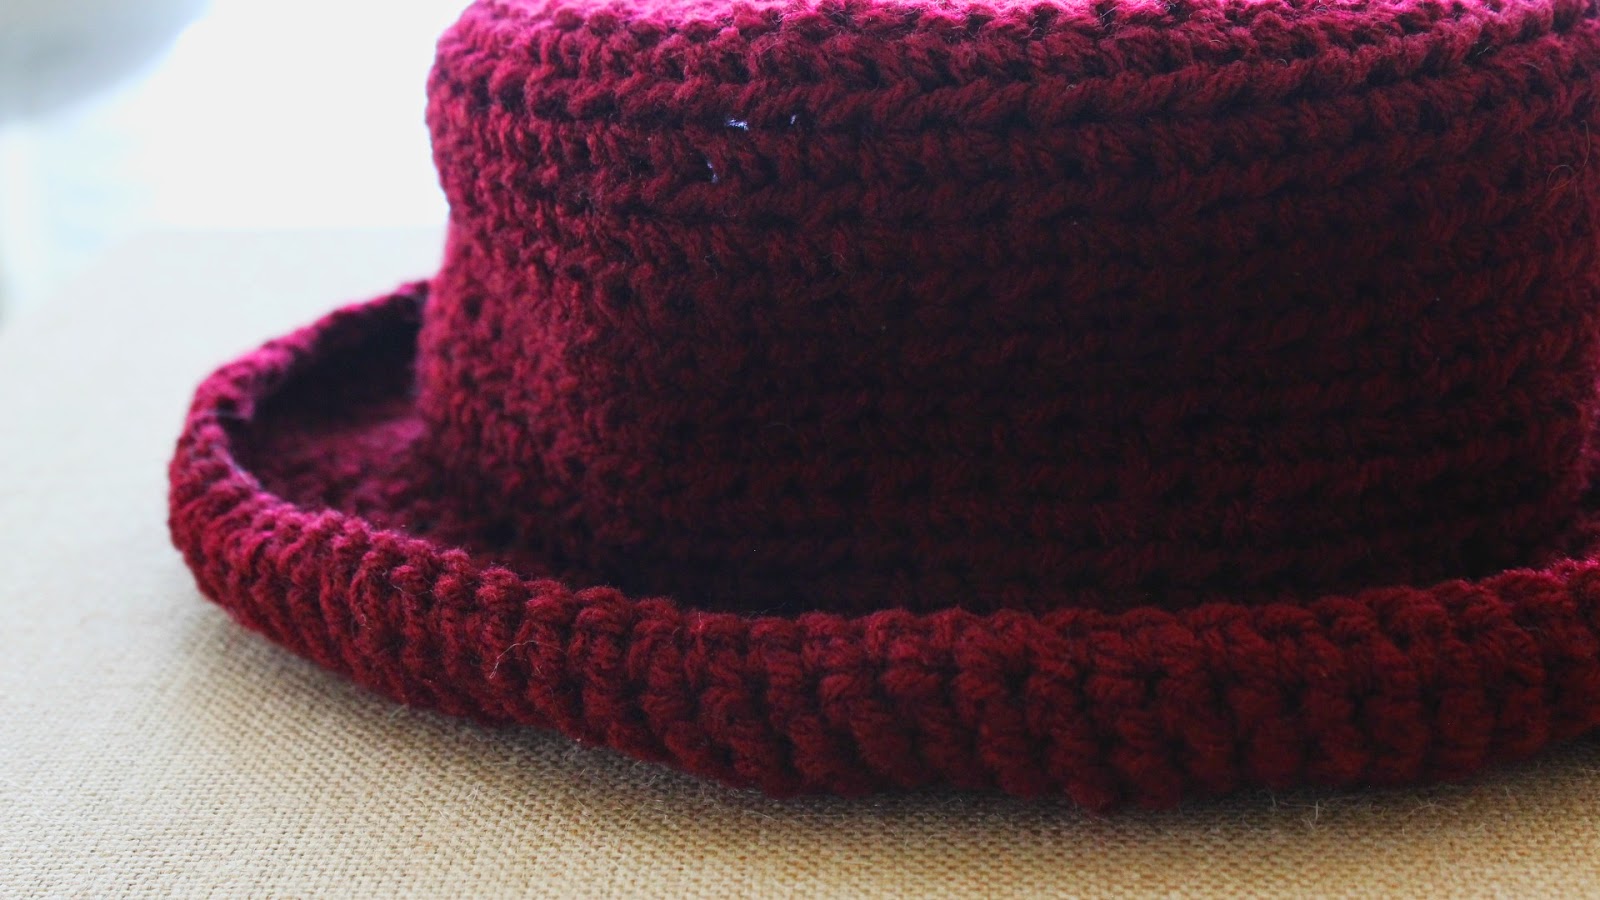
Close-up showing stitch detail and round increases used to shape the crown.
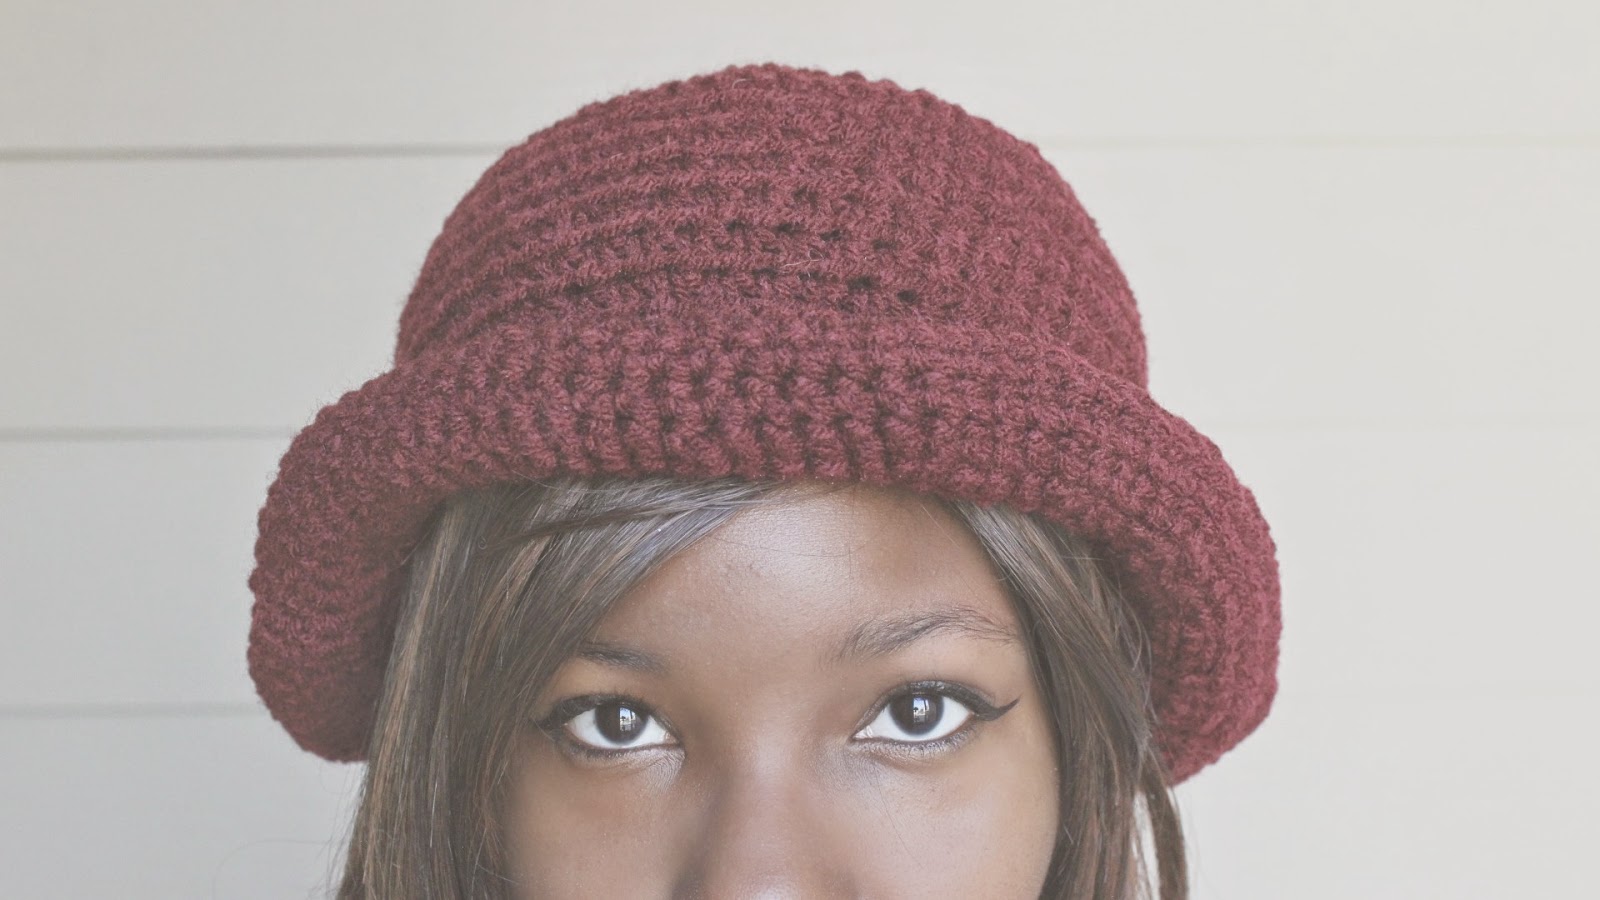
Side view of the completed crochet bowler hat — shows brim and crown shape.