


Make This Easy Crochet Summer Beret — Lightweight, Breathable Pattern & Step-by-Step Tutorial
Keep your summer outfits fresh with a lightweight, breathable Crochet Summer Beret. This easy, quick-to-make beret adds a touch of charm to sundresses, jeans-and-tee looks, or beachwear. The pattern uses basic stitches and is ideal for crocheters who want a simple project with a stylish result.
Follow the materials list and stitch guide below, then work the rounds as written to shape the beret. Adjust rounds if you need a larger or smaller fit.
Ingredients:
- Crochet Hook >> H/8-5.50MM
- Craft Scissors
- Yarn Sewing Needle
- Yarn used >> 1 Skein from Sugar N' Cream (Color: Yellow)
Stitch guide: HDC = half double crochet // SC = single crochet // DC = double crochet // SS = slip stitch // ST(S) = stitch(es) // CH = chain R[number] = Row

Caption: Finished yellow crochet summer beret — lightweight and breathable for summer outfits.
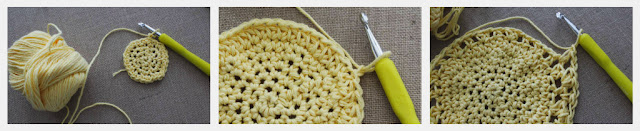
Caption: Work-in-progress close-up showing the increase rounds and stitch texture used to form the beret crown.
Step 1
CH 3
Connect the last ST to the very first ST.
CH 1
HDC into the created circle 6 times.
RND1: HDC [two times] into every ST, at the end of the Row connect by SS and CH 1. [You should have a total of 12 STS]
RND2: *HDC [two times] into the first ST, into the next ST, HDC [one time] into that ST..(You will alternate between the two techniques) at the end of the Row connect by SS and CH 1. [You should have a total of 24 STS]
RND3: *HDC [two times] into the first ST, into the next TWO STS, HDC [one time] into that ST..(You will alternate between the two techniques) at the end of the Row connect by SS and CH 1. [You should have a total of 24 STS]
RND4: *HDC [two times] into the first ST, into the next THREE STS, HDC [one time] into that ST..(You will alternate between the two techniques) at the end of the Row connect by SS and CH 1. [You should have a total of 48 STS]
RND5-RND6: HDC into all of the STS for both of the rows, at the end of each row, SS to connect and CH 1 to continue work.
RND7-RND8: HDC into the first ST, CH 1, Skip 1 ST, HDC into the following ST (after the skipped ST)..[*Repeat method until the end of the Row, SS to connect and CH 1.)
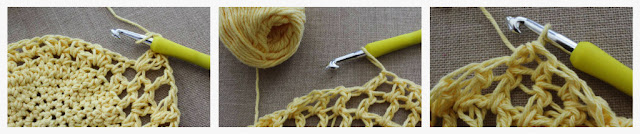
Caption: Open stitch rows creating an airy, breathable texture for the beret.
RND9-RND11: DC into the first ST, CH 1, Skip 1 ST, HDC into the following ST (after the skipped ST)..[*Repeat method until the end of the Row, SS to connect and CH 1.)
RND12: SC into all of the STS for both of the rows, at the end of each row, SS to connect and to complete work.
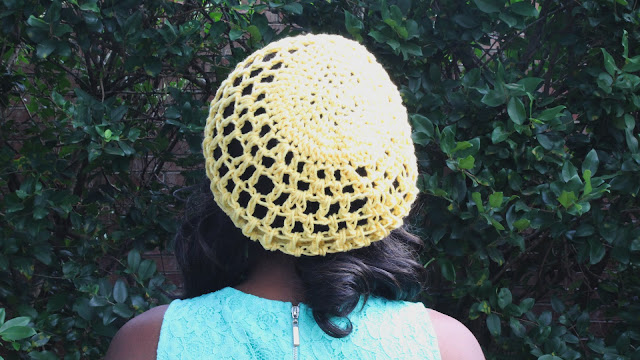
Caption: Top view highlighting the beret's crown shaping and finished stitch detail.
Finishing tips: Weave in all ends with the yarn needle and block lightly if desired to shape the beret. If you need a different size, add or subtract increase rounds at the beginning or adjust the number of rounds before the open-stitch section.