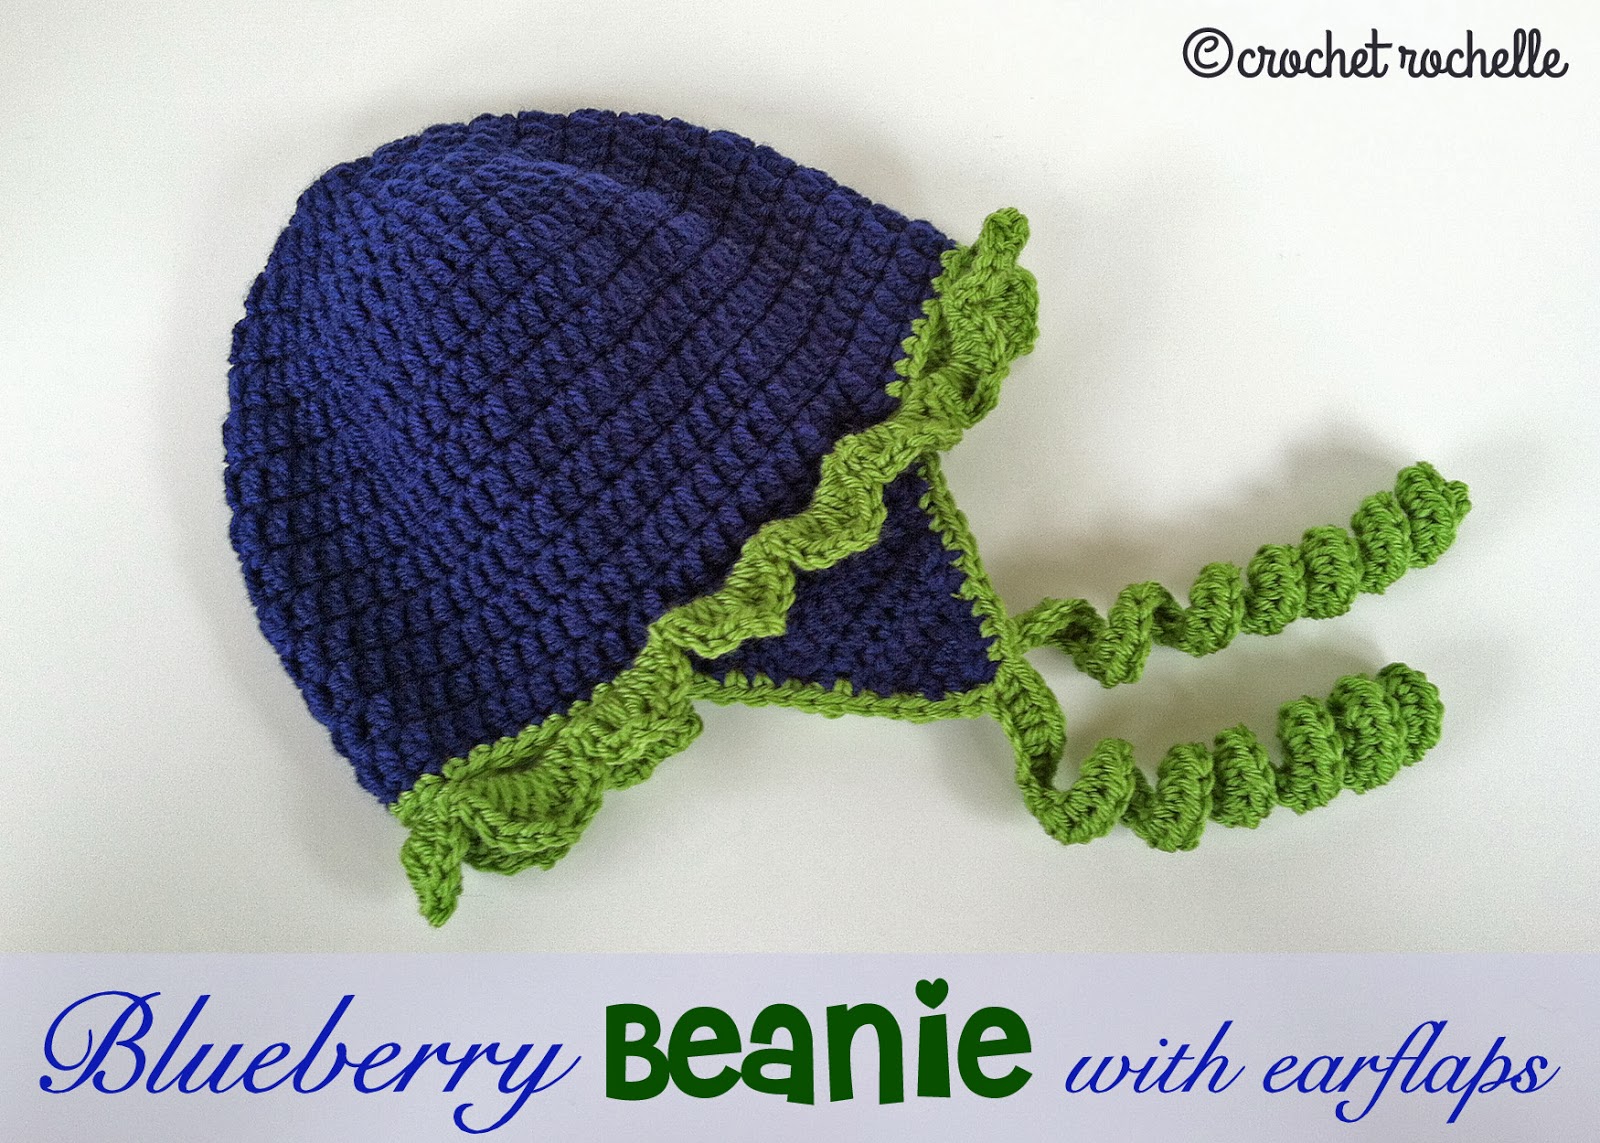
Crochet Blueberry Beanie Hat
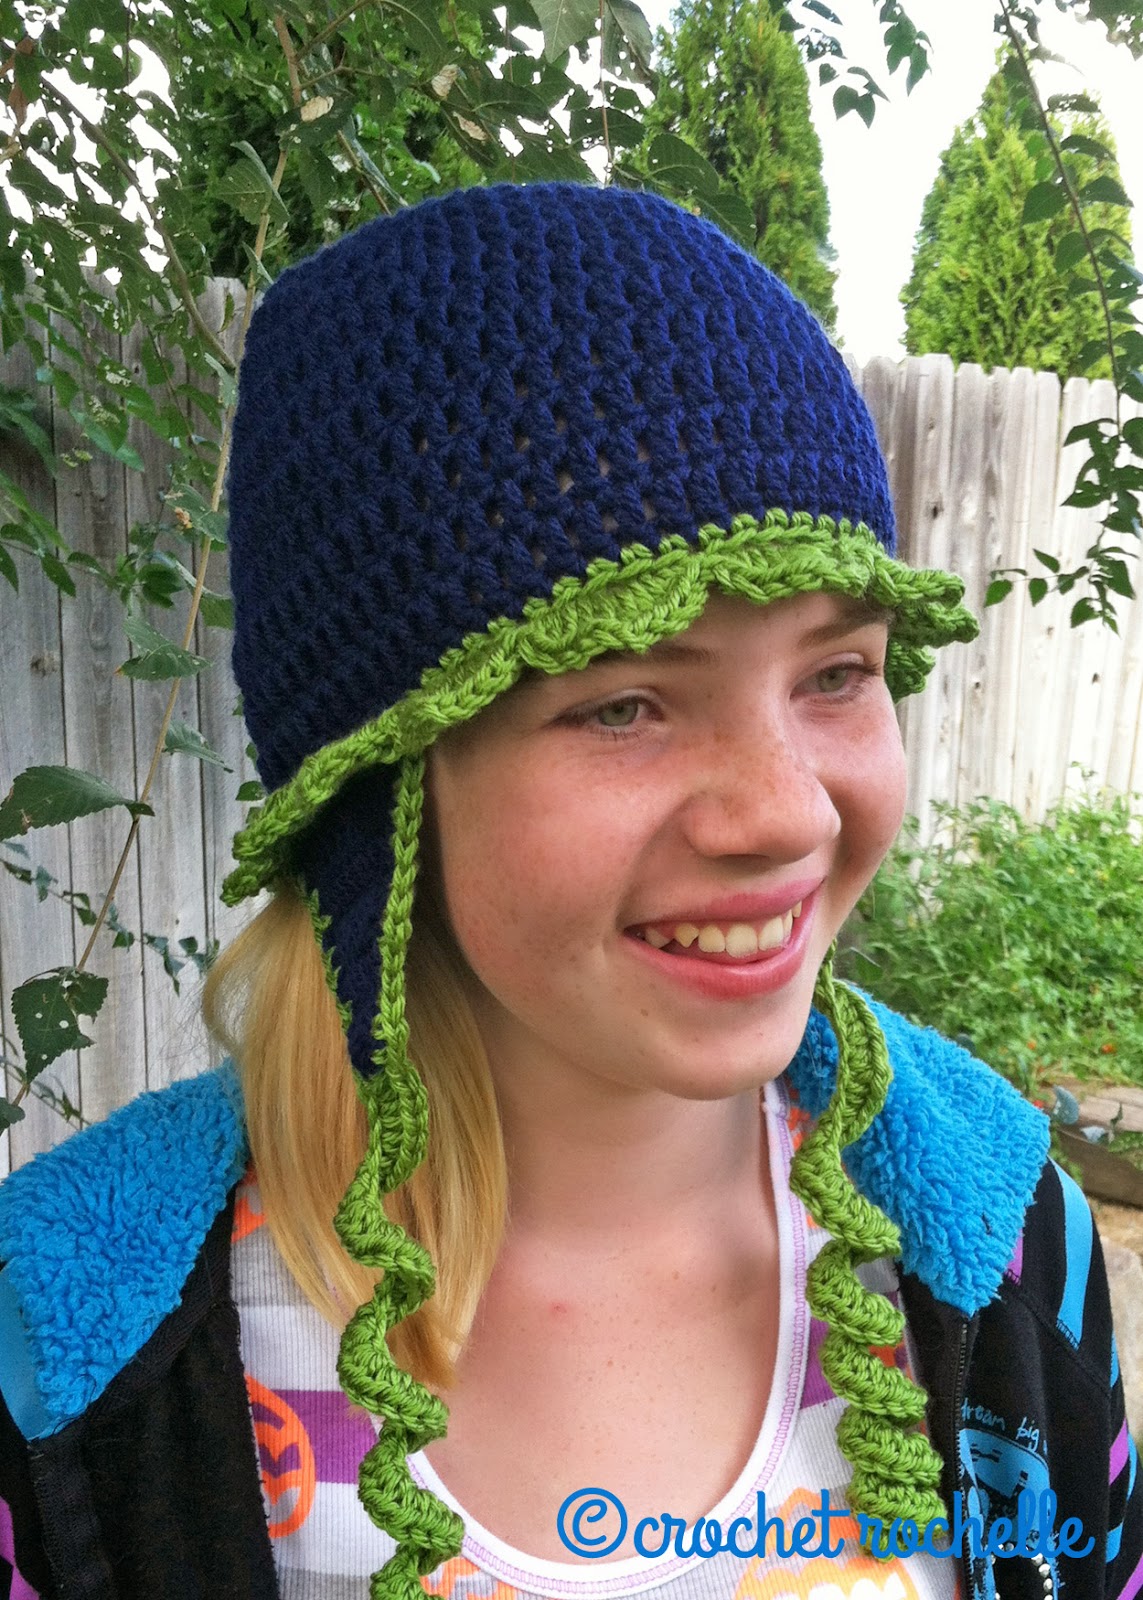
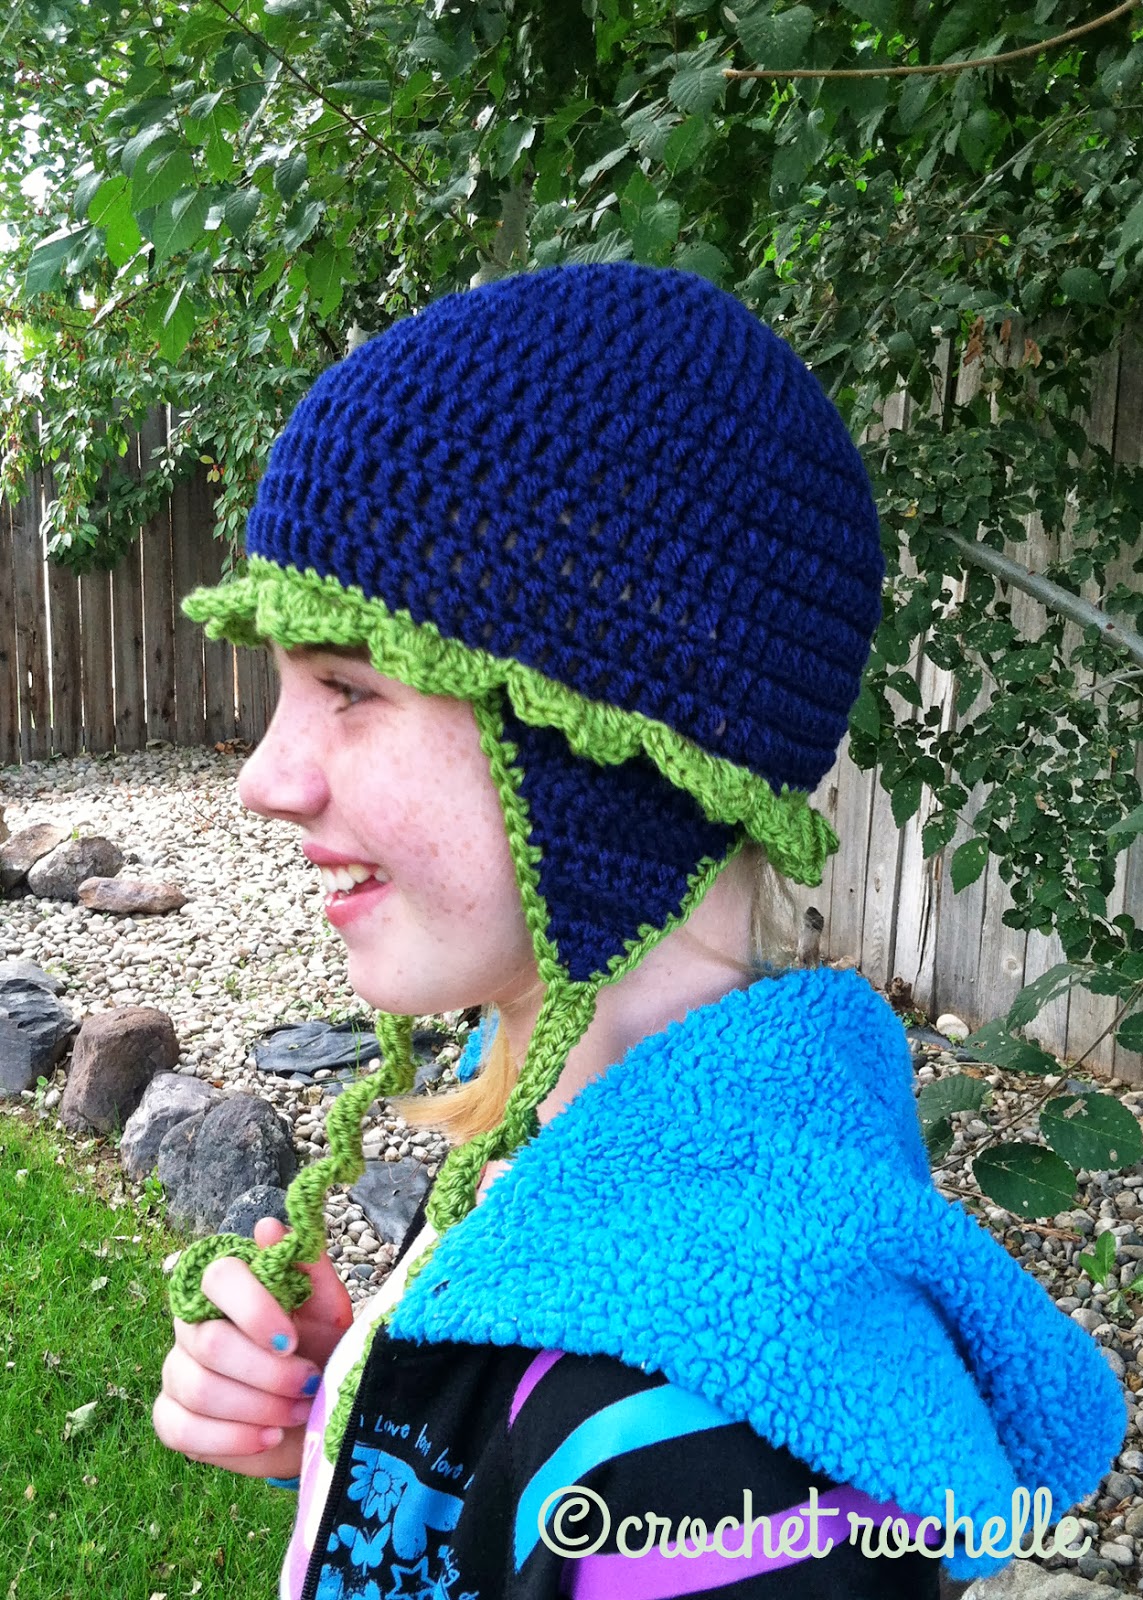
Introducing the Crochet Blueberry Beanie Hat, a stylish and cozy accessory that will add a touch of charm to your winter wardrobe. Handcrafted with love and attention to detail, this hat is perfect for those chilly days when you want to stay warm without compromising on style. The vibrant blueberry color adds a pop of color to any outfit, making it a versatile piece that can be dressed up or down. Whether you're heading out for a winter stroll, meeting friends for a coffee, or simply running errands, the Crochet Blueberry Beanie Hat is the perfect accessory to keep you looking stylish and feeling warm. Its timeless design and attention to detail make it a must-have addition to any fashion-forward individual's collection. So why settle for ordinary when you can stand out with this beautifully crafted Blueberry Beanie Hat?
Size: Preschool/Child
Skill Level: Easy
Materials:
Worsted weight yarn
Yarn/tapestry needle
Hook size: I/5.50mm
Key:
CH = chain
SC = single crochet
DC = double crochet
SL ST = slip stitch
JOIN = use a slip stitch to join to first stitch in round
CC = change color
RND = round
Gauge:
4 DC = 1" (length)
2 Rows = 1" (height)
Notes:
Start your first stitch of each round in the same space as your chain.
Join your round to the first HDC, not your chain.
Chains do not count as stitches in this pattern.
Instructions:
CC = Blue.
Rnd 1: Magic Ring, Chain 2, 10 DC in magic ring, join to first DC, ch 2
Rnd 2: 2 DC in each around, join to first DC. (20 DC)
Rnd 3: Ch 2, 2 DC in first stitch, DC in next, repeat around, join. (30 DC)
Rnd 4: Ch 2, 2 DC in first stitch, DC in next 2, repeat around, join. (40 DC)
Rnd 5: Ch 2, 2 DC in first stitch, DC in next 3, repeat around, join. (50 DC)
Rnd 6: Ch 2, 2 DC in first stitch, DC in next 4, repeat around, join. (60 DC)
Rnd 7: Ch 2, 2 DC in first stitch, DC in next 11, repeat around, join. (65 DC)
Rnd 8 – 14: Ch 2, DC in each stitch around, join.
Finish, weave ends for plain beanie.
Earflaps:
(Continue from Rnd 14)
Row 1: Ch 2, dc 12, turn. (12 DC)
Row 2: Ch 2, dc2tog, dc 8, dc2tog, turn. (10 DC)
Row 3: Ch 2, dc2tog, dc 6, dc2tog, turn. (8 DC)
Row 4: Ch 2, dc2tog, dc 4, dc2tog, turn. (6 DC)
Row 5: Ch 2, dc2tog, dc 2, dc2tog, turn. (4 DC)
Row 6: Ch 2, dc2tog twice. (2 DC)
Finish, weave end.
Count/skip 24 stitches around front of hat, join yarn to hat to begin second earflap. Repeat earflap pattern from above.
Finish Edge & Curly-Cues:
Find the back of hat.
CC = Green
Ch 1, SC around to first earflap, sc along edge of earflap to tip.
Ch 40. 2 SC in second chain from hook, 2 SC in each chain back to tip of earflap.
SL ST to earflap, sc along edge of earflap down to hat.
SC around to second earflap, SC along edge of earflap to tip.
Ch 40. 2 SC in second chain from hook, 2 SC in each chain back to tip of earflap.
SL ST to earflap, sc along edge of earflap down to hat.
SC around to first sc, join.
Finish, weave ends. Or continue to optional leaf edge.
Leaf Edge:
CC = Green
You'll work in the SC's from the finished edge until you reach the first row of the earflaps. Then you'll slip stitch and chain your way across to the other side according to the instructions below, creating your base for the leaves to go right over the top of your earflaps. (Clear as mud right? See the image above as an example.)
Rnd 1: Ch 6, skip 4 spaces, sl st to next sc from previous row, [Ch 5, skip 4 spaces, sl st to next sc] repeat around, join to 1st ch of round.
Rnd 2: Ch 1, [sc, hdc, dc 3, ch2, dc 3, hdc, sc] in each ch 4 space around, join to 1st ch of round. (12 leaves)
Finish, weave ends