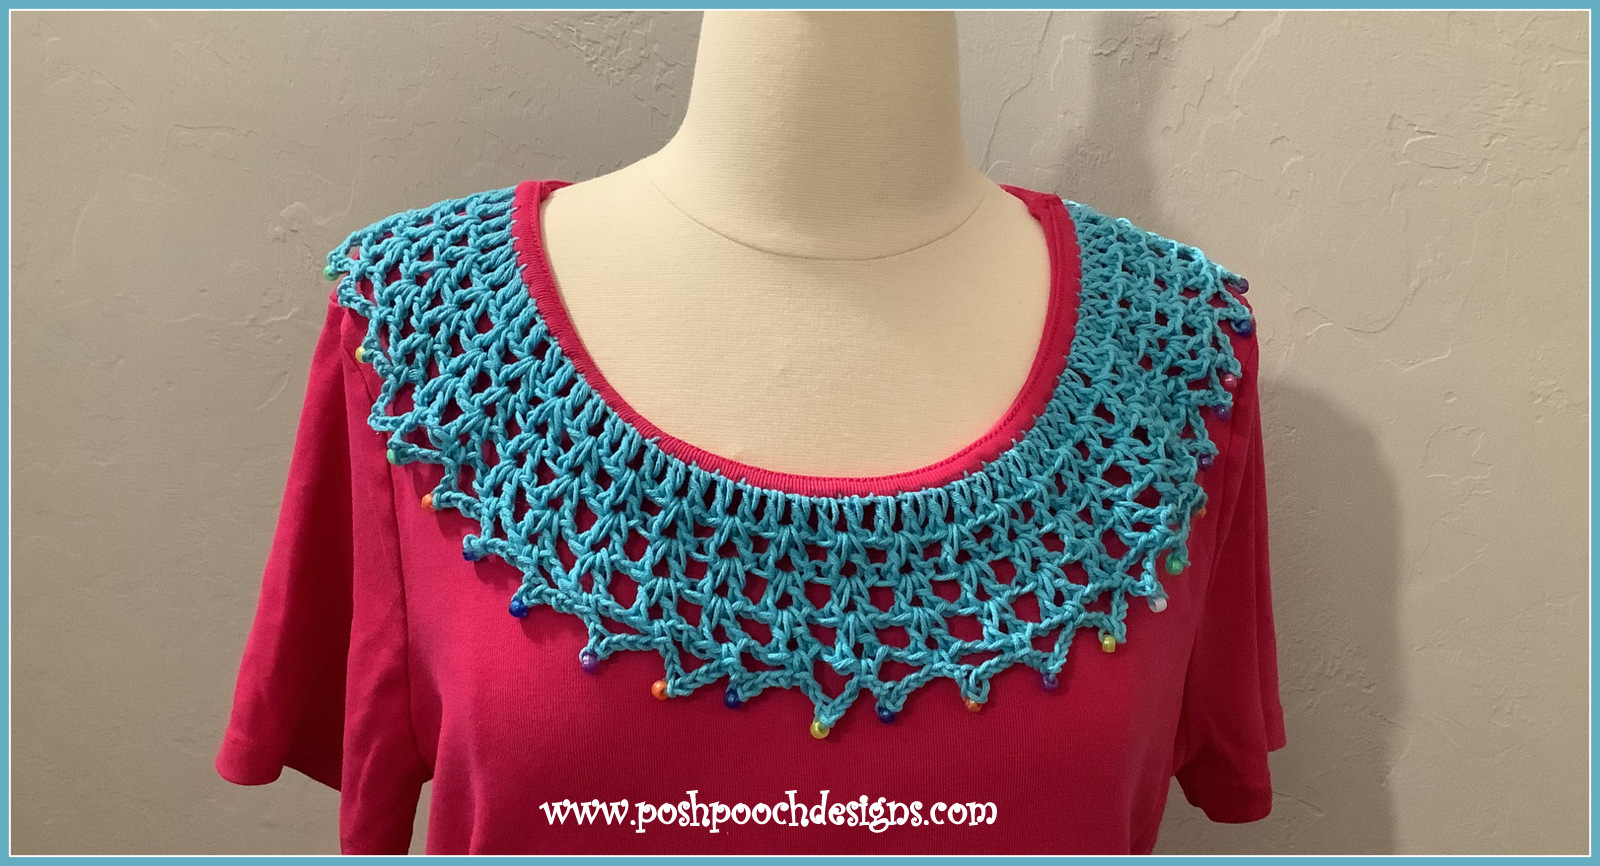
How To Crochet A Beaded Collar To A T Shirt
Transform your plain t-shirt into a fashion statement by adding a touch of elegance with a crochet beaded collar. This simple DIY project will instantly elevate your outfit and give it a unique and personalized look. With just a few materials and some basic crochet skills, you can create a stunning accessory that will make heads turn. This creative project allows you to unleash your inner fashion designer and add a touch of sophistication to your everyday wardrobe. By combining the art of crochet with the elegance of beads, you can create a one-of-a-kind accessory that will make your t-shirt look like a high-end designer piece.
Skill:Easy To Moderate
Materials:
Crochet Hook: H/ 5 mm
Yarn — Light (3) Cotton/ Yarn bee Sparkle – 3- 4 oz. depending on size of T shirt
T Shirt — tank top or shirt of choice
Small pony beads – 30 or so
Yarn Needle – A needle that will fit the beads chosen, and weave in ends
Ruler / Tape Measure
Stitches:
Chain (ch)
Single Crochet (sc)
Double Crochet (dc)
V Stitch ( Vst)
Space (sp)
Skip (sk)
Special Stitch:Blanket Stitch for adding the trim
Size: -Any Size you want, from child to adult
Notes:
Ch1 Does not count as a st
Ch3 Counts as a dc
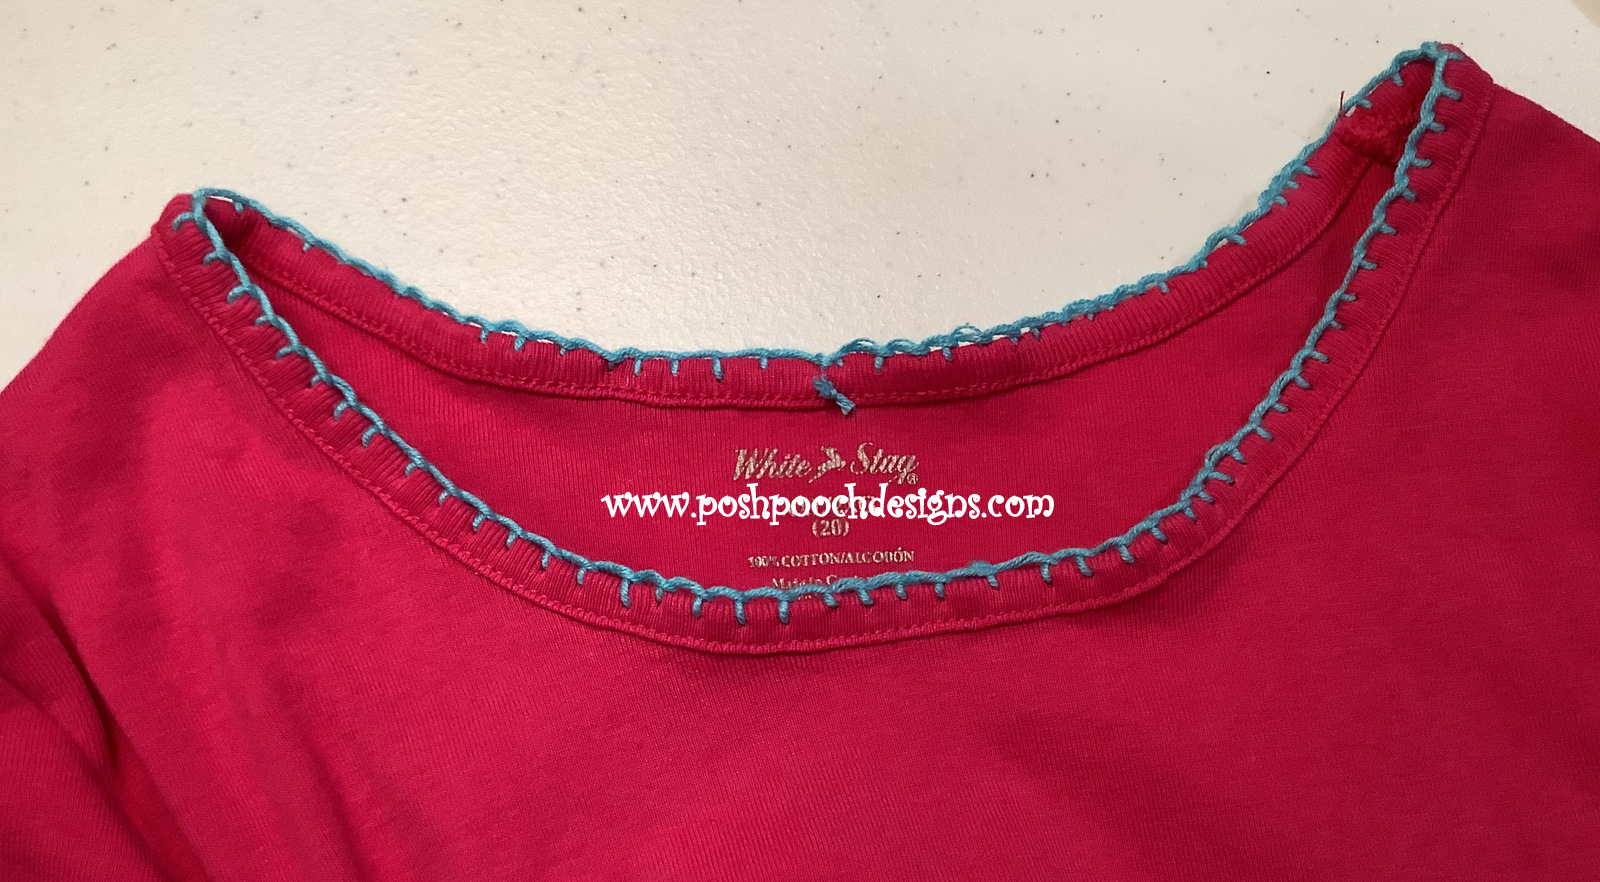
R: 1 –Starting At The back of the T Shirt,
Thread your need with an 18 inch piece of yarn.
Tie a small knot in the end of the yarn.
Slip the needle in the at the inside hem seem,
through to the top of the edge.
We will place a stitch every ¼ inch
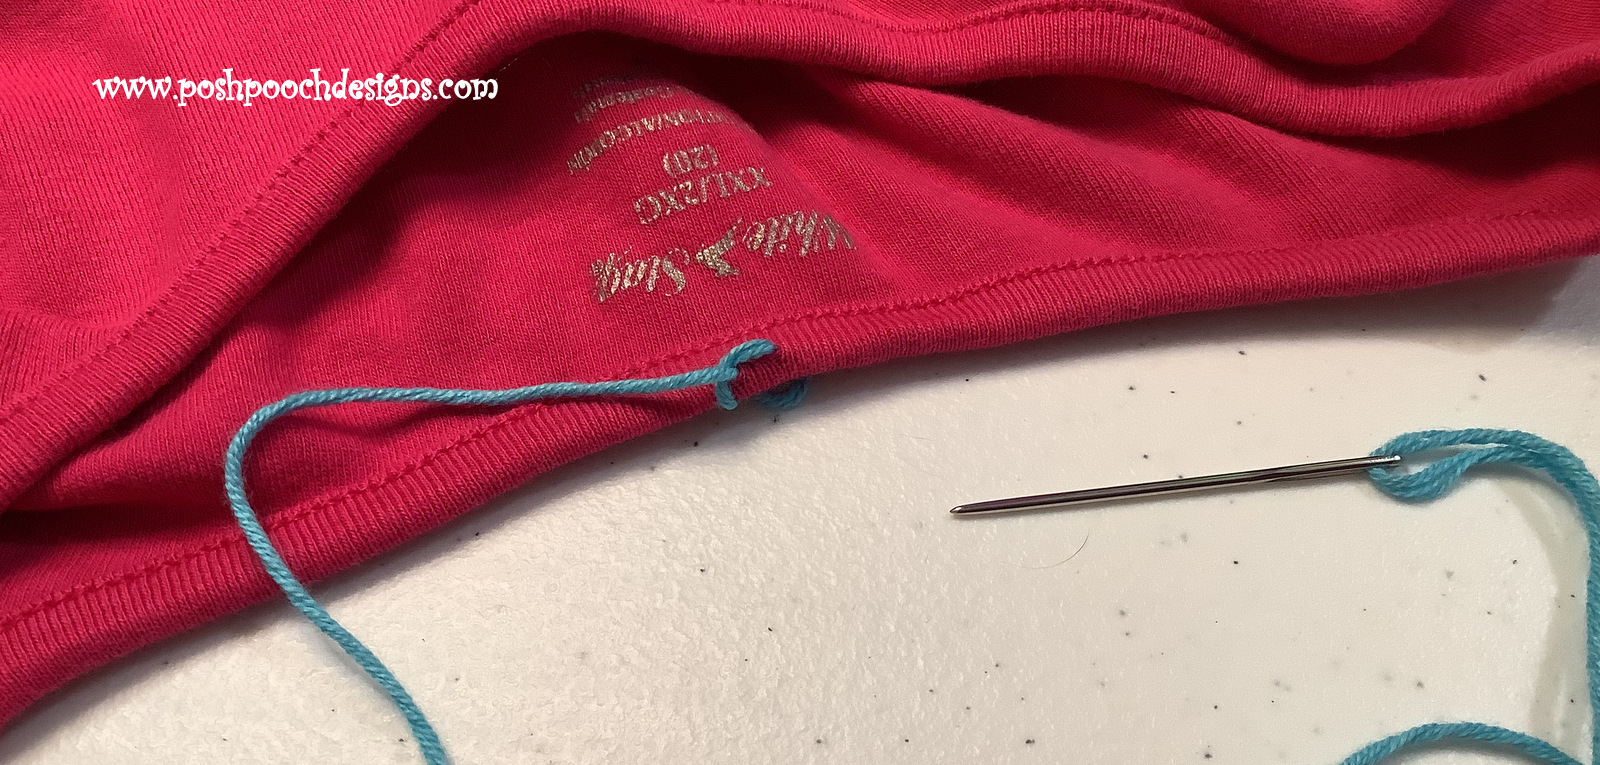
Push the needle through the end of the shirt hem,
at the next1/4 inch, loop the yarn under the needle,
to form a loop, then pull gently.
Continue to use your ruler to measure,
and sew a stitch each ¼ inch working about the neck of the T shirt.
Do not pull your loops too tight.
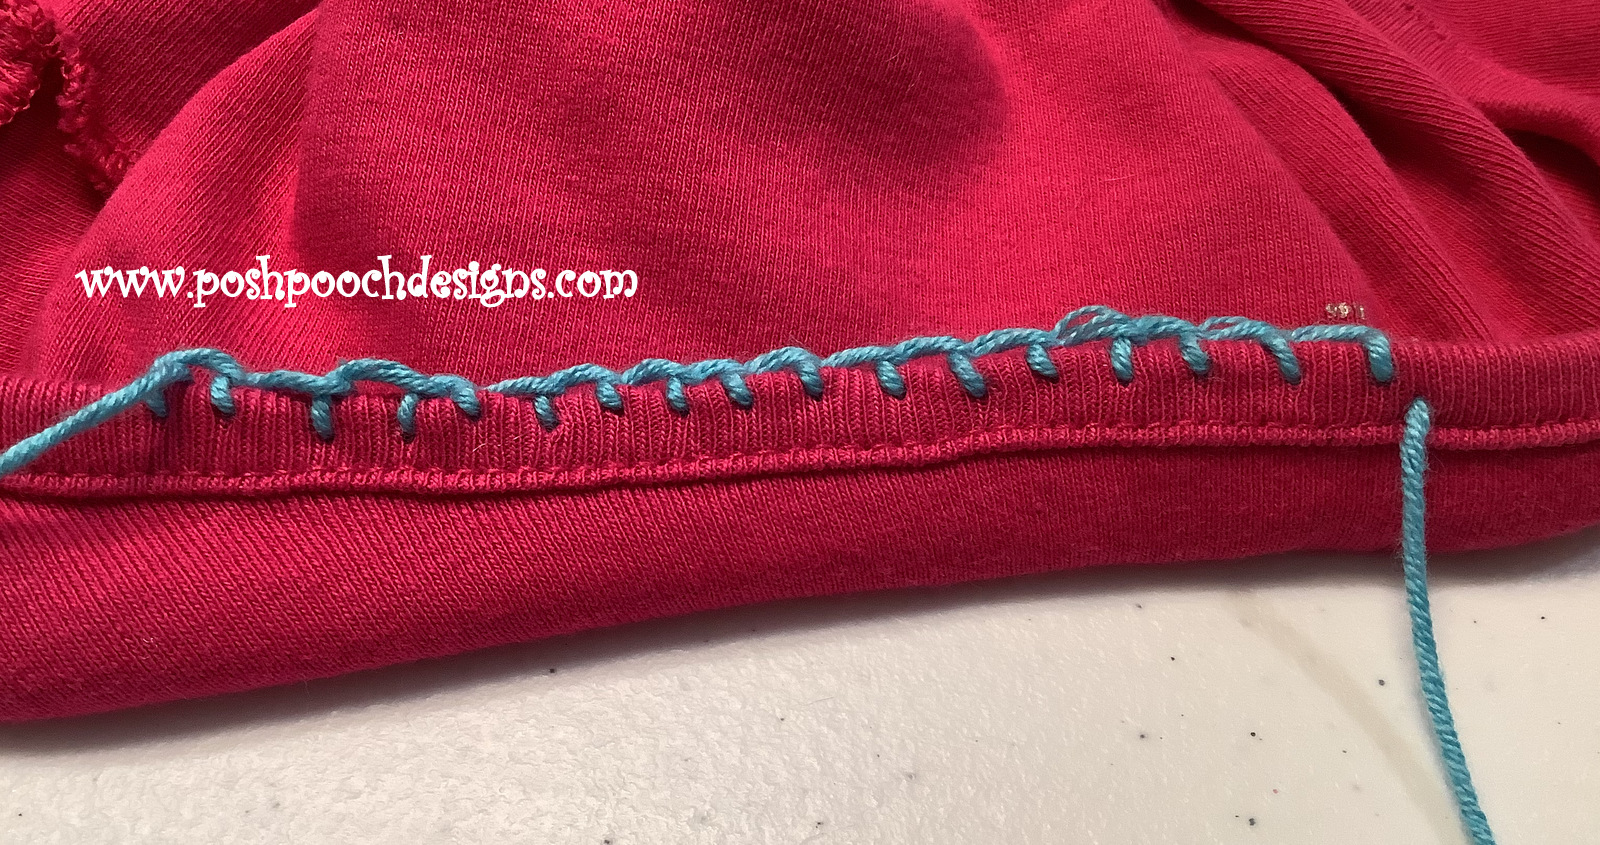
The loops made by this stitch row will be
where we place out crochet stitches.
You May need to add more yarn depending on the size of the T shirt.
Continue around and join to the 1st loop. Tie off and secure the yarn.
The amount of “loops” does not matter
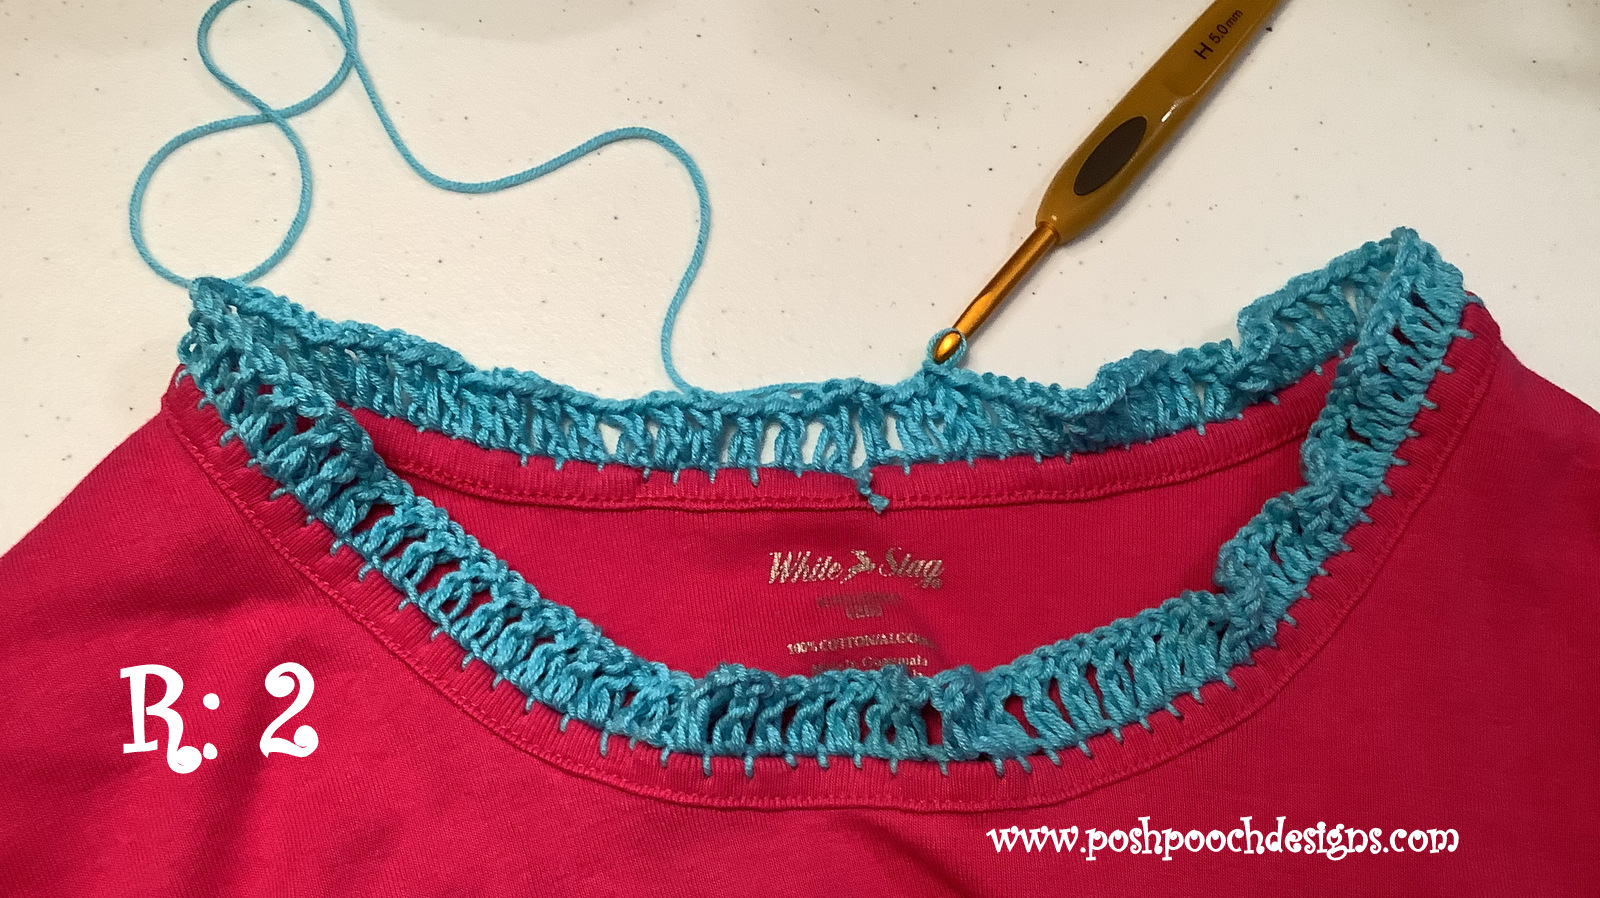
R: 2 – Join yarn To 1st loop, with a slst, ch 4,
dc, ch1 in each of the loops around, join to the 3rdch of the ch4 with a slst,
slst in the next dc, slst in the ch1 sp,
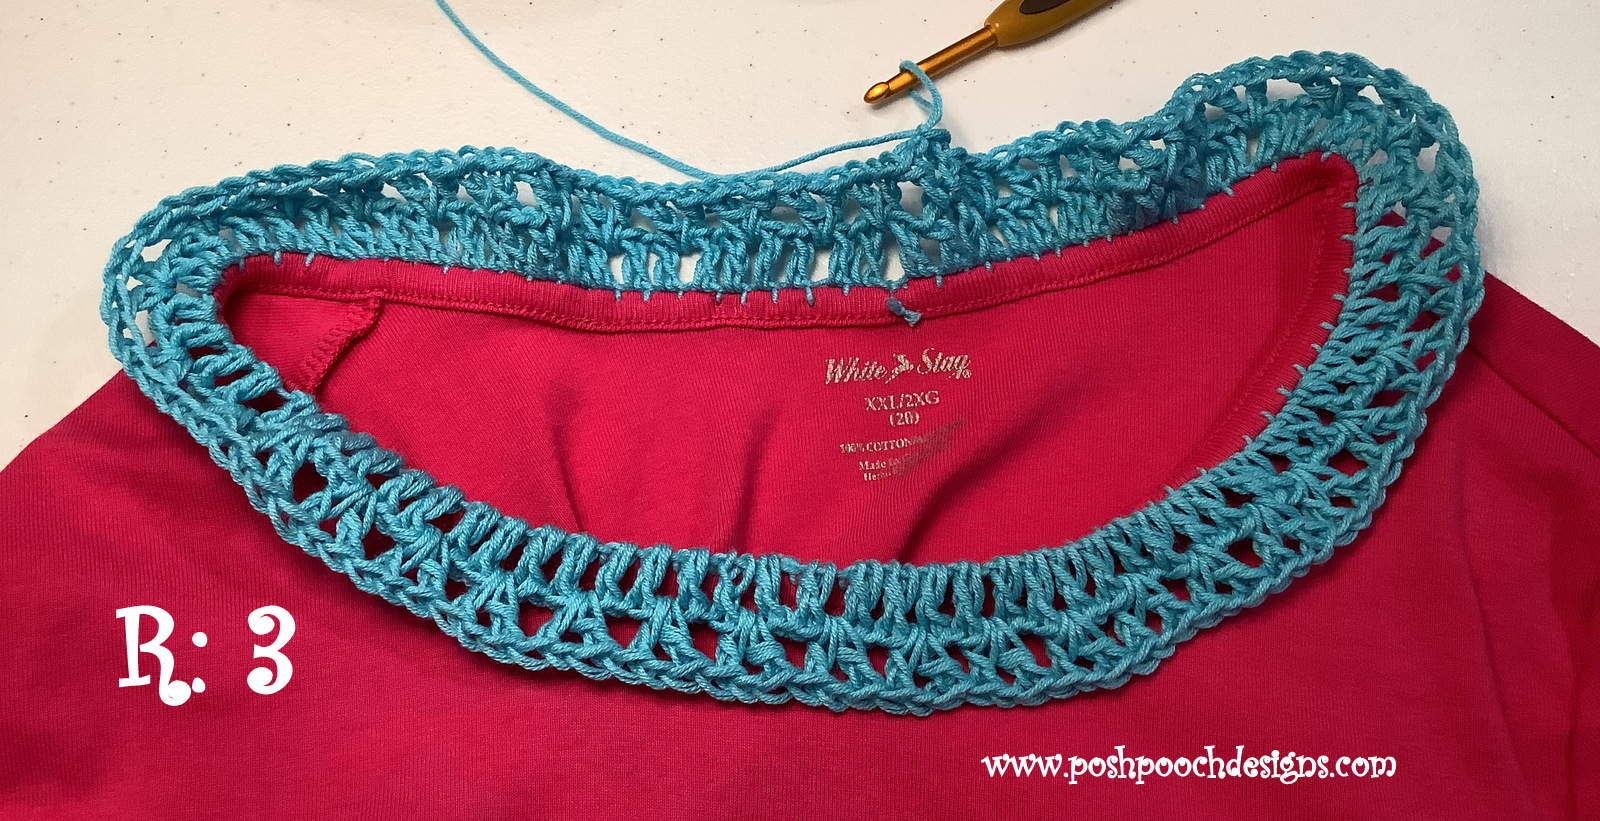
R: 3 – Ch 4, dc in the 1st ch1 sp, sk the next ch1 sp,
*V st in next ch 1 sp around, sk the next ch1 sp*
Repeat From * to * around,
join to the ch3 of the ch4 with a slst,
Slst in the next dc, slst in the ch1 sp
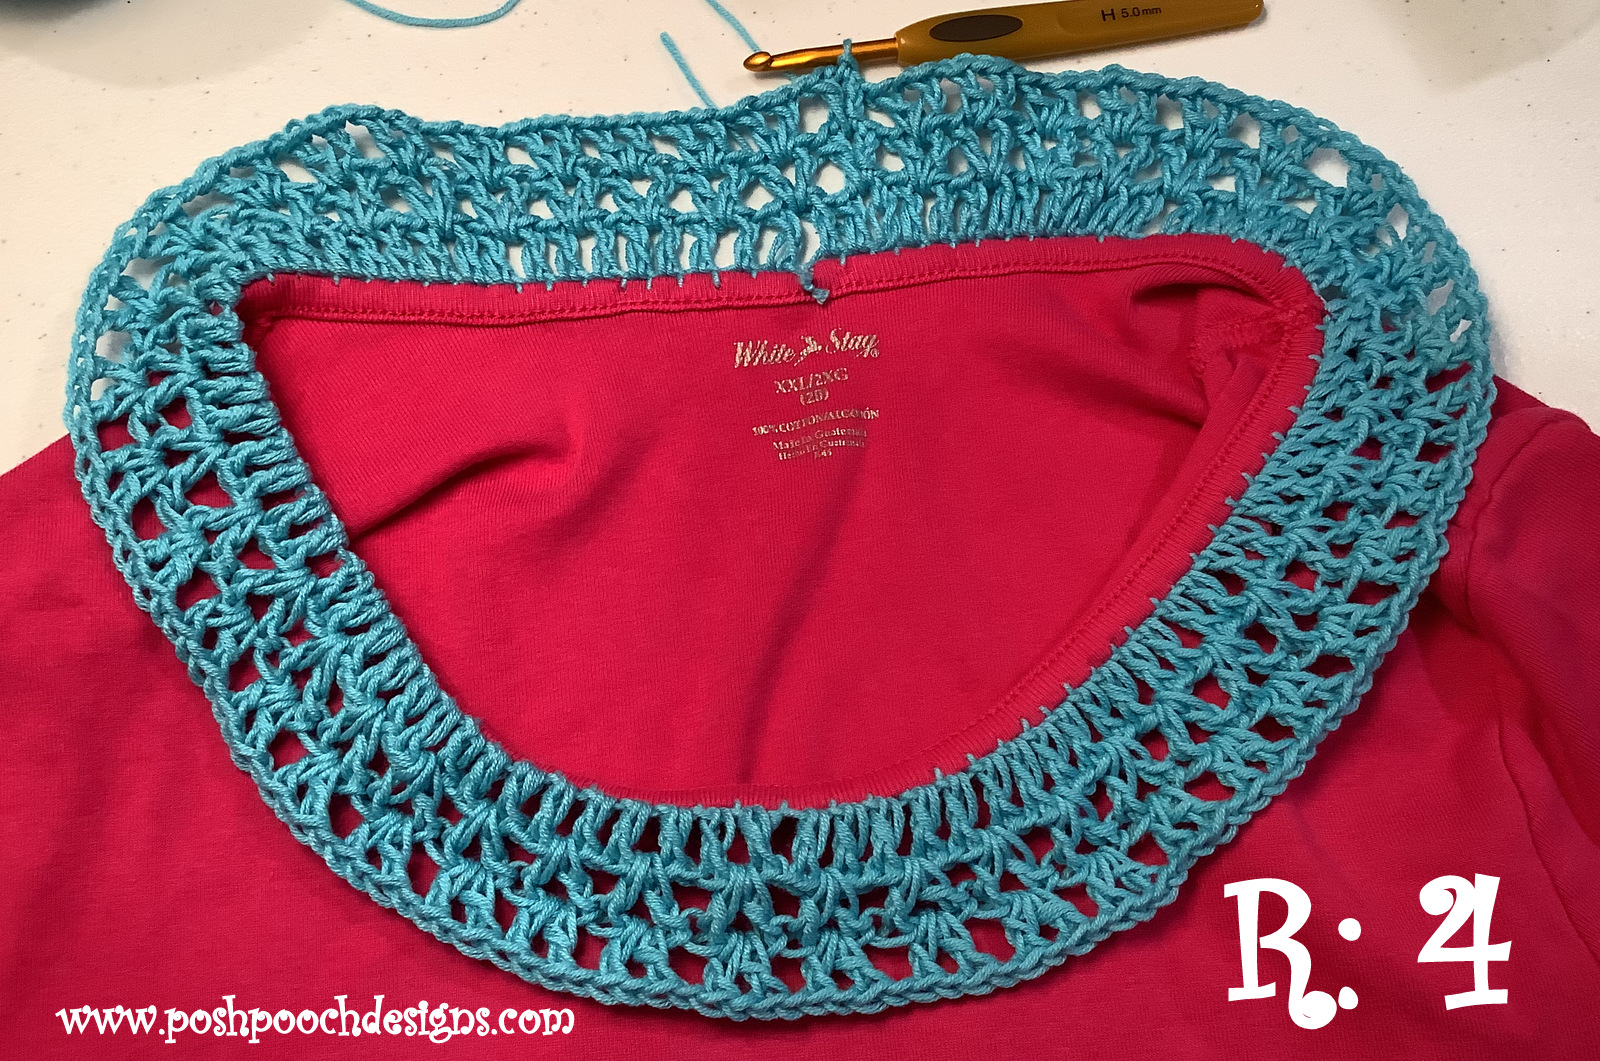
R: 4 – Ch 4, dc in the 1st ch1 sp, ch1
*V st in the next ch 1 sp, ch1*
Repeat From * to * around, join to the ch3 of the ch4 with a slst,
Slst in the next dc, slst in the ch1 sp
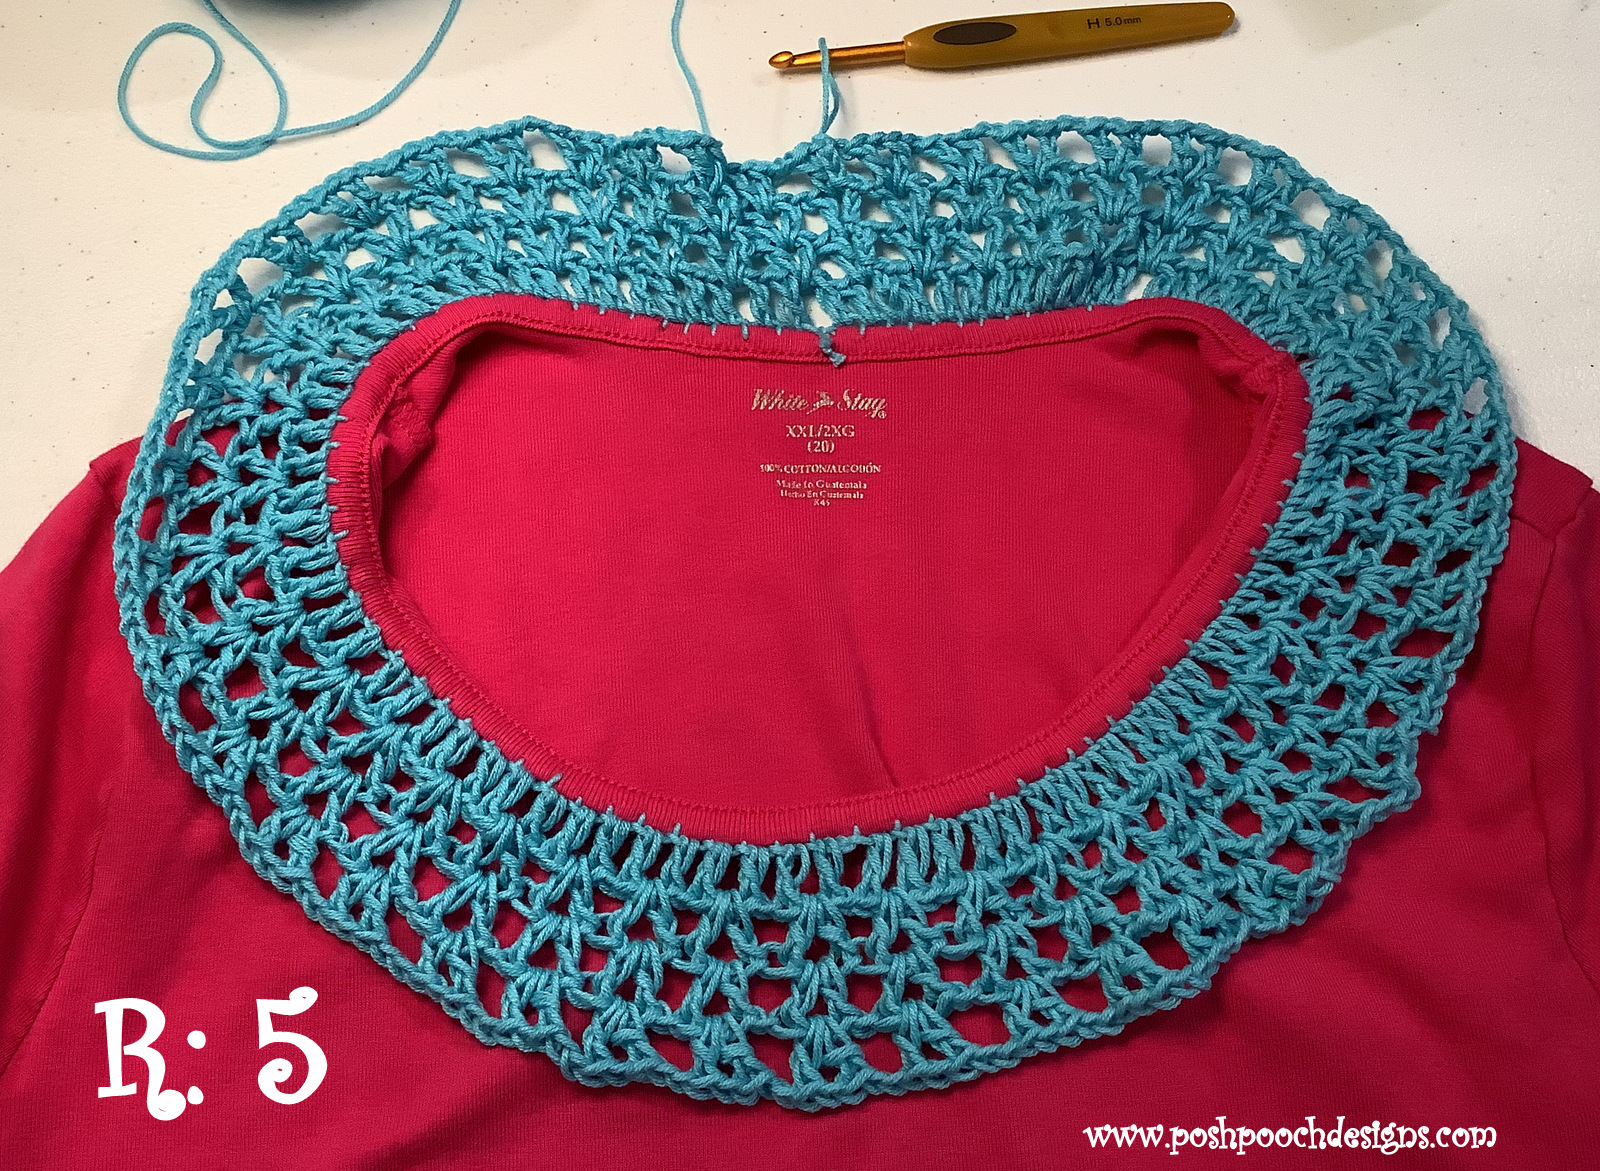
R: 5 — Ch 4, dc in the 1st ch1 sp, ch2
*V st in the next ch 1 sp, ch2*
Repeat From * to * around, join to the ch3 of the ch4 with a slst,
Slst in the next dc, slst in the ch1 sp, tie off weave in Your ends.
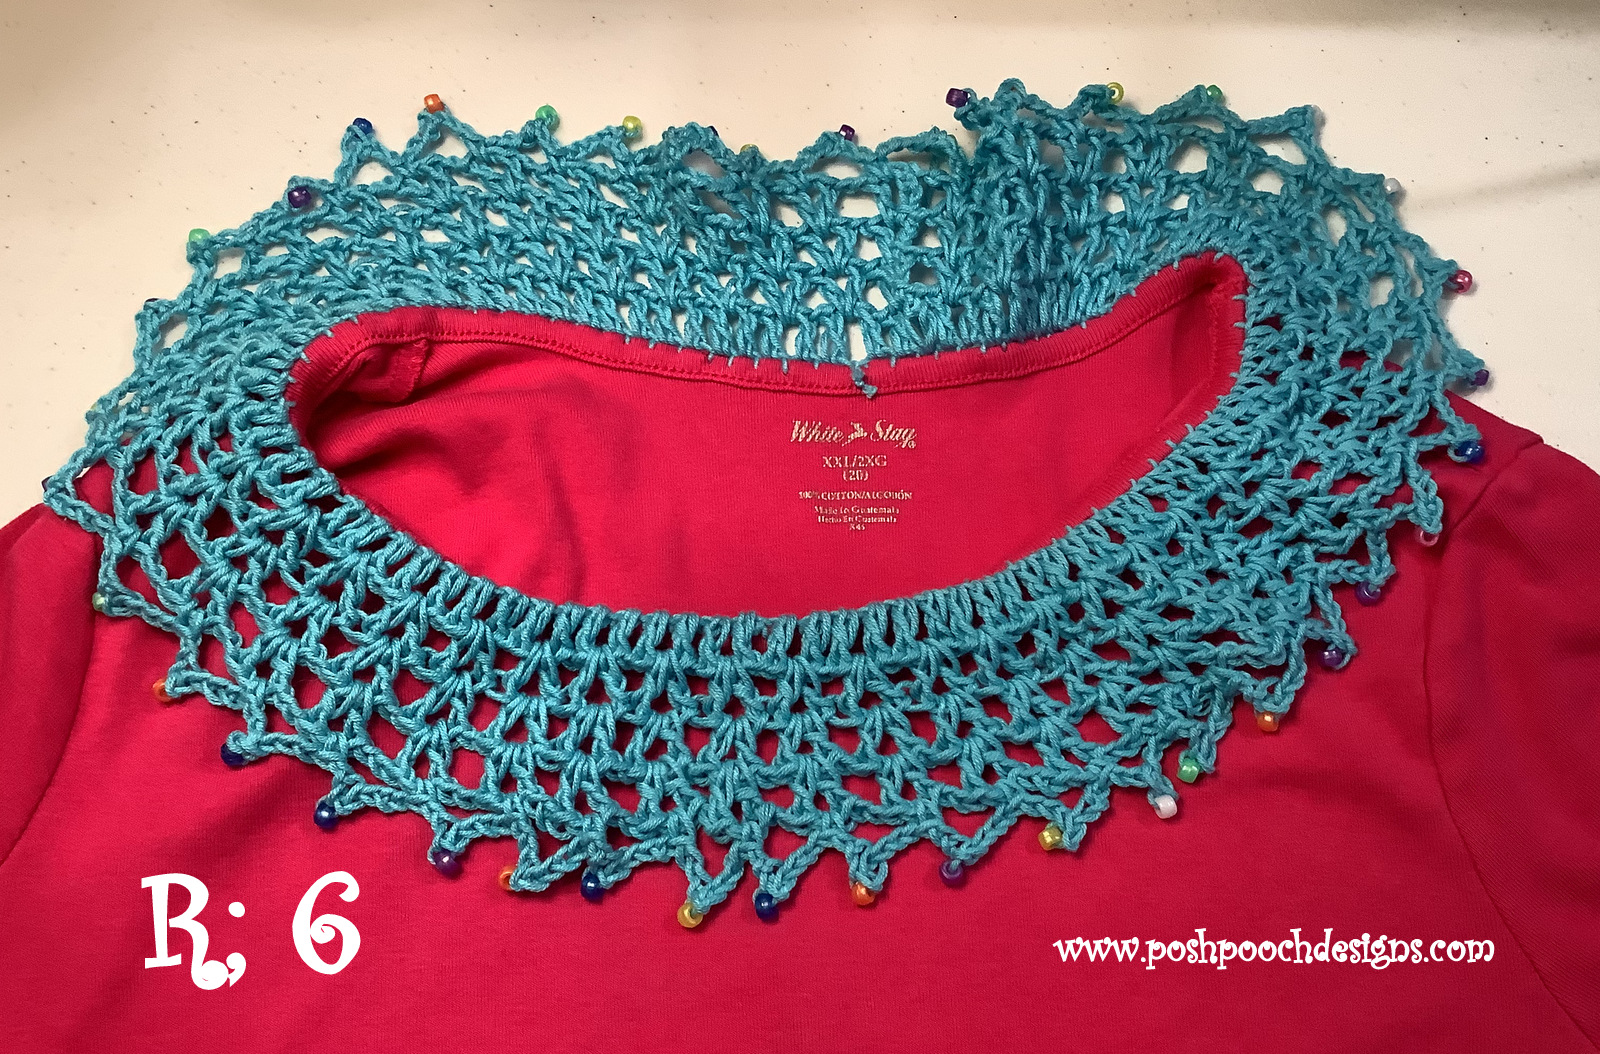
R: 6 – Thread the working yarn onto the needle, Thread on a bead for every
V st, join the yarn to the ch1 sp of the 1st Vst,
*ch3, slide 1 bead forward, ch1, slst in the ch before the bead, ch 3,
Sc in the next ch1 sp*
Repeat From * to * around, sc in the 1st ch1 sp, were we began Row 5,
tie off weave I your ends.