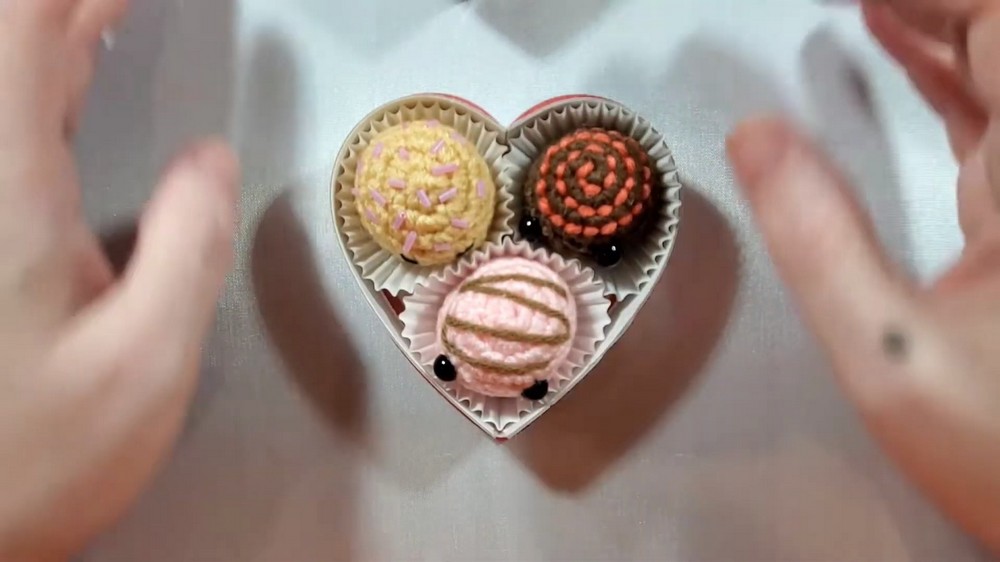
Crochet Candy Amigurumi
Crochet Candy Amigurumi is a delightful and fun hobby that brings colorful charm to your world! Creating these sweet treats out of yarn is not only relaxing but also a creative way to spread joy. The possibilities are endless when it comes to crochet candy amigurumi. So, grab your crochet hook and let's sweeten up the day with this magical craft that is sure to put a smile on everyone's face!

Supplies Needed
- Yarn: White Red Heart Super Saver acrylic yarn (or any preferred color)
- Crochet Hook: 3.25mm
Additional Tools:
- Scissors
- Yarn needle
- Safety eyes (optional)
- Poly-fill stuffing
- Optional: Glue (E6000), toothpick for gluing decorations, sparkles/beads for decor
Abbreviations
- MR: Magic Ring
- SC: Single Crochet
- INC: Increase (2 SC in one stitch)
- DEC: Decrease (Invisible Decrease — 2 front loops together)
- BLO:** Back Loop Only
Step-by-Step Instructions
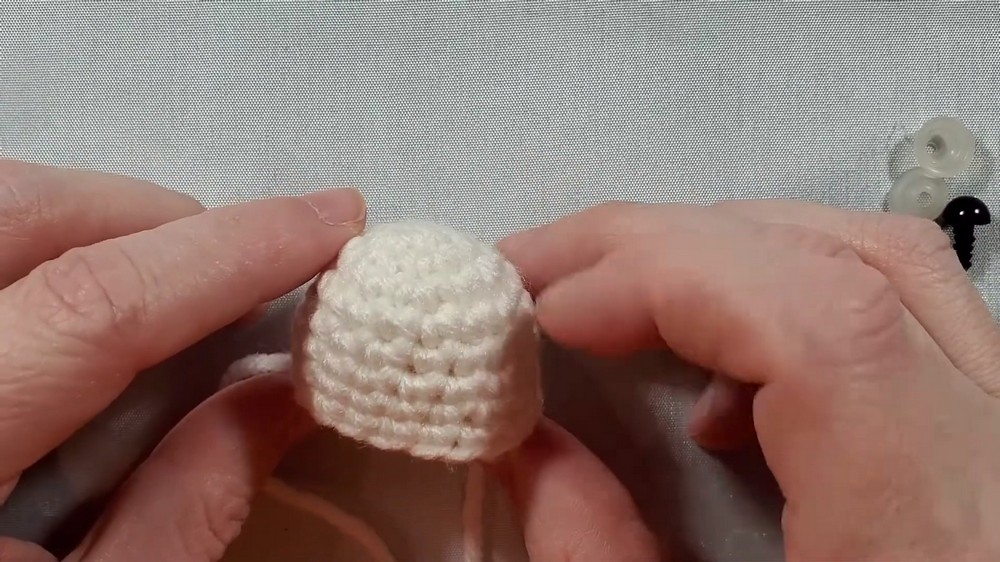
Top Dome of Candy
Round 1: Create a MR. SC 6 inside the ring. Tighten the loop to close. (6 stitches)
[Tip: To make the MR: Wrap yarn around index and middle finger, cross yarn at the top, insert hook under the loop, pull through, and chain one.]
Round 2: INC in each stitch around. 2 SC per stitch. (12 stitches total)
Round 3: INC, SC Repeat around. (18 stitches total)
Rounds 4-8: SC in each stitch around. (18 stitches total)
[Note: This step involves crocheting 5 rounds without increases or decreases. Take your time to ensure even stitches.]
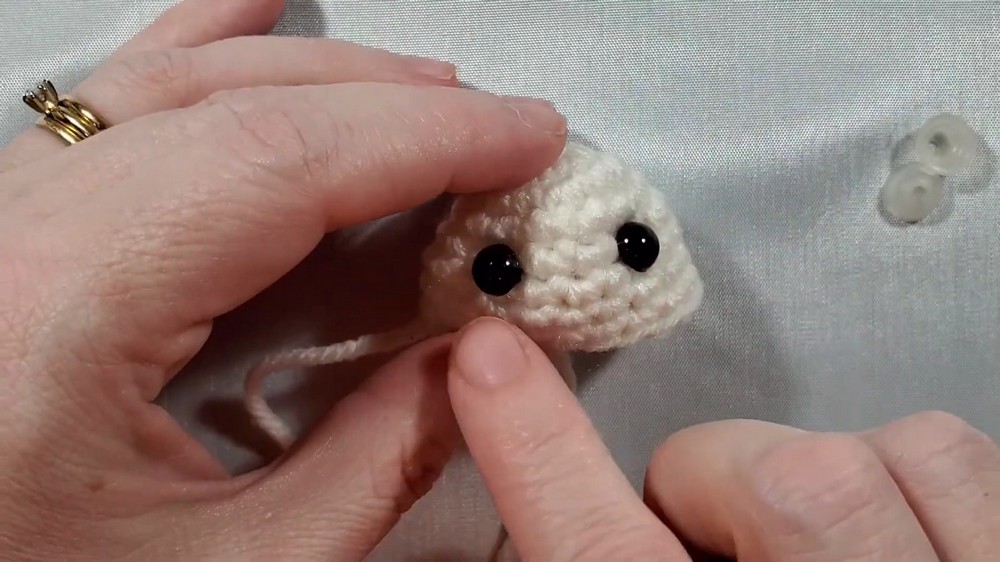
Optional Safety Eyes:
Place safety eyes between Rounds 5-6.
Insert first eye, count 3 stitches over, and insert the second. Secure with backs.
Add blush or decorative elements now if desired
Flat Bottom of Candy
Round 9: SC in BLO of each stitch around. (18 stitches total)
[Note: Working in the BLO creates a flat base.]
Round 10: DEC, SC Repeat around. (12 stitches total)
Add stuffing here.
Do not overstuff—aim to create a dome shape with a flat bottom. Ensure the stuffing fills the area around the safety eyes.
Round 11: DEC in every stitch around. (6 stitches total)
Slip stitch into the next stitch to finish.
Cut a small length of yarn for sewing.
Closing the Candy
Thread a yarn needle with the tail.
Sew the opening shut by working inside-out through the top/front loops only of the remaining stitches.
Pull tight to cinch the hole closed.
Flatten the bottom by inserting the yarn needle through the center of the candy (bottom) and pull up through the top. This helps shape the flat base.
Weave in the tail through several stitches to secure. Trim off excess yarn
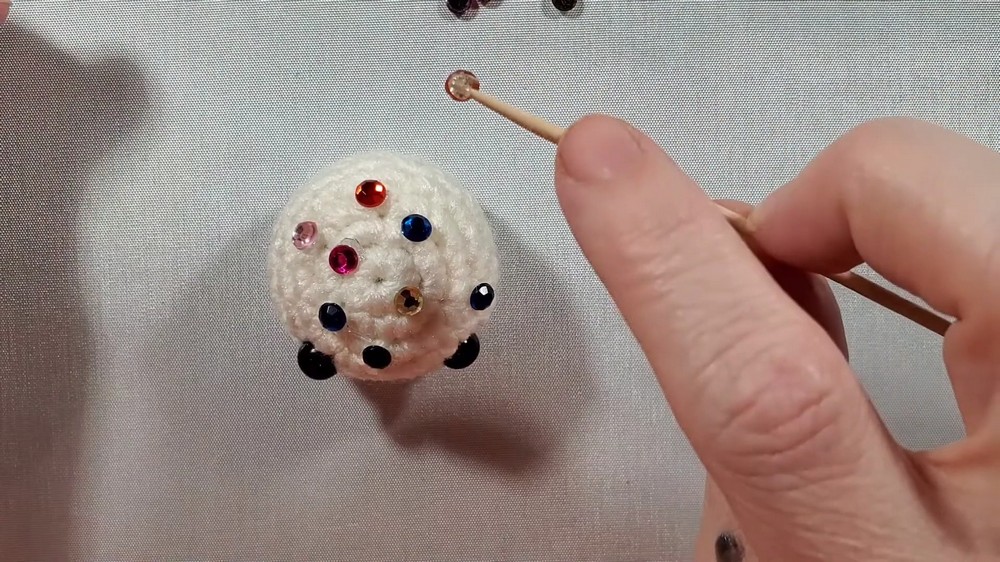
Decorating the Candy
You can now decorate your candy with sparkles, beads, or other embellishments:
Option 1: Use E6000 glue with a toothpick to apply small gemstones or seed beads randomly across the top.
Option 2: Add swirl designs using separate yarn scraps (e.g., by gluing or stitching).
Option 3: Experiment with different facial expressions using yarn or fabric paint.
Option 4: Adjust the hook size for smaller candies to fit specific containers.
Quick Notes
If making multiple candies for a gift, Dollar Tree boxes work well for organizing and gifting.
Personalize each piece by adjusting eye placement, colors, and designs for added charm.