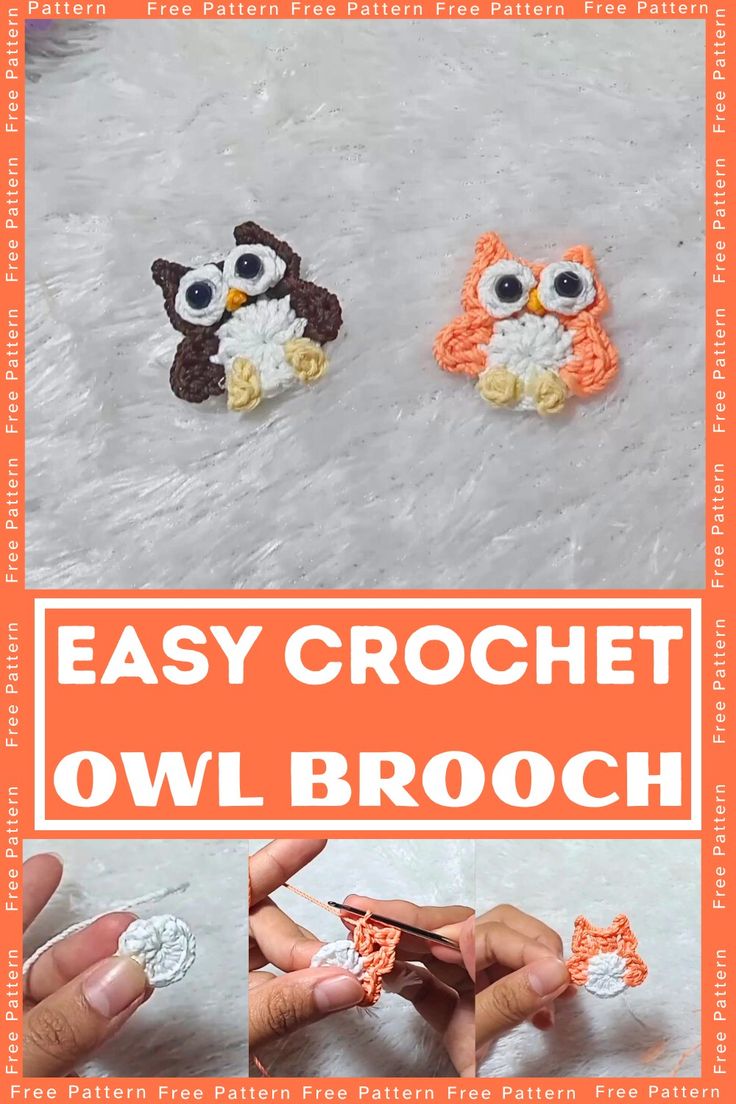
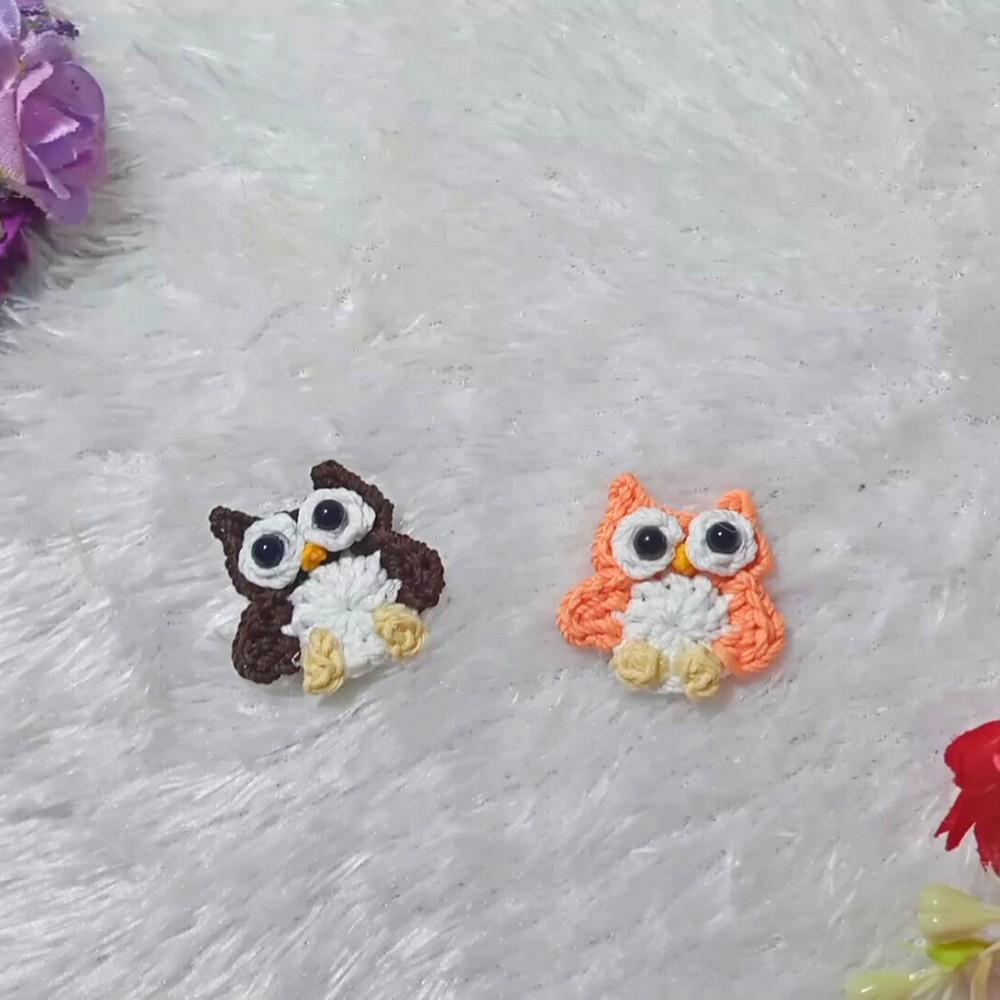
Crochet Owl Brooch
The crochet owl brooch is a charming and whimsical accessory that adds a touch of cuteness to any outfit! With its intricate details and vibrant colors, this little owl is sure to catch everyone's eye. Whether pinned on a jacket, hat, or bag, this handmade creation is a lovely way to show off your personal style and love for all things crafty. It's a perfect way to bring a smile to your face and to those around you, making it a fun and delightful addition to your accessory collection.
Materials and Preparation
Here’s what you’ll need to make the adorable crochet owl brooch:
- Yarn: Poly Cherry thread and Balinese cotton (or yarn weights suitable for small crochet projects).
- Crochet Hook: Appropriate hook size for the chosen yarn
Tools:
- Hot glue
- Brooch pin backing
- Tapestry needle
- Scissors
- Two doll eye beads
- Matches (optional, for finishing edges).
Abbreviations and Notes
Abbreviations:
- MR – Magic Ring
- CH – Chain
- DC – Double Crochet
- HDC – Half Double Crochet
- SC – Single Crochet
- SL ST – Slip Stitch
Notes:
This pattern uses beginner crochet stitches but involves frequent color changes.
When switching yarn colors, ensure a clean break and weave in the loose ends for a polished finish.
Watch for proper placement of stitches, as owl details rely on symmetry for a recognizable shape.
Gauge, Approximate Size, and Pattern Notes
Gauge: No gauge swatch is needed for this small project, but aim for even tension to achieve a neat finish.
Approximate Size: The finished brooch is small enough to fit in the palm of your hand, about 2-3 inches wide.
Special Techniques: Master the Magic Ring technique to create tight circles without gaps.
Step-by-Step Pattern
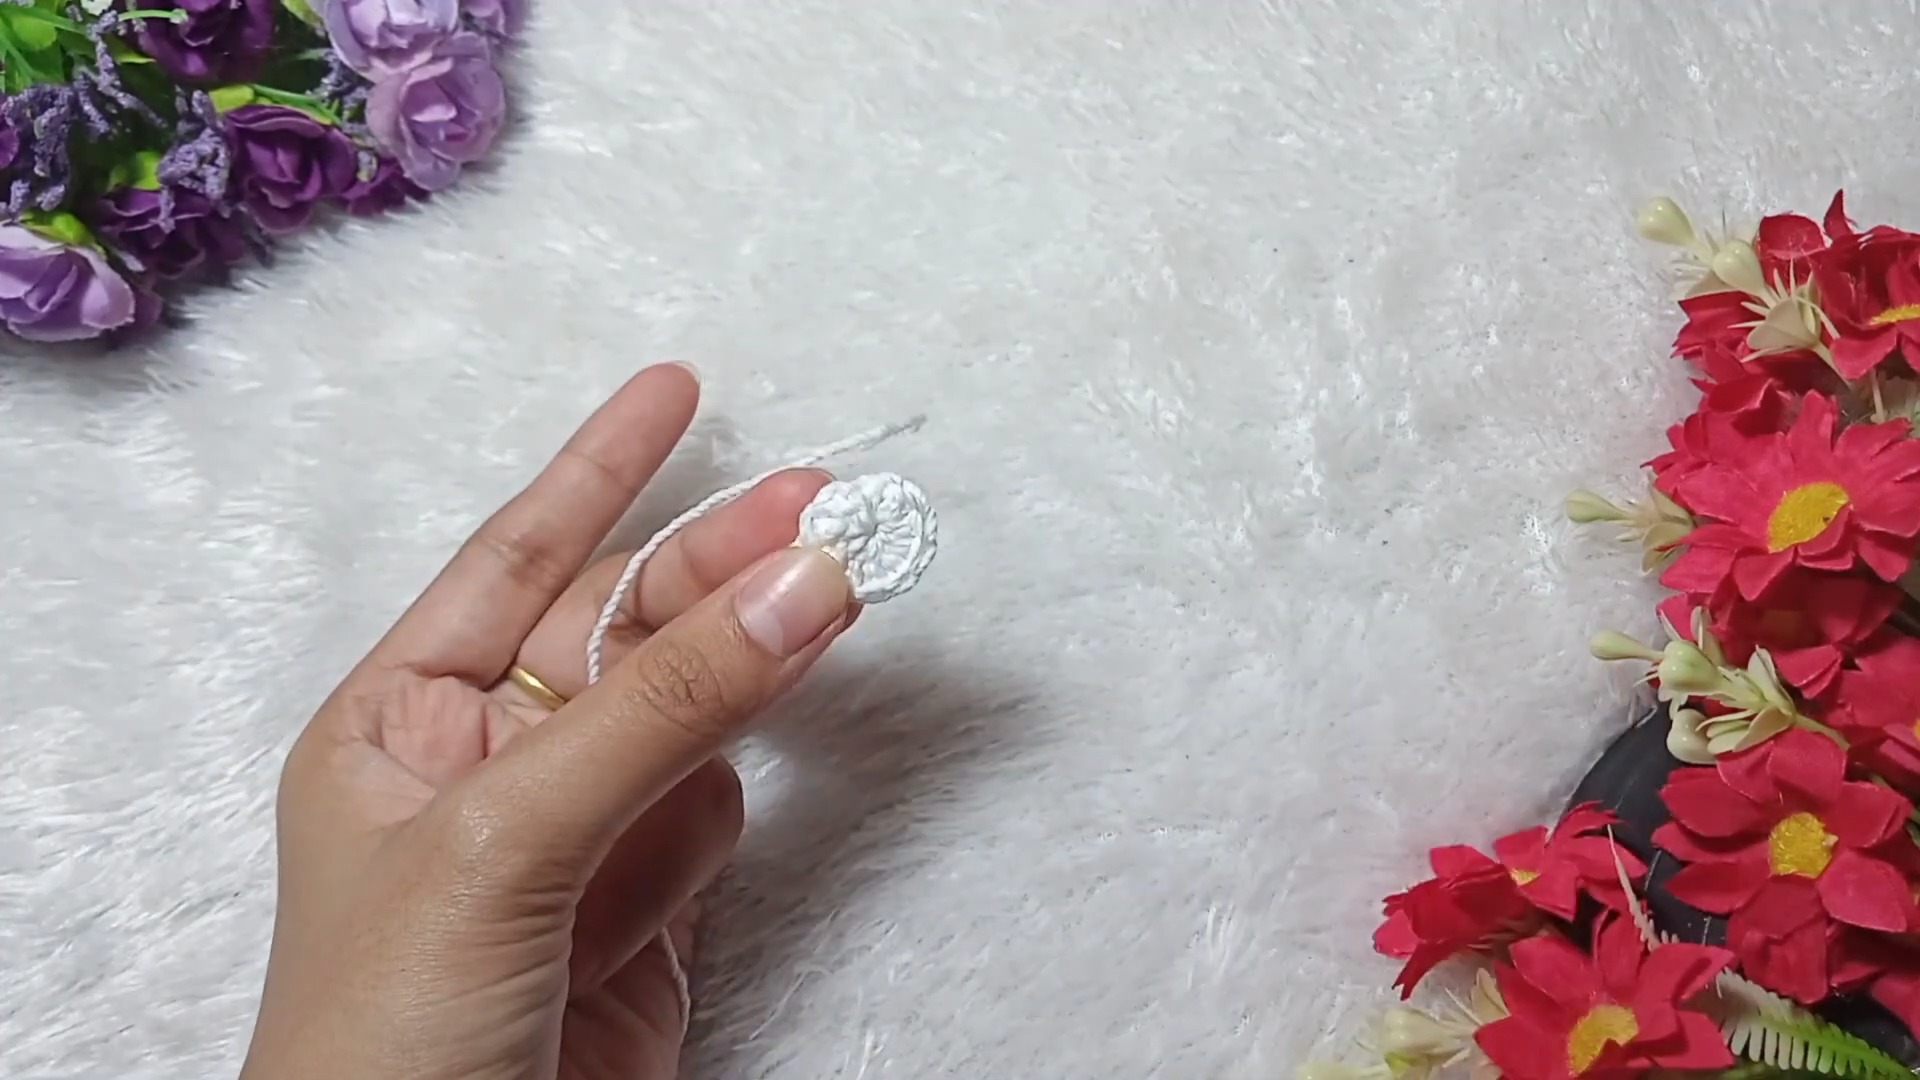
1. Body – First Circle
Create a Magic Ring.
Make 3 CH (counts as 1 DC).
Crochet 9 DC into the Magic Ring (total: 10 DC).
Tighten the ring and SL ST into the top of the 3 CH.
Make 1 CH and cut the thread.
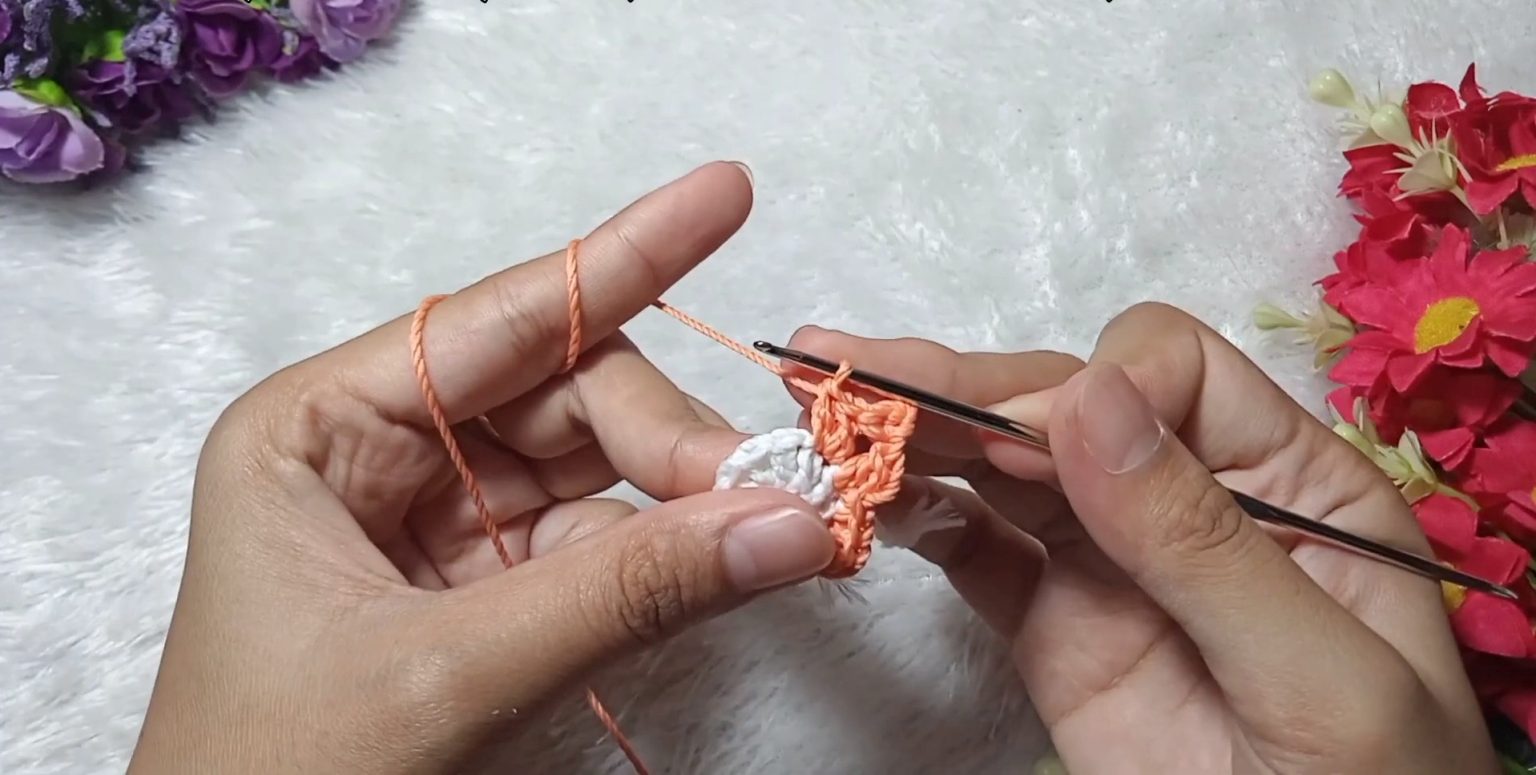
Body – Second Circle (Color Change)
Attach a new color of yarn and secure it.
Make 2 CH, then crochet 1 DC in the same stitch.
In the next stitch, make:
1 HDC
1 SC
Continue to the next stitch and make a SL ST.
Repeat this sequence:
2 CH, 1 DC in the same stitch.
3 CH, skip one stitch, SL ST into the next stitch.
Continue alternating stitches until completing the circle.
Wings
Create a Magic Ring and make 1 CH.
Crochet 5 SC into the Magic Ring.
Tighten the ring and SL ST into the first SC.
Cut the thread and trim the ends.
Repeat the same process for the second wing.
Eyes
Create a Magic Ring and make 1 CH.
Crochet 1 SC.
Add SL ST, cut the thread, and trim.
Repeat the process for the second eye. Attach doll eye beads using hot glue or sew them into place.
Assembly and Finishing Touches
Use hot glue to attach the wings and eyes to the body.
Secure the brooch pin backing to the rear side of the owl.
Trim all remaining loose threads and edges. Optional: Use matches carefully to seal yarn ends if necessary.