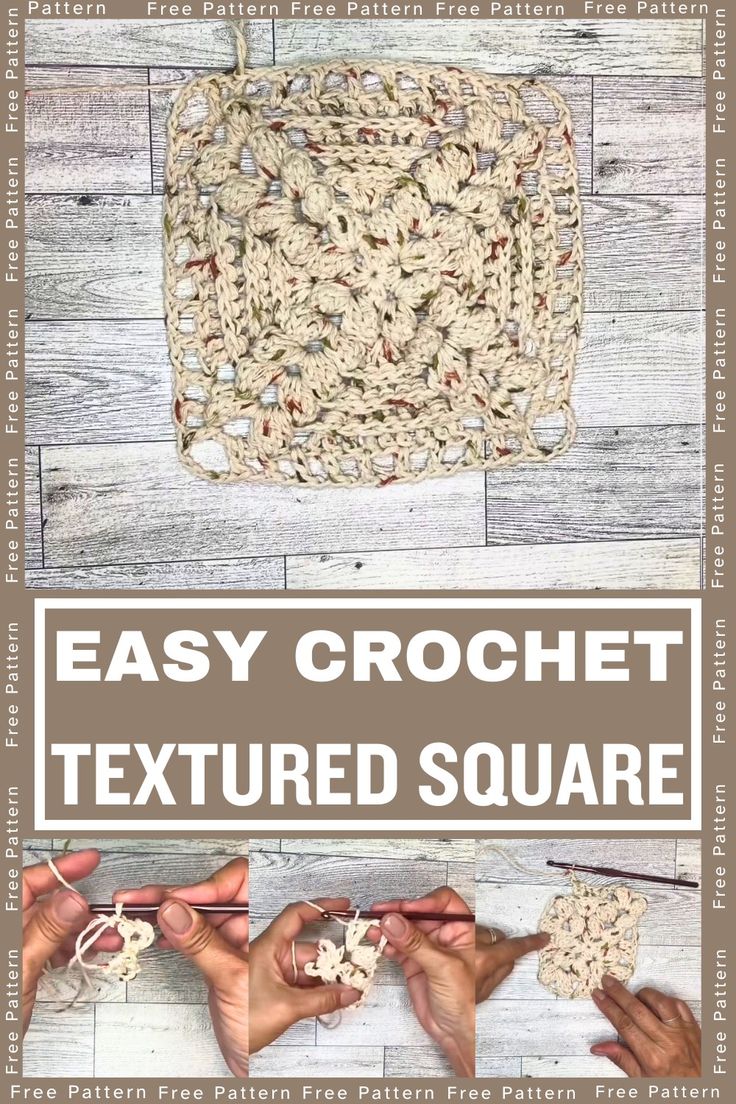
Crochet Textured Square
If you're looking to add some cozy charm to your next project, the crochet textured square is a fantastic option! This fun and versatile square design features a delightful mix of stitches that create an eye-catching texture perfect for blankets, pillows, or even coasters. Whether you're a beginner or a seasoned crocheter, this pattern is sure to bring a touch of warmth and creativity to your handmade creations. So grab your yarn and hook, and let's crochet a textured square that will surely impress!
Materials and Preparation
Materials:
- Yarn: Lily Sugar’n Cream (Color: Sonoma Print), 100% cotton, medium-weight (4).
- Crochet Hook: Size H/5mm.
- Additional Tools: Scissors, yarn needle for weaving in ends, and pins for blocking.
Yarn Weight Requirement:
Use medium-weight (4) yarn for optimal texture and structure. Substitute equivalent yarn if needed, ensuring it matches the weight.
Abbreviations and Notes
Abbreviations:
- MR – Magic Ring
- CH – Chain
- SC – Single Crochet
- DC – Double Crochet
- SL ST – Slip Stitch
- BPDC – Back Post Double Crochet
- Popcorn – 3 or 4 double crochets formed into a single cluster stitch
- YO – Yarn Over
Notes:
- This is an advanced beginner/intermediate project. Beginners might want to practice the popcorn stitch before starting the pattern.
- Each popcorn stitch is formed by working a set of double crochets, inserting the hook into the first stitch in the set, and pulling the yarn through to create the cluster.
- Always block the finished square to refine its shape and edges.
Gauge, Approximate Size, and Pattern Notes
Gauge:
The gauge is not essential for this textured square, as the project is relatively small and dimensional.
Approximate Size:
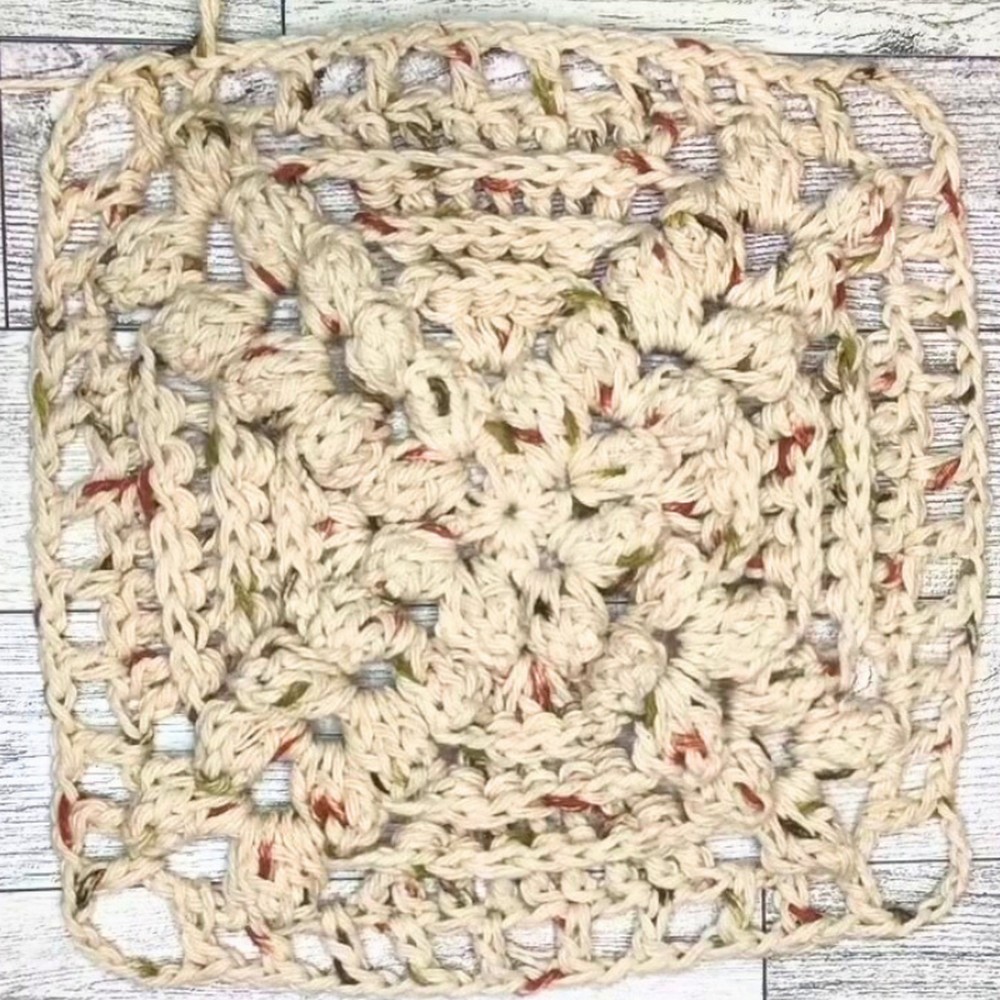
Finished square measures approximately 6 x 6 inches after blocking.
Special Techniques:
- Magic Ring: Used to start the square.
- Popcorn Stitch: Adds texture and creates corner structures.
- Back Post Double Crochet (BPDC): Used for vertical ridges between popcorn corners.
Gauge Swatch:
Not necessary for this project.
Step-by-Step Pattern
Round 1:
Start with a Magic Ring.
CH 1, work 1 SC into the ring.
CH 4, 2 SC into the ring. Repeat CH 4 and 2 SC three more times (you should have four CH-4 loops).
End with a SL ST into the first SC. Tighten the magic ring and weave in the tail if desired.