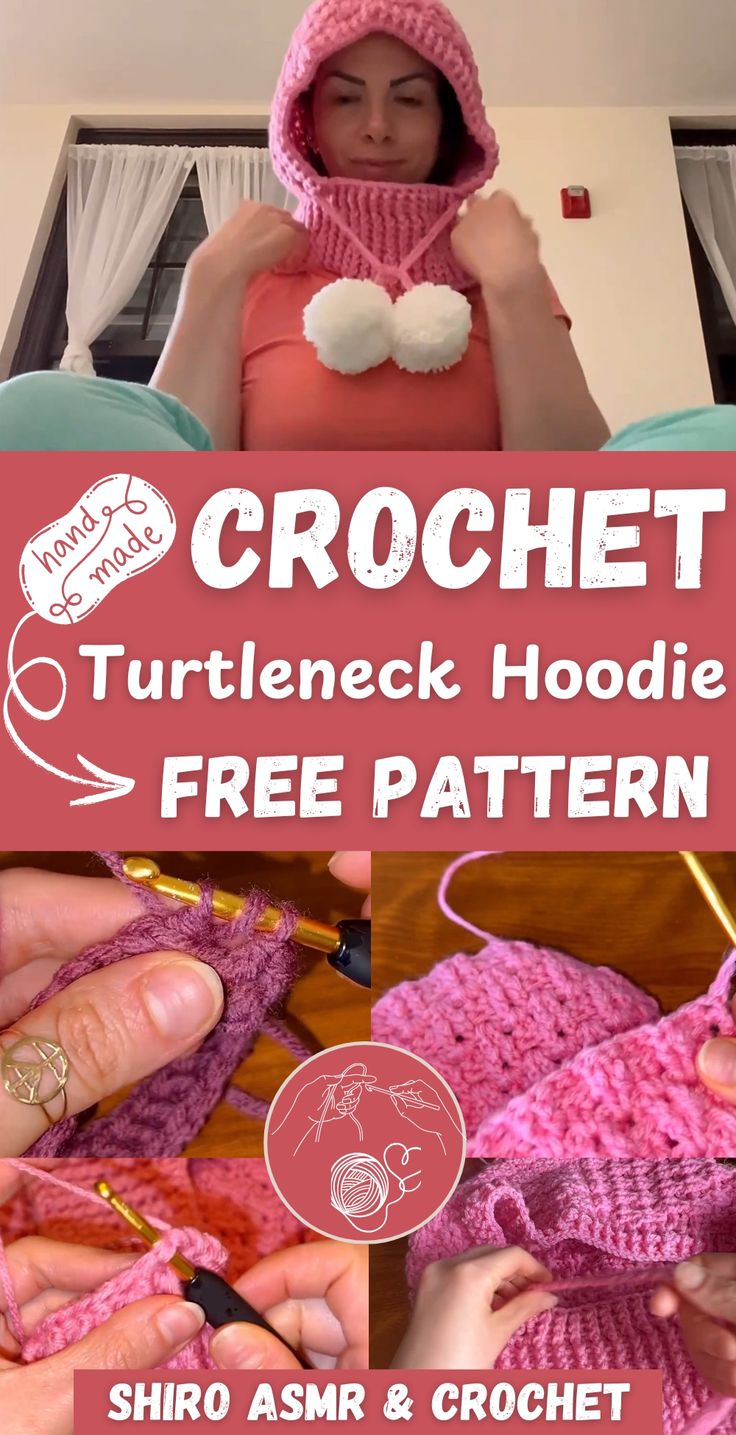
Crochet Chunky Balaclava / Turtleneck Hoodie
Imagine wrapping yourself in cozy warmth with the Crochet Chunky Balaclava / Turtleneck Hoodie – the perfect blend of style and practicality for any chilly day. Its chunky design not only keeps you toasty but also adds a touch of charm to your outfit. Whether you're braving the winter cold or simply want to make a fashion statement, this versatile piece has got you covered. Embrace the snuggly embrace of this balaclava-turtleneck hybrid and show off your unique style with a smile!
Materials
- Medium weight yarn in two colors (Purple for body, Pink for edging)
- 5mm crochet hook
- Scissors
- Tapestry needle
- Cardboard or pom-pom maker
Main Body (Make 2 Identical Panels)
Foundation Chain
Make a slip knot.
Chain 35.
Row 1: Base Row
Skip 2 chains (counts as 1st hdc).
Double crochet (dc) in each chain across.
In the last chain, make 1 hdc.
Chain 2 and turn.
Total stitches: 35.
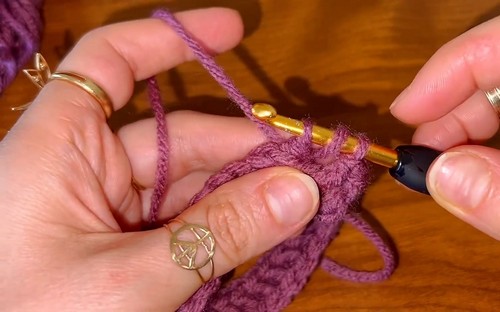
Row 2: Start Ribbing Pattern
2 Front Post dc (FPdc).
2 Back Post dc (BPdc).
Repeat 2 FPdc, 2 BPdc across.
Last stitch: 1 hdc.
Chain 2 and turn.
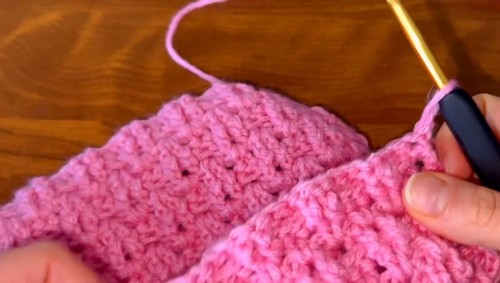
For Row 3: Increase Row
2 FPdc.
2 dc in the space between FPdc and BPdc.
2 BPdc.
Repeat 2 FPdc, 2 dc in space, 2 BPdc across.
Last stitch: 1 hdc.
Chain 2 and turn.
Row 4: Alternate Ribbing
2 BPdc.
2 FPdc.
Repeat 2 BPdc, 2 FPdc across.
Last stitch: 1 hdc.
Chain 2 and turn.
Row 5: Increase Row
2 BPdc.
2 dc in the space between BPdc and FPdc.
2 FPdc.
Repeat 2 BPdc, 2 dc in space, 2 FPdc across.
Last stitch: 1 hdc.
Chain 2 and turn.
For Row 6: Continue Ribbing
2 FPdc.
2 BPdc.
Repeat 2 FPdc, 2 BPdc across.
Last stitch: 1 hdc.
Chain 2 and turn.
Row 7: Increase Row
2 FPdc.
2 dc in space between FPdc and BPdc.
2 BPdc.
Repeat 2 FPdc, 2 dc in space, 2 BPdc across.
Last stitch: 1 hdc.
Chain 2 and turn.
Row 8: Ribbing Pattern
2 BPdc.
2 FPdc.
Repeat 2 BPdc, 2 FPdc across.
Last stitch: 1 hdc.
Chain 2 and turn.
For Row 9: Increase Row
2 BPdc.
2 dc in space between BPdc and FPdc.
2 FPdc.
Repeat 2 BPdc, 2 dc in space, 2 FPdc across.
Last stitch: 1 hdc.
Chain 2 and turn.
Rows 10–23: Repeat Pattern
Continue alternating ribbing and increase rows in the same 4-row sequence.
Maintain the established pattern and continue shaping.
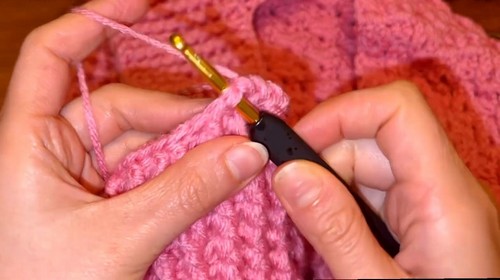
Row 24: Change to Pink Yarn
Work 2 BPdc, 2 FPdc for 7 repeats (28 stitches).
2 BPdc.
2 FPdc.
1 single crochet (sc).
Chain 1 and turn.
For Row 25: Decrease and Shaping
2 sc in next 2 stitches (4 sc total).
2 hdc in next 2 stitches (4 hdc total).
2 dc in each of next 14 stitches (28 dc).
1 hdc in last stitch.
Chain 2 and turn.
Row 26: Final Ribbing Row
2 FPdc, 2 BPdc for 7 repeats (28 stitches).
2 FPdc.
sc2tog (single crochet 2 together).
Slip stitch.
Fasten off.
Repeat for Second Panel
Follow the same steps to create a second identical panel.
Assembly and Hood Section
Panel Joining
Work 32 sc along top edge of first panel.
Work 36 sc along top edge of second panel.
With right sides facing, align and join edges using slip stitches.
Neck and Hood Rounds
Round 1: Establish Round
Dc evenly around the entire joined edge opening.
Slip stitch to join.
Chain 2 and turn.
Rounds 2–3: Ribbing
1 FPdc, 1 BPdc around entire round.
Slip stitch to join each round.
Chain 2 and turn.
For Round 4 and Beyond: Increase
Repeat 1 FPdc increase, 1 BPdc, 1 FPdc, 1 BPdc, 1 FPdc, 1 BPdc sequence.
Continue until hood reaches desired length.
Slip stitch to join each round and chain 2 to continue.
Final Details

Drawstring
Make a long chain with desired tightness.
Weave through the top edge of the hood.
Pom-Poms
Wrap yarn around cardboard multiple times.
Tie tightly at center and cut loops.
Fluff and trim into shape.
Attach to ends of drawstring.