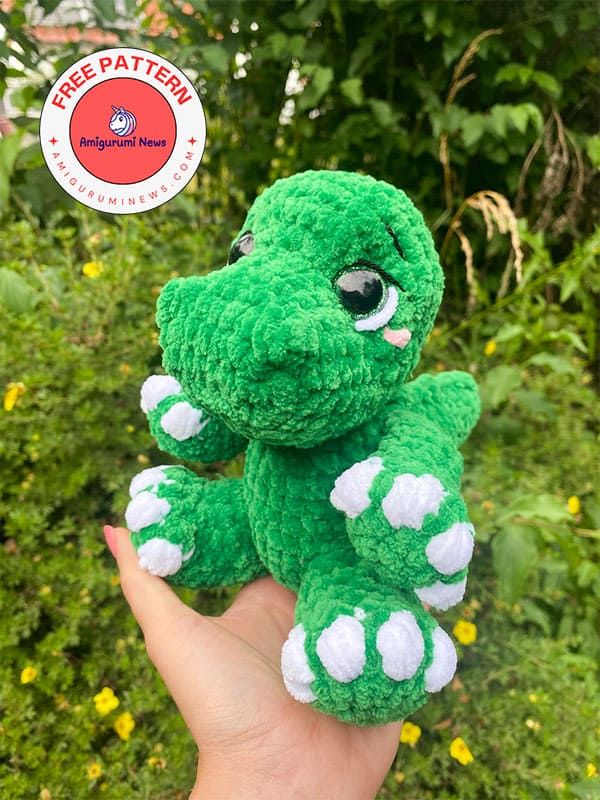
Crochet Amigurumi Plush Dino
Crochet Amigurumi Plush Dino is a charming and adorable creation that brings a touch of whimsy to your life! With its intricate details and vibrant colors, this little Dino is sure to put a smile on your face. Whether you're an experienced crocheter or just starting out, crafting your own Amigurumi Plush Dino can be a fun and rewarding project. Imagine showcasing this lovable dinosaur on your desk, or gifting it to a friend to brighten their day. So grab your yarn and hook, and let's get ready to bring this delightful Dino to life!
Abbreviastion:
- MR: magic ring
- ch: chain
- sc: single crochet
- slst: slip stitch
- hdc: half double crochet
- dc: double crochet
- dc inc: double crochet increase
- dec: decrease
- inc: increase
- FLO: front loop only
- BLO: back loop only
- Puff: puff stitch
- BB3: bobble stitch made by 3 incomplete double crochet
Materials:
- Chenille yarn (or any yarn of your choice)
- 3.5mm hook (or any hook fitting your yarn)
- Fiber filling
- Black and white cotton yarn
- Needle for sewing
- Scissors
- Stitch marker
- Safety eyes (14mm)
Depending on your tension or used yarn, you may add or remove sc before you make the bobble stitches for the nostrils to have them in right position.
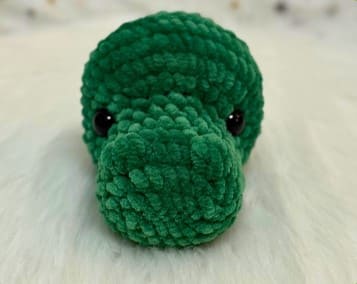
Head
In main color.
Chain 7. Start from 2nd ch from the hook.
R1. inc, 4sc, 4 sc in the last ch, on the other side of the chain 4sc, inc (16)
R2. inc, 5sc, (1sc,inc)x2, 4 sc, inc, 1sc (20)
R3. 2sc, inc, BB3, 4sc, BB3, inc, 2sc, inc, 6sc, inc (24)
R4-7. 24 sc (4 rounds) (24)
R8. 4sc, FLO 8 inc, 12 sc (32)
R9. 4sc, (1sc,inc)x8, 12 sc (40)
R10-11. 40 sc (2 rounds) (40)
R12. (dec,8sc)x4 (36)
Insert the safety eyes between round 8-9 with 5 inc in between.
Stuff the muzzle firmly and the head as you go.
R13. (4sc,dec)x6 (30)
R14. (3sc,dec)x6 (24)
R15. (2sc,dec)x6 (18)
R16. (1sc,dec)x6 (12)
R17. dec x6 (6)
FO and leave a tail to close the hole using the FLO of round 17.
The increases on R8 and R9 should be in the center.
Depending on your tension you can adjust it by adding or removing sc before the increases.
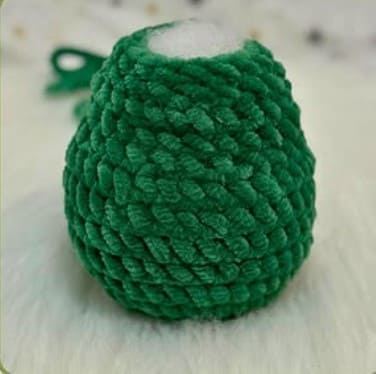
Body
In main color.
Stuff as you go.
R1. MR 8 sc
R2. inc x8 (16)
R3. (inc,sc)x8 (24)
R4. (2sc,inc)x8 (32)
R5-9. 32 sc (5 rounds) (32)
R10. (2sc,dec)x8 (24)
R11-12. 24 sc (2 rounds) (24)
R13. (1sc,dec)x8 (16)
R14. 16 sc (16)
FO and leave a tail to sew the head.
Arms X2
In main color.
R1. MR 6 sc
R2. inc x6 (12)
Use contrast color for the puff stitches.
R3. sc, inc, (puff,inc)x4, sc, inc (18)
R4. 3sc, 6 dec, 3 sc (12)
R5. 3sc, 3dec, 3sc (9)
R6-10. 9 sc (5 rounds) (9)
Do not overstuff.
Fold in half (back to front) and work 4 sc through both sides.
Leave a long tail to sew.
Legs X2
In main color.
R1. MR 8 sc
R2. 2 inc, 4 hdc inc, 2 inc (16)
Use contrast color for the puff stitches.
R3. (1sc,inc)x2, (puff, inc)x4, (1sc,inc)x2 (24)
R4. 6sc, 6dec, 6sc (18)
R5. 6sc, 3dec, 6sc (15)
R6-8. 15 sc (3 rounds) (15)
Stuff and FO. Leave a long tail to sew.
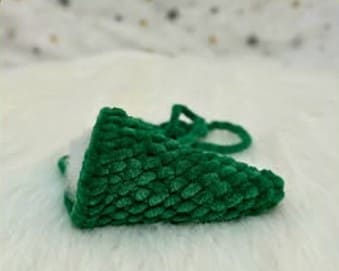
Tail
In main color.
R1. Magic ring 6 sc
R2. 6 sc
R3. (inc,sc)x3 (9)
R4. 9 sc (9)
R5. (2sc,inc)x3 (12)
R6-8. 12 sc (3 rounds) (12)
R9. (inc,3sc)x3 (15)
R10. 15 sc (15)
R11. (inc,4sc)x3 (18)
R12. (2sc,inc)x6 (24)
R13. (3sc,inc)x6 (30)
Stuff firmly.
FO and leave a tail to sew.
Assembly
Sew the head to the body, between R6 and R10 of the head.
Sew the arms to the body between R10 and R13.
Sew the legs between R4 and R7 with 4 sc in between.
Sew the tail to the body between R4 and R11.
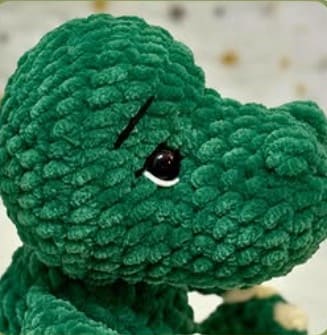
Face shaping and eye details
For the face shaping: Insert the needle in point 1, come out through point 2, insert the needle in point 3 and come out through point 4. Then insert the needle through point 5 and come out through point 6 – one stitch to the side of point 1. Pull the tail until you reach your desired result and fasten off.
For the eye details: Cut a tail of the white cotton yarn and embroider the sclera. Then cut a tail of the black cotton yarn and embroider the eyelid/eyelashes and eyebrows.
Spikes
Attach your yarn at the tip of the tail and slst.
Then; (sc, hdc, hdc, sc, slst)x8 or until you reach the R15 on back of the head.