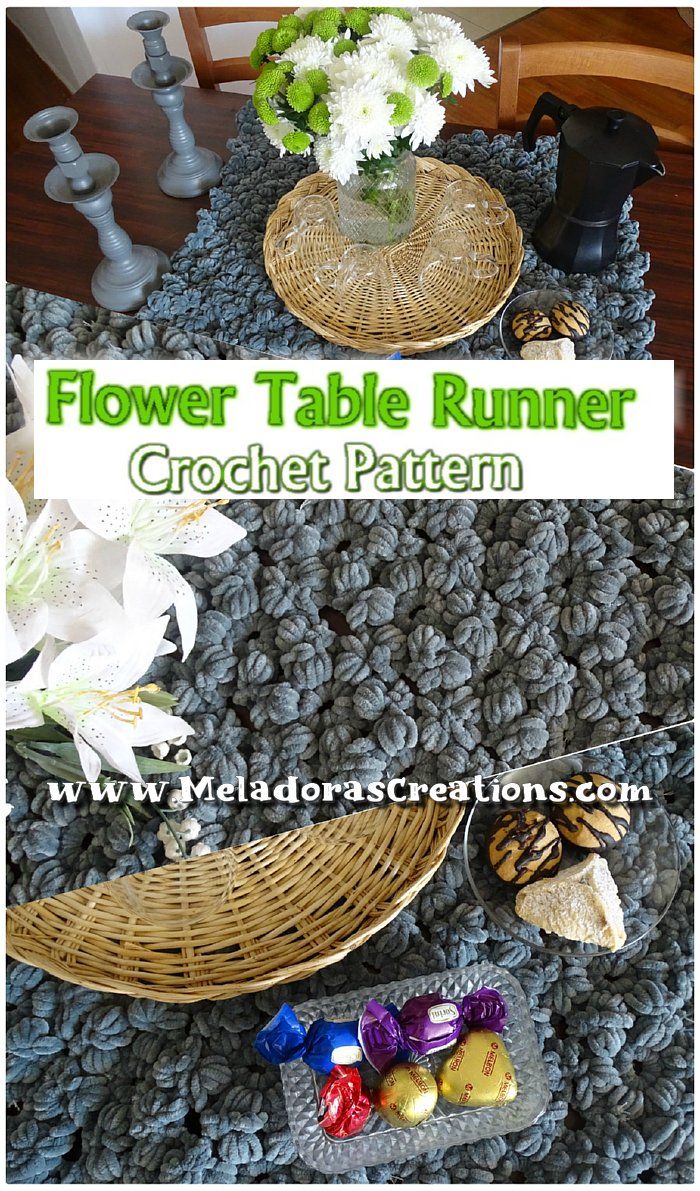
Crochet Flower Table Runner
A Crochet Flower Table Runner is a delightful addition to any table setting, injecting a touch of charm and whimsy into your home decor. Handcrafted with love and attention to detail, each floral motif is carefully stitched together to create a stunning piece that adds a pop of color and texture to your dining area. Whether you're hosting a special gathering or simply want to elevate your everyday meals, this table runner brings a sense of warmth and happiness to the heart of your home. With its intricate crochet design and vibrant blossoms, it effortlessly transforms your dining space into a cozy and inviting retreat, making every meal a special occasion. Spruce up your table with this lovely crochet creation and watch as it captivates your guests and becomes a cherished centerpiece in your home.
For this project you will need:
- Hooks: 6mm (J) and a 5 mm hook or size H hook for the US
- Yarn: Velvet Yarn: Super Chunky size 6 – I used Yart Art’s Dolce
Each Flower Measures 8 cms or 3 inches
ABBREVIATIONS
- ch = Chain
- sl st = Slip Stitch
- st = Stitch
- sk = Skip
- YO = Yarn Over
- beg = beginning
- SC = Single Crochet
- Repeat what’s in between * for rest of round.
Making the Puff Flower
To start
ch 4 and sl st in 1st ch to create a ring
Round 1
ch 1 and sc 12 into ring. Sl st in beg sc.
Creating your Puff Petal
Round 2
ch 3 and creating your first Puff petal, you want to *YO and insert your hook into the same stitch, pull up a loop. (3 loops on your hook) Repeat one more time. (5 loops on your hook) Then YO and insert your hook in the NEXT st and pull up a loop. (7 loops on your hook) Insert your hook into the same stitch, pull up a loop again. (9 loops on your hook) YO and pull through all 9 loops. Ch 3 and sl st into the same st. Then sl st into the NEXT st and ch 3.*
You will repeat this until you have 6 petals. Only difference is how you end the last petal. You’ll want to sl st your last ch 3 not in the same st like usual, but in the next st. ch 1 and cut yarn leaving a tail that can be worked in later.
Attaching your Flowers
This will be attach as you go and you will be using your puff stitch cluster holes and ch 3’s for a connection.
The current flower your making now we’ll call the First flower and the flower you’ll be attaching to will be called the SECOND flower.
After you pull through all 9 loops to create the petal on your FIRST flower, before you chain 3 though you’ll want to grab the flower that you want to connect to which we’re calling the SECOND flower. Come from the back of the flower and insert your hook in through the cluster hole and out through the ch 3 hole.
Now Sl st to attach. Then Ch 3 and sl st into the same stitch on the FIRST flower to complete the petal. Sl st into the next st and continue making the next petal.
Repeat this one more time for the next flower as well. Each flower should be attached side by side by 2 petals. Continue this until you have 10 petals connected. Then we move to the second row.
How to Finish your Flower
After you pull through the last 9 loops of your final petal, instead of sl stitching into the same st as always, I want you to move over one more st and sl st into that little space in between petals. This will give your flower a more even look.
Attaching your Flowers for Second Row and on
To attach the first flower of a new row, you will only be attaching one petal to one petal. You will use the bottom petals of the attached flower for the first connection.
So crochet the first 4 petals of a flower. Then attach it to the bottom petal of the first attached flower of the row. Connect it as usual then finish the petal then create your final petal for this flower.
The reason why we don’t connect with the very last petal here, is because it makes the final piece look better. So always leave the last petal free of attachments.
Then the second flower connection you will connect in 3 places.
Attach your flower starting from the two side connections. Connect the 2 petals on the side like you did for your first row of flowers. Then connect to the single bottom petal from the previous row. You will repeat this way of connecting all your flowers row to row.
When you have all your flowers connected and you’re like we and want to reduce those holes in between flowers, then you can grab more of the yarn and cut a piece about 4 inches or so and use this piece of yarn to pull thorough your ch 3 spaces that line the holes. There should be 2 ch 3 spaces per flower. Pull the string through one side, then turn your piece and pull through the other side. I recommend not to tight or loose for this. Pull the string tight a but until the piece buckles a little, then pat the piece flat with your hand before tying a few knots and hiding your tail.
I made the knots on tighter on the 1st and last row to encourage a ruffle effect on the sides of the table runner.