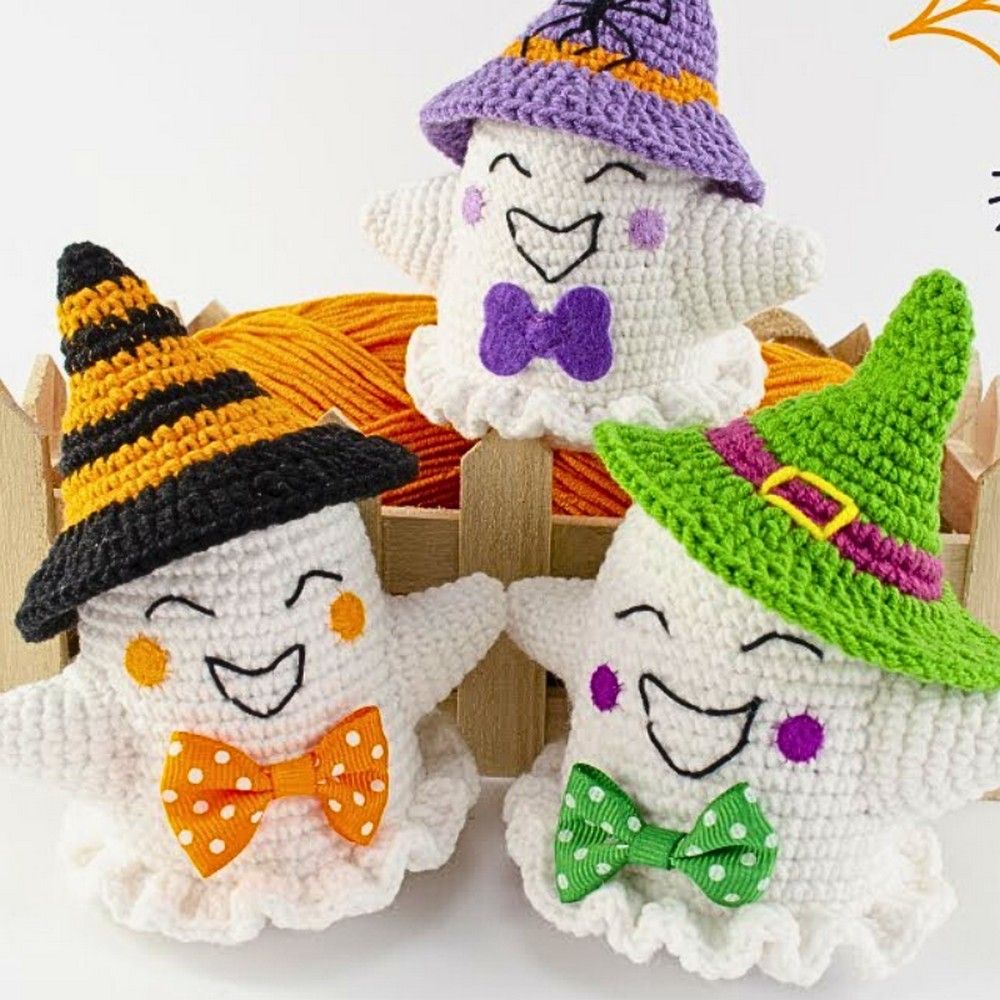
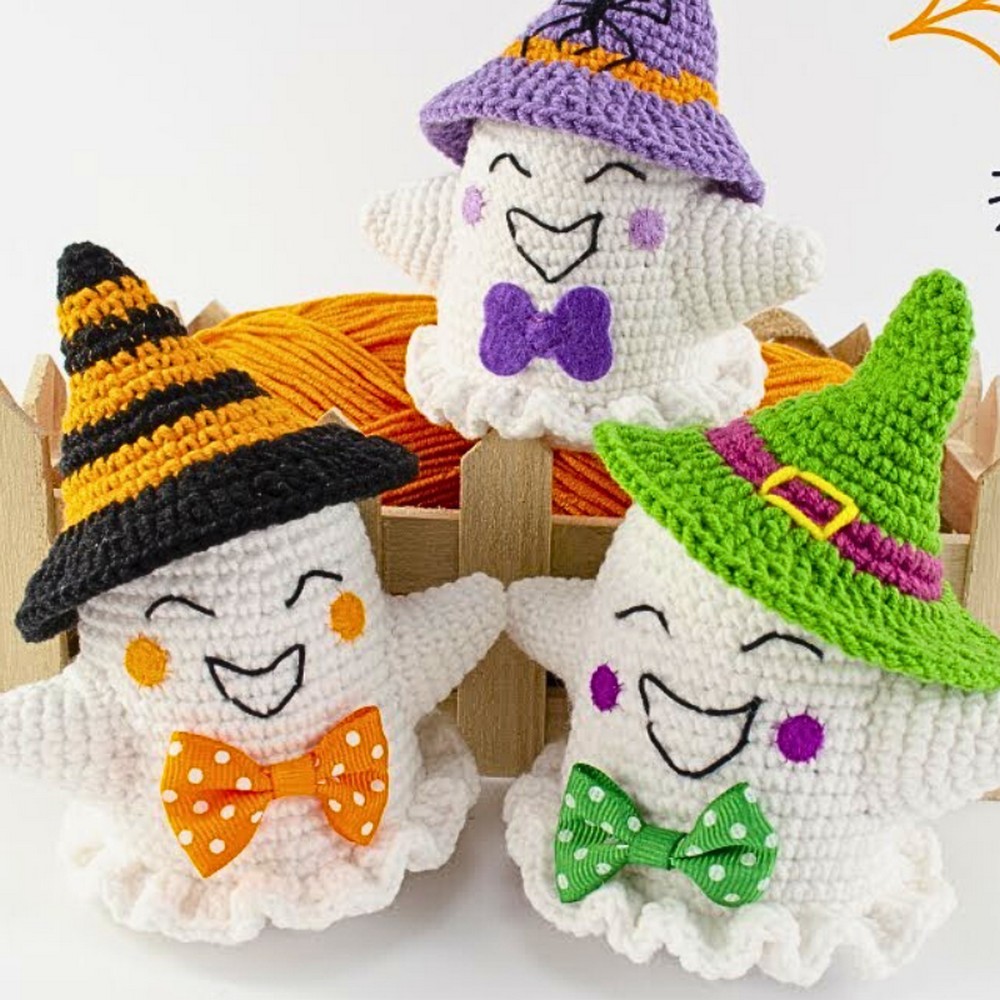
Crochet Halloween Ghost
Crochet Halloween ghosts are a wonderful and charming addition to your spooky decorations! With their whimsical shapes and soft appearance, these cute little specters are the perfect way to add a touch of festive fun to your home during the Halloween season. From hanging decorations to little plushies, these ghosts are sure to bring a smile to your face and a cozy vibe to your Halloween decor. So grab your crochet hook and some white yarn, and let's get crafting some boo-tiful ghosts!
Materials and Preparation
To create the adorable Halloween ghost, you’ll need the following:
- Yarn: White yarn (medium weight, preferably acrylic or cotton).
- Crochet Hook: 2.5 mm crochet hook.
- Additional Tools:
- Darning needle
- Stitch markers
- Scissors
- Black embroidery thread for facial details
- Small felt circles for cheeks
- Optional: Stuffing material to fill the ghost.
Tip: Use bubble pins if you need to position parts (e.g., arms) correctly while sewing.
Abbreviations and Notes
Abbreviations:
- SC: Single Crochet
- DC: Double Crochet
- Inc: Increase (crochet 2 stitches into the same stitch)
- Ch: Chain
- St/Stitches: Stitch or stitches
Magic Ring: Adjustable circle of yarn to begin a project
Notes:
- This pattern involves working in rounds, so use a stitch marker to keep track of the beginning of each round if necessary.
- The ghost is crocheted in separate parts: the body, the bottom, and the arms, which are later sewn together.
- The facial features (eyes and smile) are embroidered, and optional felt cheeks add a charming finish.
Gauge, Approximate Size, and Pattern Notes
Gauge: Not crucial for this project, but aim for tight stitches to ensure the ghost holds its shape.
Approximate Size: Finished ghost size will depend on your tension and stuffing but should measure approximately 6-8 inches tall.
Special Techniques:
Use a Magic Ring to start your rounds for smooth, seamless joins.
Crochet increases as instructed for shaping and symmetry.
Gauge Swatch: Not required for this pattern.
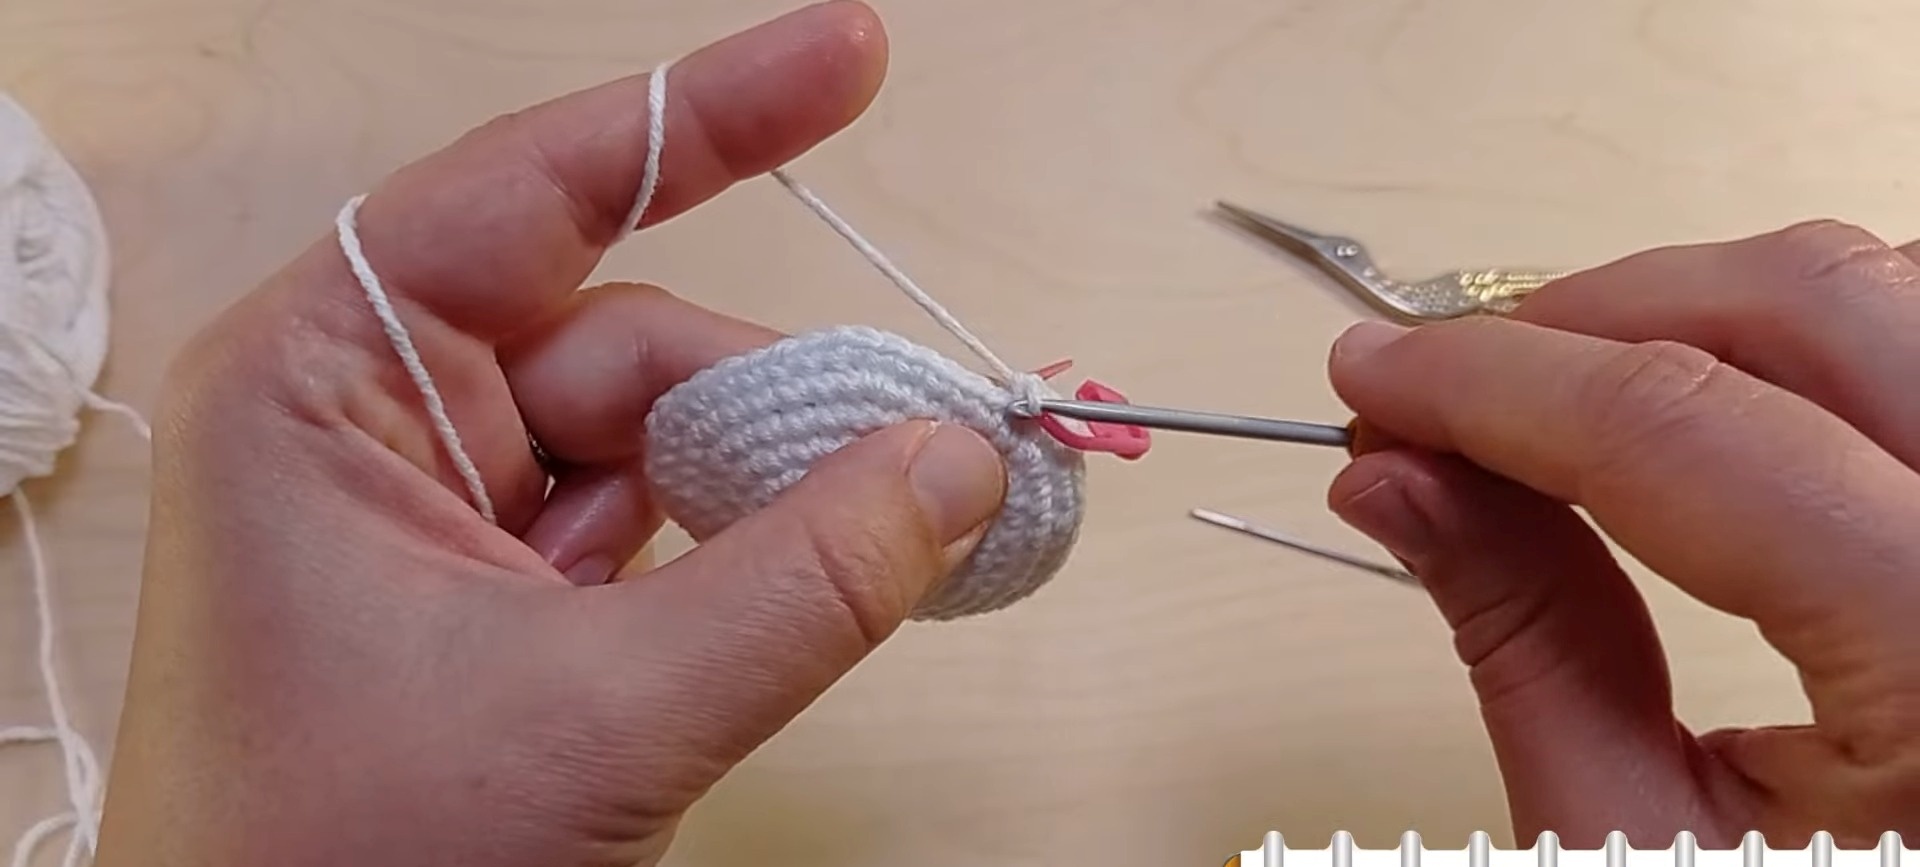
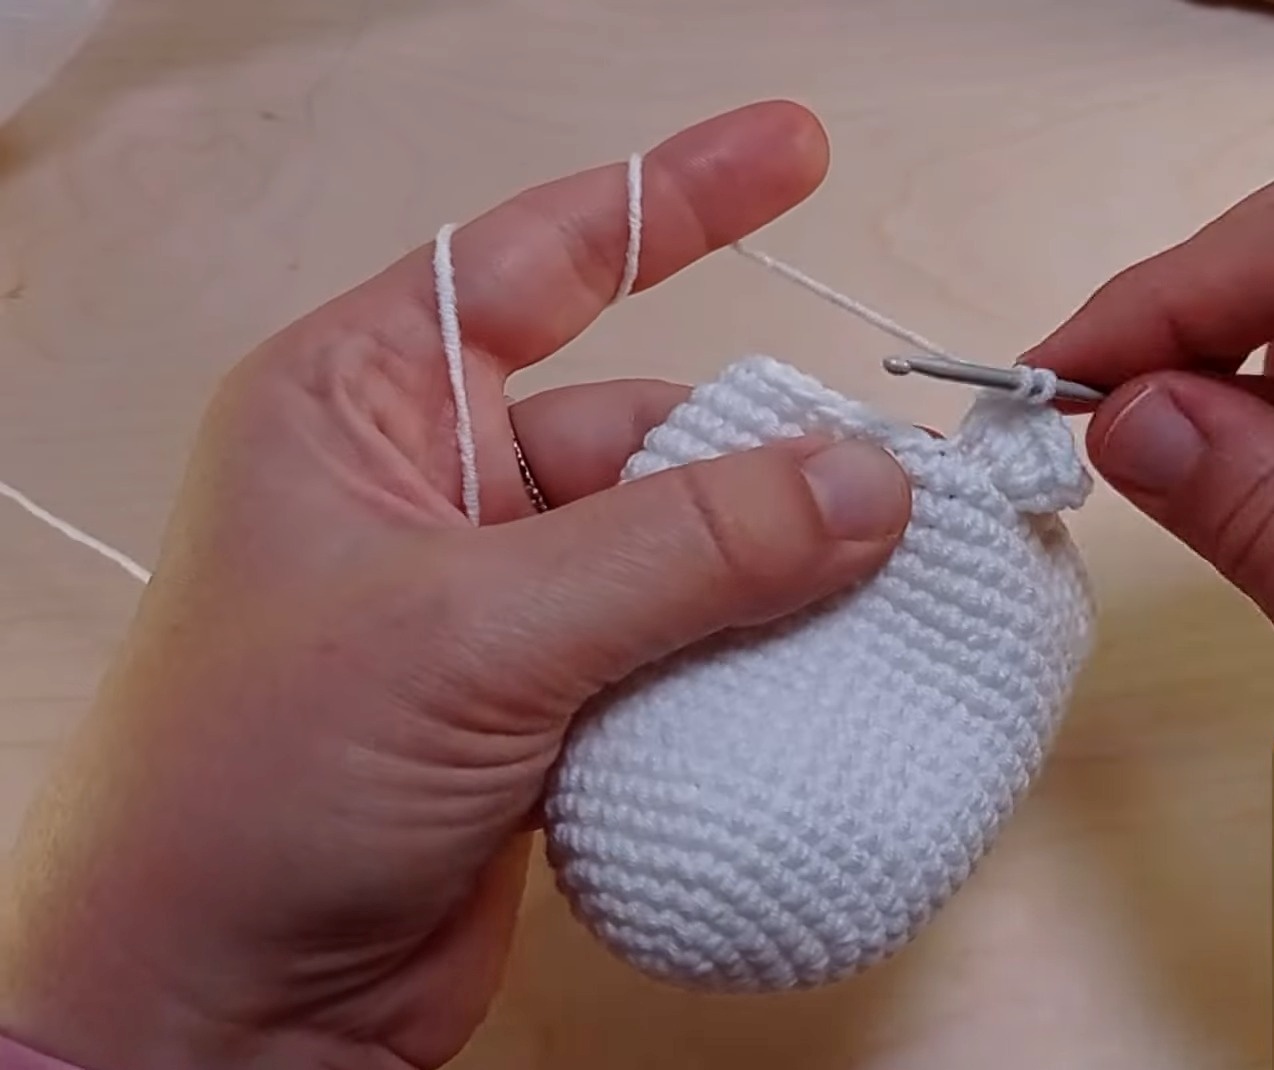
Step-by-Step Pattern
Part 1: Crochet the Head and Body
Round 1: Make a magic ring and crochet 6 SC into it.
Round 2: Crochet 1 Inc in each stitch (12 stitches total).
Round 3: Crochet 1 SC, 1 Inc, repeating until the end (18 stitches).
Round 4: Crochet 2 SC, 1 Inc, repeating until the end (24 stitches).
Round 5: Crochet 3 SC, 1 Inc, repeating until the end (30 stitches).
Round 6: Crochet 4 SC, 1 Inc, repeating until the end (36 stitches).
Rounds 7-8: Crochet 36 SC (no increases).
Round 9: Crochet 11 SC, 1 Inc, repeating until the end (39 stitches).
Rounds 10-11: Crochet 39 SC (no increases).
Round 12: Crochet 12 SC, 1 Inc, repeating until the end (42 stitches).
Rounds 13-15: Crochet 42 SC (no increases).
Round 16: Crochet 13 SC, 1 Inc, repeating until the end (45 stitches).
Rounds 17-18: Crochet 45 SC (no increases).
Round 19: Crochet 14 SC, 1 Inc, repeating until the end (48 stitches).
Rounds 20-21: Crochet 48 SC (no increases).
Round 22 (Final Increase Round): Crochet 15 SC, 1 Inc, repeating until the end (51 stitches).
Round 23: Crochet 51 SC (no increases).
Round 24 (Bottom Edge Design):
Work only in front loops of the stitches.
Ch 2, crochet 2 DC in the first stitch, 2 DC in the next stitch, and 3 DC in the third stitch. Repeat this 3-step pattern for the entire round.
Finish off: Slip stitch into the first DC, fasten off, and weave in the ends.
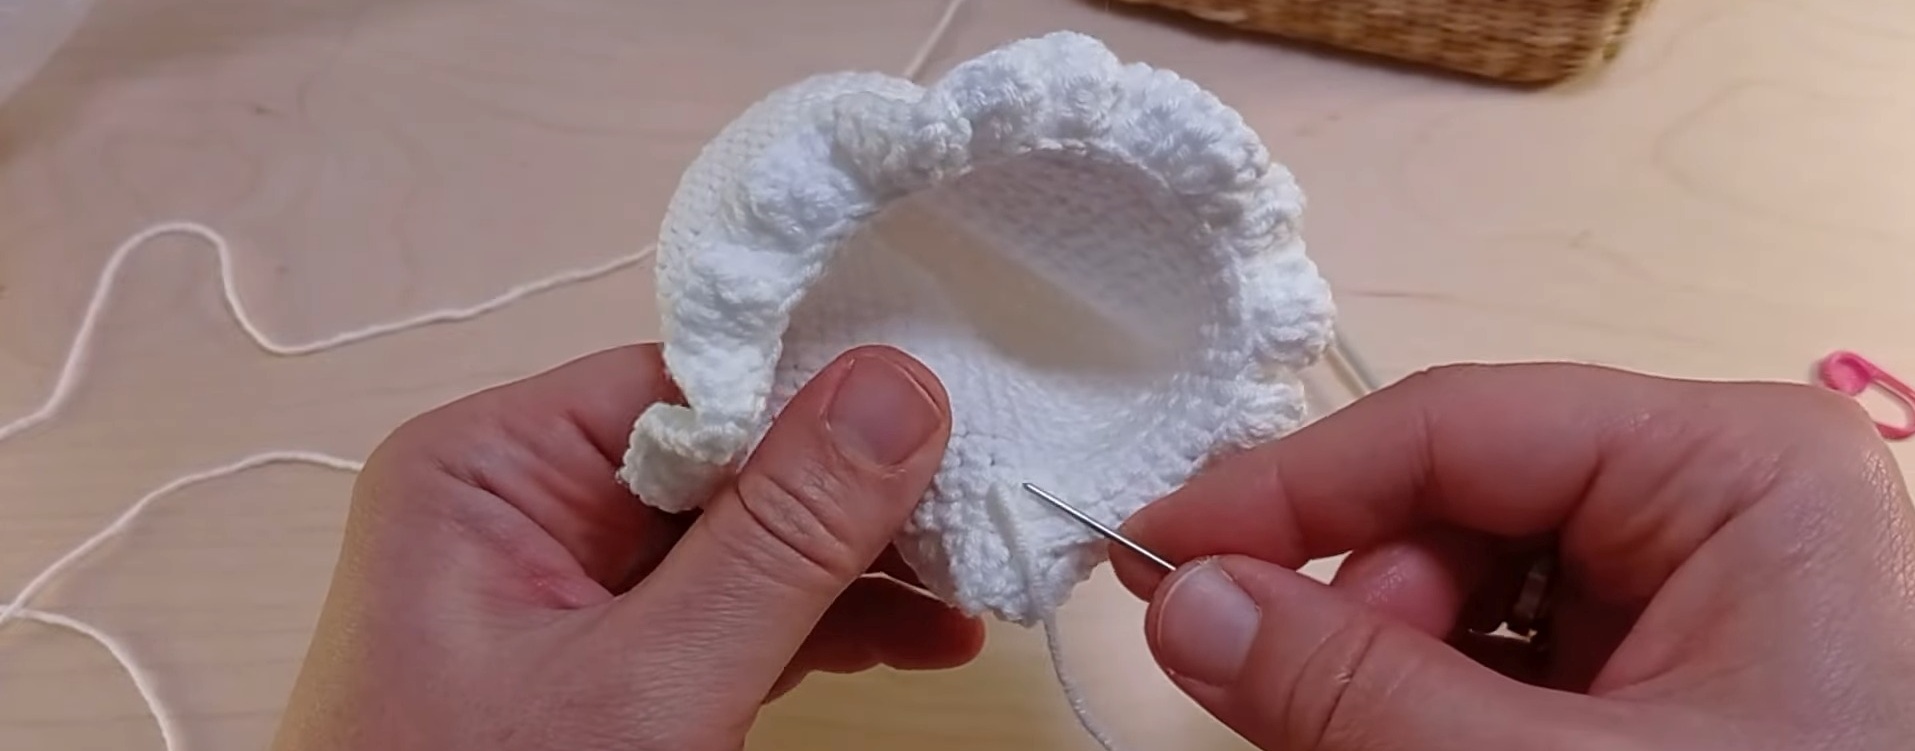
Part 2: Crochet the Bottom
Follow the same initial steps as the head (Rounds 1–7).
For Round 7, work 5 SC, 1 Inc across the round (42 stitches).
Round 8: Crochet 6 SC, 1 Inc, repeating until the end of the round (48 stitches).
Round 9: Crochet 48 SC (no increases).
Finish with a slip stitch and leave a long tail for sewing.
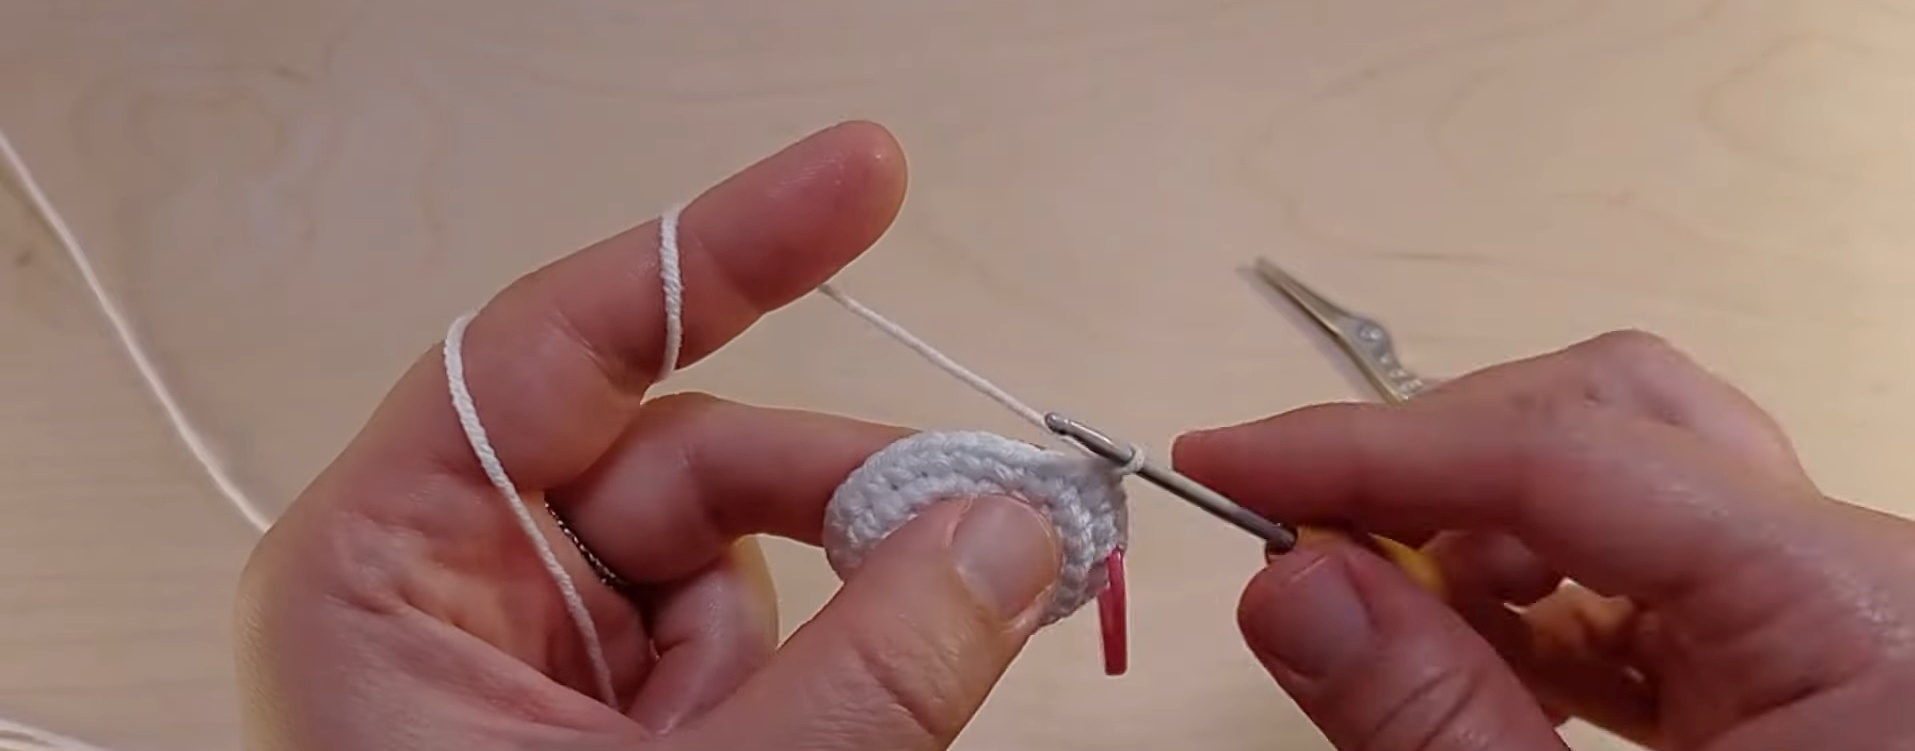
Part 3: Crochet the Arms
Round 1: Start with a magic ring and crochet 6 SC into it.
Round 2: Crochet 1 SC, 1 Inc, repeating (9 stitches).
Round 3: Crochet 9 SC.
Round 4: Crochet 2 SC, 1 Inc, repeating (12 stitches).
Round 5: Crochet 3 SC, 1 Inc, repeating (15 stitches).
Round 6: Crochet 4 SC, 1 Inc, repeating (18 stitches).
Round 7: Crochet 5 SC, 1 Inc, repeating until the end (21 stitches).
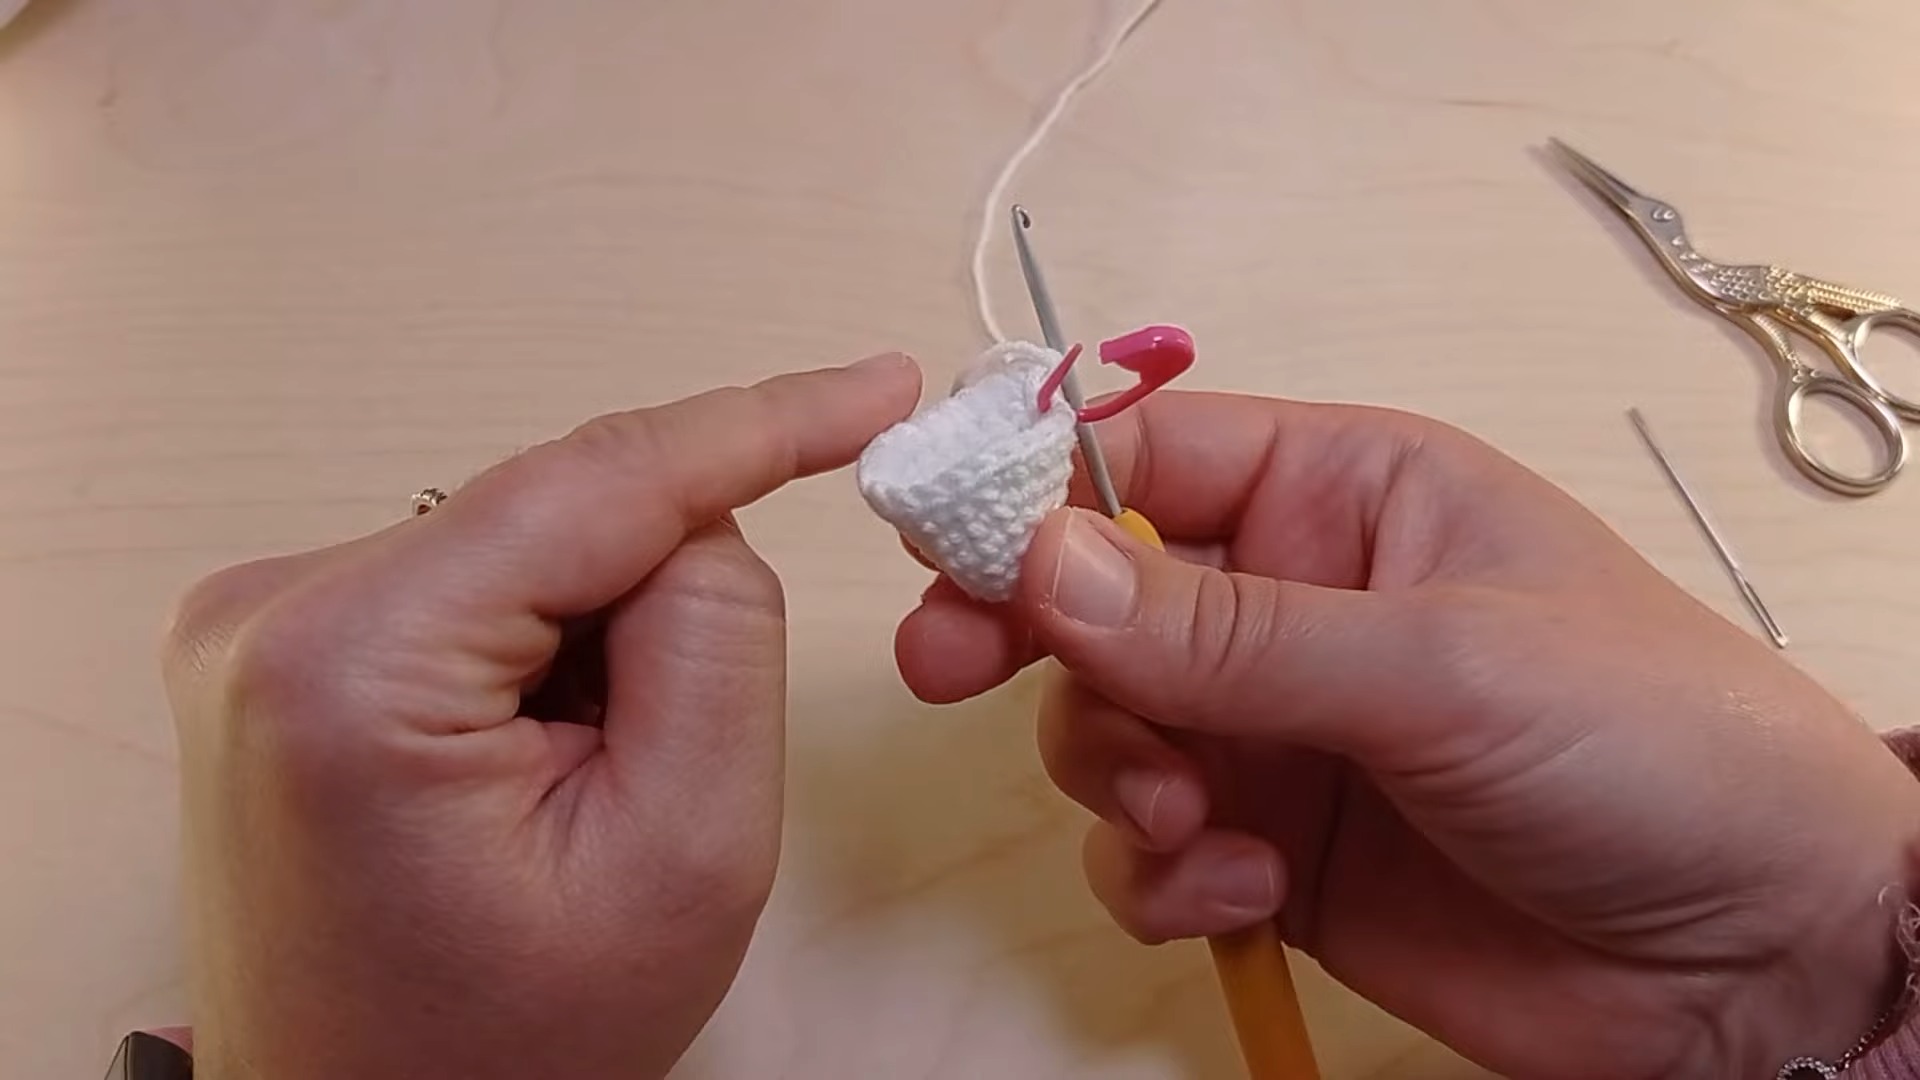
Round 8: Crochet 21 SC, finish with a slip stitch, and fasten off.
Assembly and Embellishments
Stuffing and Attaching the Bottom:
Stuff the body firmly.
Use the darning needle and a long white tail from the bottom piece to sew the bottom to the body.
Carefully attach by stitching through the back loop stitches of both pieces.
Once secured, create a small indent by pulling the yarn tight through the center of the bottom, letting the ghost stand freely.

Adding the Arms:
Position arms symmetrically between Rounds 12–20 of the ghost body, using stitch markers or bubble pins.
Sew into place using a darning needle.
Facial Embroidery:
Use black embroidery thread to embroider:
Eyes: Between Rounds 10–11 of the body.
Smile: Between Rounds 13–17.
Optional: Add felt cheeks below the eyes for added charm.
Key to Success:
Use soft, durable yarn to ensure the best structure and appearance.
Follow clear stitch instructions to maintain a uniform shape.
Add creative finishing touches like facial details for extra personality.
Take your time with stuffing for the ideal balance and form.