


Chic Reversible Granny Square Bag: Easy Step-by-Step Crochet Pattern
Give your wardrobe a handmade upgrade with this Crochet Chic Reversible Granny Square Bag. This versatile accessory flips for two looks in one and combines cheerful colorwork with sturdy construction—perfect for market runs or casual outings. The pattern uses classic granny-square construction and simple joining techniques to create a compact, reversible tote you can personalize with your favorite colors.
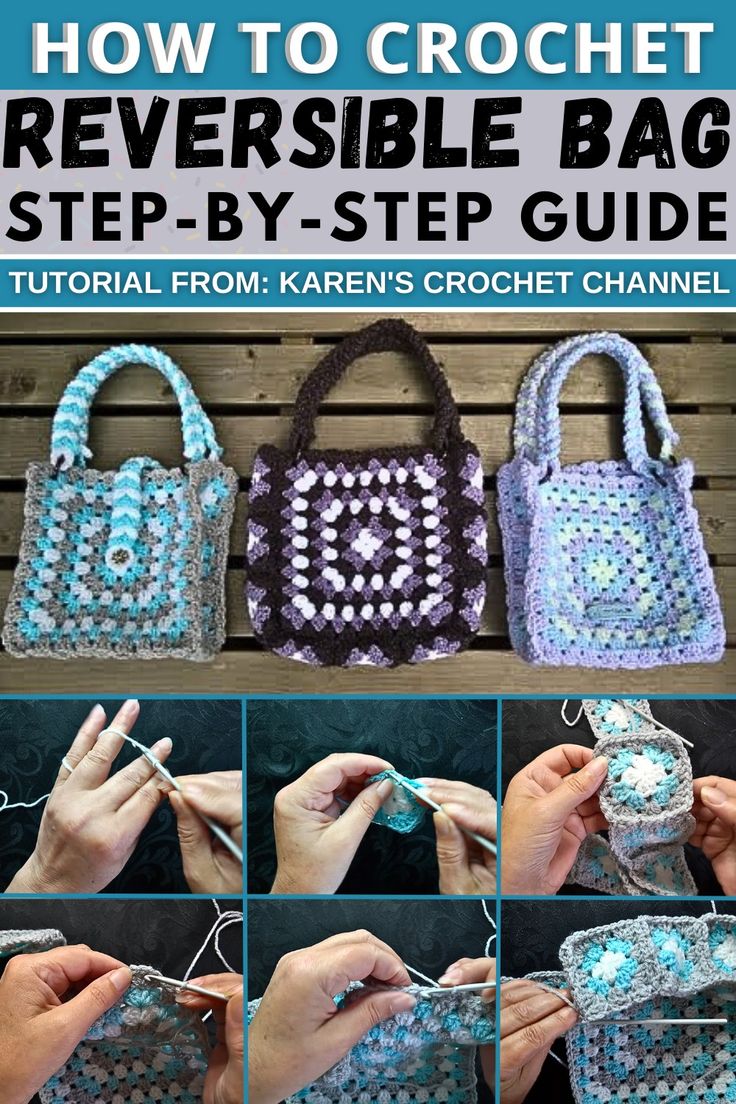
Finished reversible granny square bag showing the colorful square arrangement and handle.
Materials Needed
- Yarn: A thicker baby yarn for the middle and additional colors for the outer squares (examples used: blue, gray, and white).
- Hook: 4mm crochet hook.
- Needle: For sewing in the tail ends.
Overview of the Construction
This bag is built from small granny squares that are joined to form larger panels. You will make nine small squares for the central pattern, join them, then create the large square panels and assemble them into a bag. Handles are worked as a chain-and-slip-stitch band and reinforced with extra stitches if desired.
Steps to Create the Granny Square Bag
Start with a Magic Circle:
Go underneath the yarn, twist your hook around, and complete the first chain. Chain three to begin the first round.
Create V-Stitches:
V-Stitch Pattern (US terms): double crochet, chain one, double crochet (DC, ch1, DC). Make three V-stitches into the magic circle. Pull the tail tight and slip stitch into the third chain of the beginning chain to close the round.
Change Color (if desired):
Slip stitch to the join point, pick up the new yarn color and begin the next round with that color.
Next Round:
Chain three (counts as first DC). In the same space work two more DCs. Chain one, then work three DCs in the next chain-1 space. Repeat around, working three-DC groups separated by chain-1 spaces, and slip stitch to join into the third chain of the beginning chain.
Repeat Rounds:
Keep building rounds by maintaining a space between the groups of three stitches to form the granny pattern. In each corner work: three DCs, chain one, three DCs. Continue until the small square reaches the desired size.
Join Squares:
Make a total of nine small squares for the detailed central pattern. Lay out the squares to your preferred arrangement. Join squares by matching corners and slip-stitching them together; you can chain between slip stitches as needed (chain three used in this pattern).
Sew In Ends and Adjust Joins:
Use a yarn needle to weave in tail ends securely. Test joins for even tension and adjust to avoid any tight pulling at the seams.
Create and Join Large Squares:
Once nine small squares are joined into a panel, create the corresponding larger panels by joining additional small or larger squares in the same way to form the bag sides. Lay out all panels to form the bag shape and ensure alignment before final joining.
Creating the Handles
Start the handle by slip-stitching into the starting corner. Chain three, then slip stitch in matching back spots across the desired handle length to create a sturdy band. Repeat (chain three, slip stitch) across the handle span and reinforce with extra rows of slip stitches or single crochet if extra strength is needed.
Finishing Touches:
Sew all panels together to form the bag body. Weave in all remaining tails and crochet a final edge round (for example, chain three and slip stitch around corners) to unify the look. Reinforce handles with extra stitching and check that everything is secure before use.
Conclusion
You now have a reversible granny square bag that can be customized with your color choices and square arrangements. The reversible design gives two styles in one, and the construction can be adapted in size by adding or subtracting squares.
Tip: For added durability, reinforce handles with extra stitching and be sure to weave in tail ends thoroughly to prevent them from coming loose over time. Keep a consistent yarn tension as you work to ensure an even pattern.
Happy crocheting!
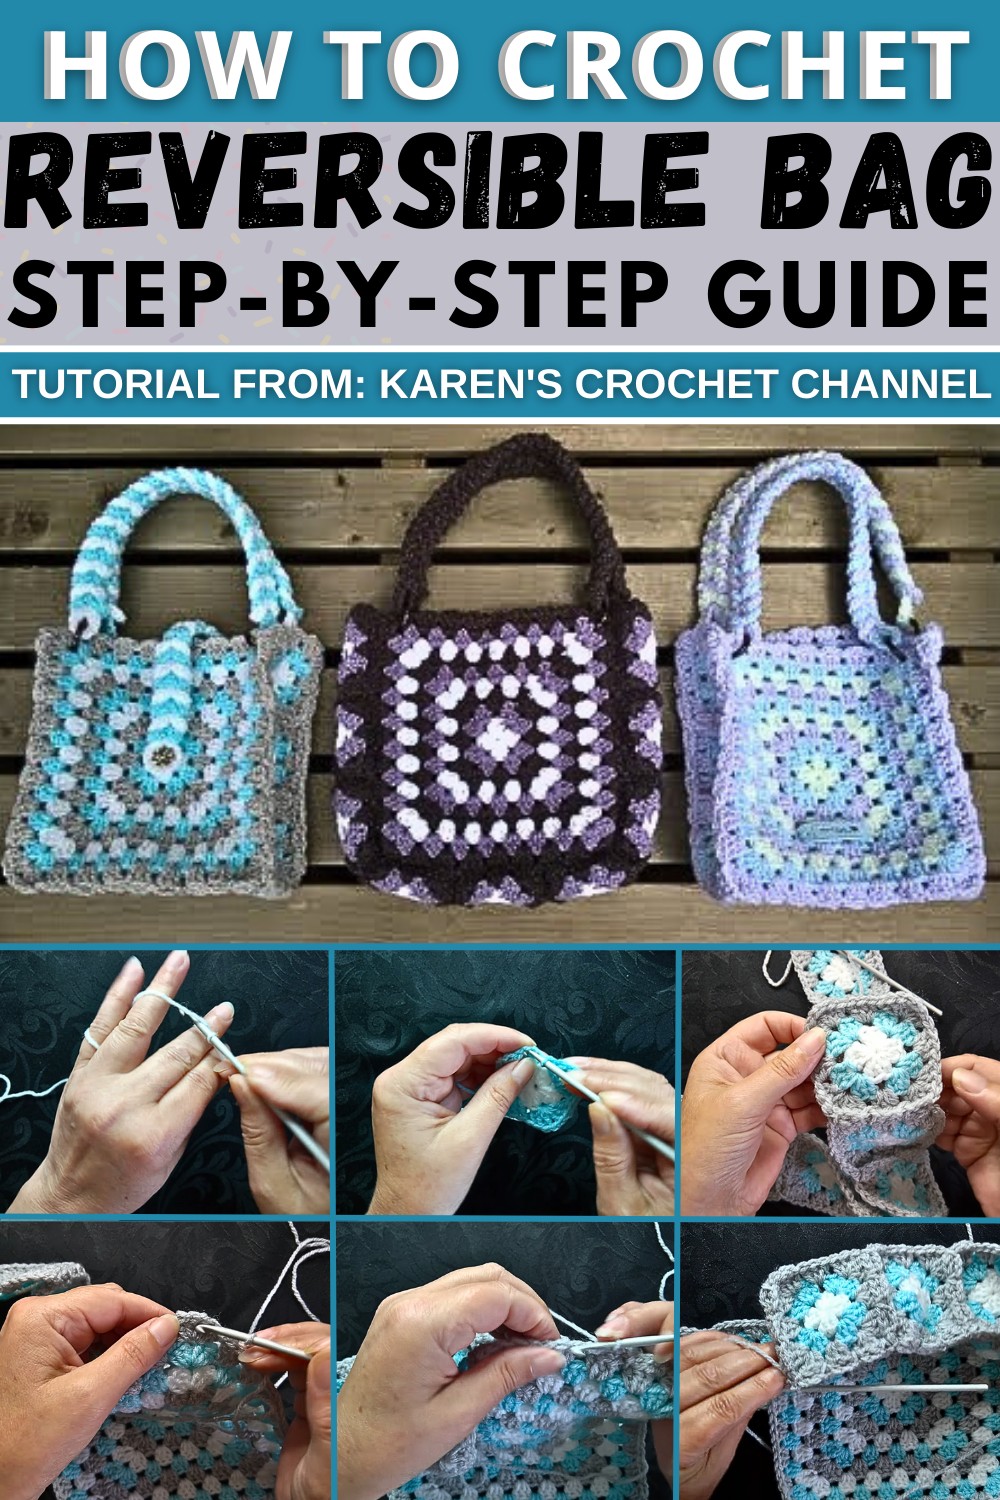
Close-up of joined granny squares and a finished handle illustrating the construction details.