


Make a Cute Crochet Amigurumi Snail — Free Step-by-Step Pattern
Meet the adorable Crochet Amigurumi Snail – a charming little companion that is sure to bring a smile to your face! With its squishy shell and cute eyes, this easy-to-follow pattern walks you through making a small, cuddly snail. Suitable for beginners who know basic single crochet and increases/decreases, the pattern uses simple rounds and assembly steps. Gather your materials and enjoy a cozy crafting session.
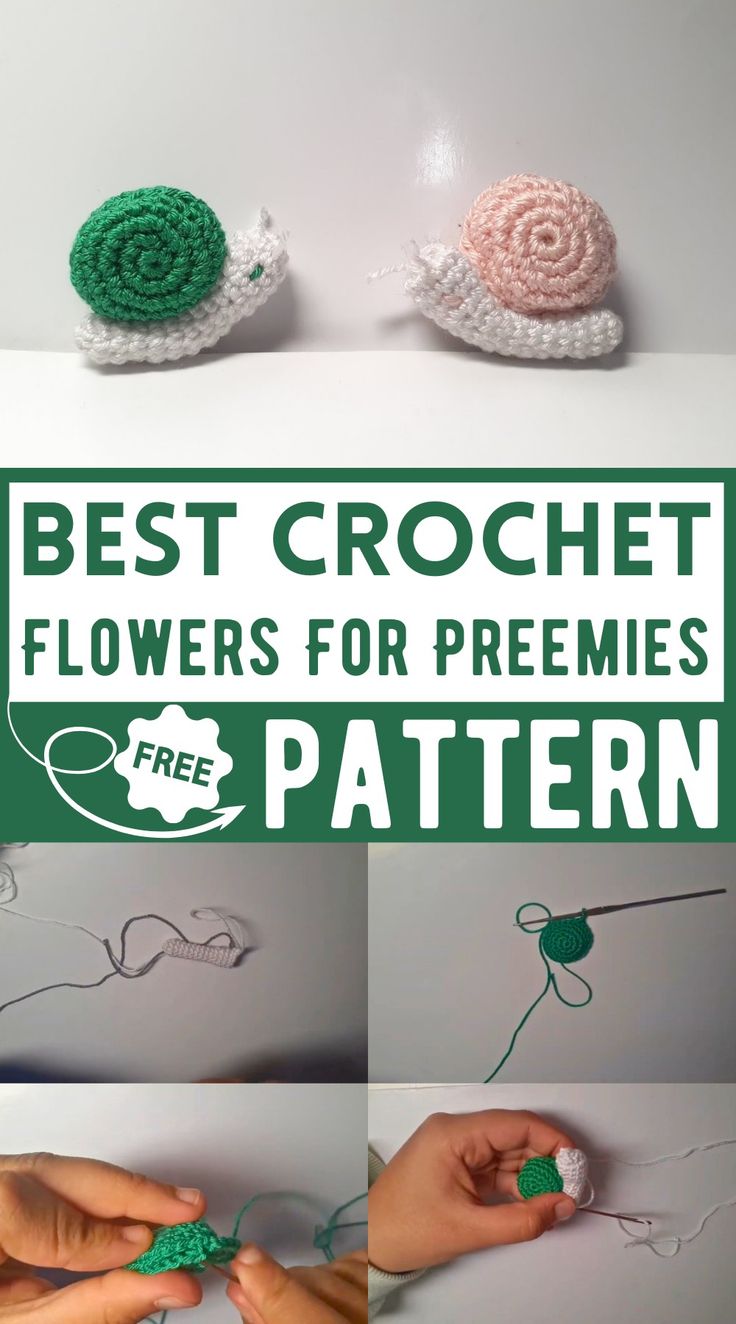
Finished amigurumi snail showing its squishy shell and cute eyes.
Materials Needed:
- Crochet hook
- Scissors
- Two colors of yarn (one for the shell, one for the body)
- Stuffing (fiber, cotton, or yarn scraps)
- Yarn needle
Abbreviations:
- sc: single crochet
- inc: increase (2 single crochet in the same stitch)
- dec: decrease (single crochet two stitches together)
- st: stitch
Tips before you start: Use a stitch marker to mark the first stitch of each round. Stuff gradually to keep a smooth shape. If this toy is intended for small children, consider embroidering the eyes instead of using glued or small plastic eyes for safety.
Body
Round 1: Make a magic circle, work 8 sc into the magic circle. (8 stitches)
Rounds 2-11: 1 sc in each stitch around. (8 stitches)
Remember to use a stitch marker to keep track of your rounds.
Round 12: (1 sc, 1 inc) repeat around. (12 stitches)
Rounds 13-15: 1 sc in each stitch around. (12 stitches)
Stuff: Start stuffing the body now.
Round 16: Dec around. (6 stitches)
This will close off the body. Fasten off, leaving a long tail for sewing. Use the tail to close any remaining hole by sewing through the front loops of the remaining stitches and pulling tight.
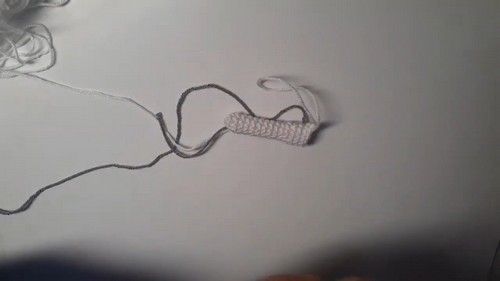
The crocheted body piece before final stuffing and closing.
Shell
Round 1: Make a magic circle, work 8 sc into the magic circle. (8 stitches)
Round 2: Inc in each stitch around. (16 stitches)
Round 3: (1 sc, 1 inc) repeat around. (24 stitches)
Rounds 4-5: 24 sc in each stitch around.
Fasten Off: Leave a long tail for sewing.
Repeat these steps to create the second half of the shell.
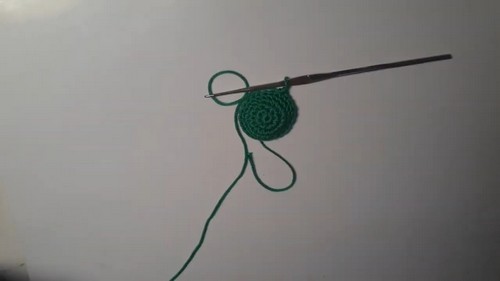
Two shell halves made and ready to be sewn together.
Assembly
Sew Shell Halves: Place the two halves of the shell together and sew around the outer edges. Leave a small opening to stuff the shell.
Stuff Shell: Stuff the shell and finish sewing the opening closed. Fasten off and weave in any remaining ends.
Attach Shell to Body: Position the shell on the body and use the long tail from the shell to sew it to the body. Secure well and weave in any remaining ends.
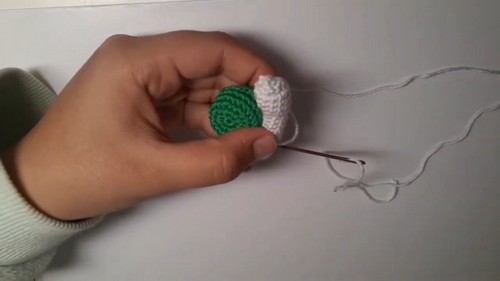
Sewing the shell halves together and attaching the completed shell to the body.
Eyes and Antennas
Eyes: Use a scrap of yarn to embroider two eyes on the head of the snail. You can use black or any other color you prefer. For a different look, use safety eyes (insert before closing the head) or small felt circles glued on if not intended for young children.
Antennas: Cut a small length of yarn and attach it securely at the top of the head, then trim to the desired length for antennas. You can braid or twist the yarn for a different texture.
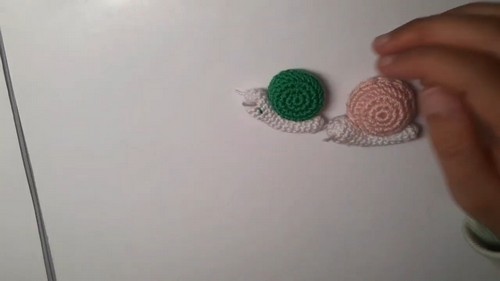
Final finished amigurumi snail with embroidered eyes and yarn antennas.
Finally, your cute little snail is complete! Customize colors, add little embellishments like a tiny leaf or a blush with a small bit of yarn, and enjoy your handmade amigurumi. Happy crocheting!