


Crochet Mini Lotus Flower — Step-by-Step Pattern & Assembly
Create a delicate crochet mini lotus flower with layered petals, a textured core, a bud and leaf — perfect for small arrangements, brooches, or decorative accents. This guide walks you through every part: first and second petal layers, the flower core, a bud, the leaf and how to assemble everything onto a short branch. The pattern uses common stitches (sc, hdc, dc, tr, dtr) and basic techniques like the magic loop, picot, and working in front or back loops.
Enjoy the process of crafting each petal and assembling the pieces into a charming handmade lotus.
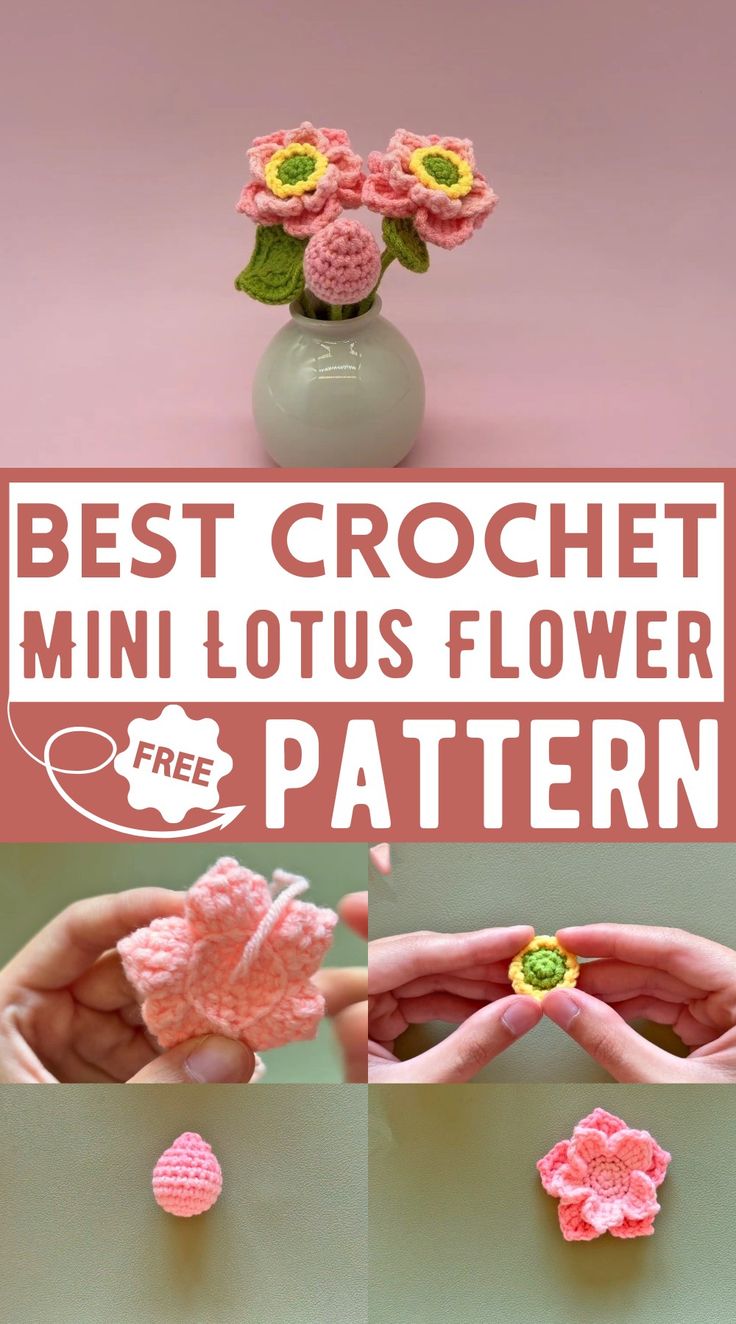
Materials Needed
- Pink yarn
- Dark pink yarn
- Green yarn
- Yellow yarn
- Crochet hook suitable for your yarn
- Branch (around 15 cm)
- Hot melt glue (optional)
- Needle
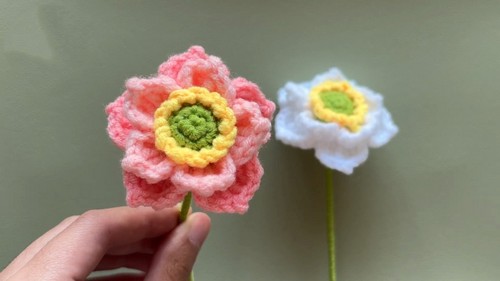
Part 1: Flower
First Layer of Petals (Pink)
Magic Loop:
Make a magic loop with pink yarn.
Round 1:
Single crochet (sc) 5 times around the loop.
Pull the loop tight.
Slip stitch (sl st) in the first stitch.
Round 2:
Chain 1.
Make an increase (2 sc in each stitch) in every stitch around.
You will have 10 stitches at the end.
Sl st in the first stitch.
Round 3:
Chain 1.
Single crochet followed by an increase 5 times around.
You will have 15 stitches at the end.
Sl st in the first stitch.
Forming Petals:
Chain 2.
Work in the front loops only for this round.
Double crochet (dc) in the first loop, triple crochet (tr) back in the same loop.
Tr in the next loop, chain 1, make a picot (chain 1, sl st in the same stitch).
Tr back in the same loop.
Tr in the next loop, dc back in the same loop.
Chain 2, sl st in the same loop.
Repeat the pattern to make a total of 5 petals.
Finish:
Fasten off and hide tails.
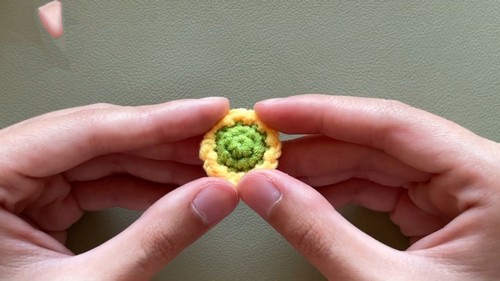
Second Layer of Petals (Dark Pink)
Finding Starting Point:
Work in the back loops of Round 3, starting from the last back loop.
Attaching Yarn:
Take dark pink yarn, wrap it around your hand, and pinch the tail to the back of the flower.
Yarn over and pull through.
Chain 3:
Make a triple crochet (tr) back in the same stitch.
Double triple crochet (dtr) in the next stitch.
Chain 1, picot.
Dtr back in the same stitch.
Dtr in the next stitch.
Tr back in the same stitch.
Chain 3, sl st in the same stitch.
Repeat the pattern to make a total of 5 petals.
Finish:
Fasten off and hide tails.
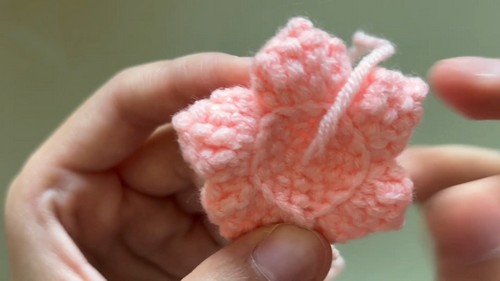
Part 2: Flower Core
Magic Loop:
With green yarn, make a magic loop.
Round 1:
Single crochet (sc) 5 times around the loop.
Pull it tight.
Sl st in the first stitch.
Round 2:
Chain 1.
Make 5 increases (2 sc in each stitch).
Round 3:
Single crochet in every back loop around.
Push the right side out.
Continue in the back loops.
Make 5 decreases (sc2tog).
Fasten off, leaving a tail.
Closing:
Thread a needle with the tail, sew through each front loop to close. Pull tight.
Hide the yarn tail in the flower core.
Adding Detail:
With yellow yarn, wrap it around your hand and pinch tail to back.
Chain 2, sl st in the next loop.
Repeat in each loop around.
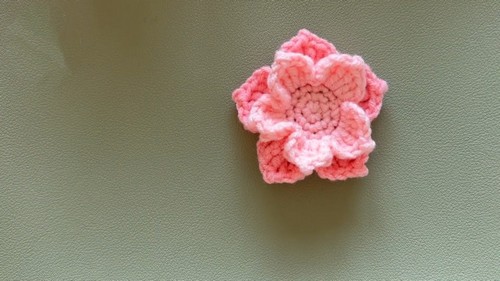
Part 3: Bud
Rounds 1-5:
Follow the pattern from the video to finish rounds 1 to 5.
Round 6:
With dark pink yarn, single crochet in every stitch. (18 sts at end)
Round 7:
Single crochet, decrease around. (6 times)
Rounds 8-9:
Follow the pattern to finish the final rounds.
Don’t forget to stuff the bud during the process.
Closing:
Sew through each front loop, pull tight, hide tails.
Part 4: Leaf
Magic Loop:
With green yarn, make a magic loop.
Round 1:
Single crochet (sc) 10 times around the loop.
Pull it tight.
Sl st in the first stitch.
Round 2:
Chain 1.
Work in the back loops only.
Make 10 half double crochet (hdc) increases.
Sl st to end.
Big Leaf:
Just make an hdc increase in every stitch in round 3.

Part 5: Assembling
Attaching Flower Core:
Stick the flower core to the flower using hot melt glue or by sewing.
Attaching Branch:
Take a branch (around 15 cm), apply glue to the top, and stick it to the back of the flower center.
Wrap green yarn around the whole branch, applying glue as needed.
Adding Details:
Repeat for other pieces.
Arrange them in a small vase.