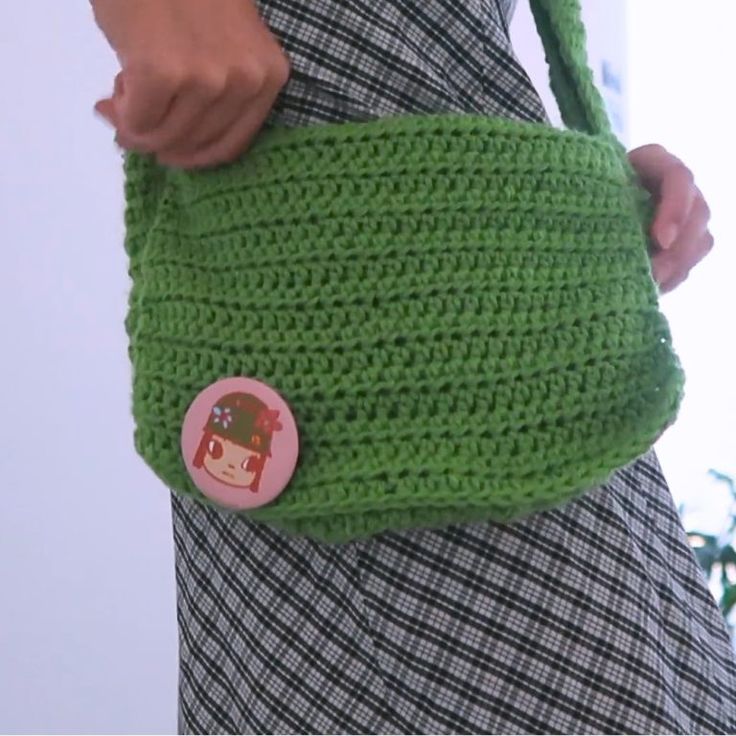
Crochet Messenger Bag
Imagine strolling through the farmer's market with your stylish crochet messenger bag slung over your shoulder — not only do you have a handy way to carry your fresh produce, but you're also making a fashion statement! These versatile bags are not only practical with plenty of space for all your essentials, but they also add a touch of handmade charm to any outfit. Whether you're heading to the beach, running errands, or meeting friends for coffee, the crochet messenger bag is the perfect accessory to showcase your unique style while staying organized on-the-go.
Materials Needed
- 4.5 mm hook
- Yarn
- Scissors
- Needle
- Optional: Fabric (for lining the bag)
Step by step Instructions
The bag consists of three main parts:
- Front Panel
- Back Panel
- Strap
Step 1: Creating the Front Panel
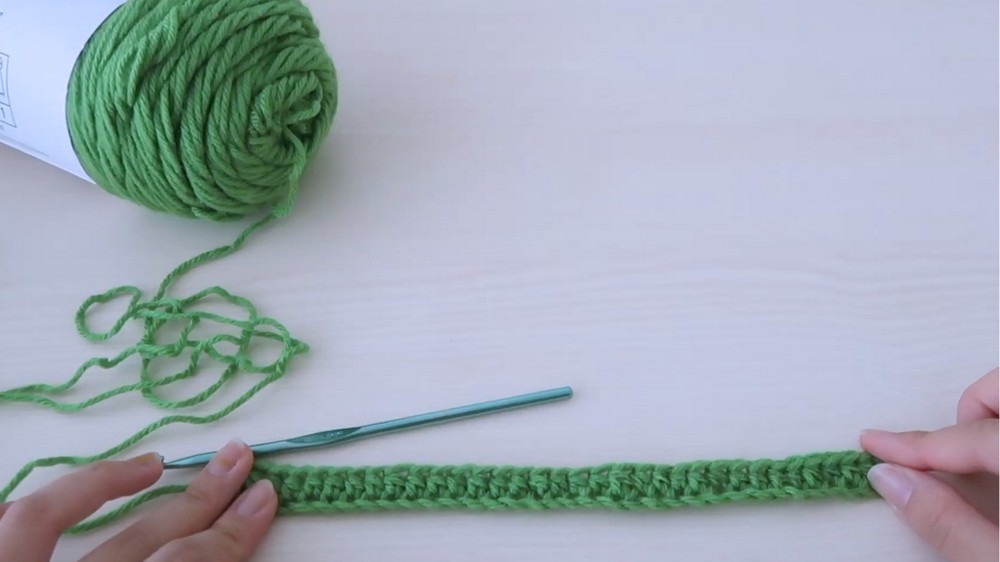
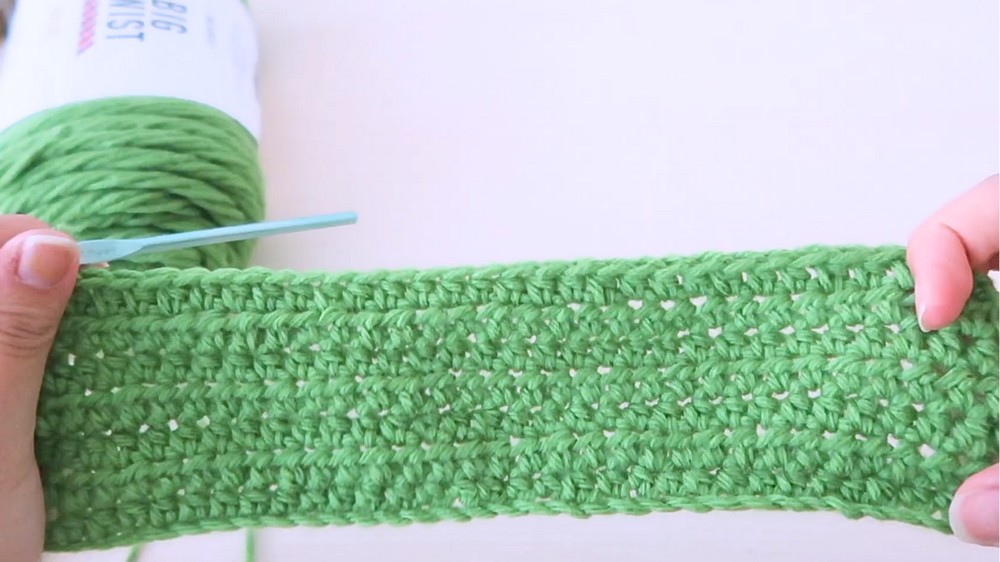
Slip Knot and Chain: Slip knot onto the hook and chain 35.
Starting the First Row: Chain 1, then half double crochet (hdc) into the third chain from the hook. Continue with hdc across the entire row.
Subsequent Rows: Chain 1, turn your work, and hdc across. Repeat this process for 17 more rows (total of 18 rows).
Finish Off: After completing the rows, tie off and cut the yarn.
Step 2: Creating the Back Panel
Slip Knot and Chain: Slip knot onto the hook and chain 35.
Starting the First Row: Chain 1, then half double crochet into the third chain from the hook.
Subsequent Rows: Continue with hdc across, either for 35 rows if adding a button or 37 rows for no button.
Button Option: For a buttonhole, in the 35th row, mark the center, hdc to the center, chain 2, skip the middle stitch, and continue hdc to the end.
No Button: Add two extra rows for a longer flap.
Finish Off: Tie off and cut the yarn.
Step 3: Creating the Strap
Slip Knot and Chain: Slip knot and chain 7.
Starting the First Row: Chain 1, then hdc into the third chain from the hook, making 7 hdc.
Subsequent Rows: Continue the same row for 175 rows or adjust for desired strap length.
Slip Stitch: After completing the rows, slip stitch tightly around the entire strap to create a strong border that prevents stretching.
Finish Off: Leave a long strand before cutting to make assembly easier.
Step 4: Assembling the Bag
Attach the Panels: Use a needle to attach the front and back panels, starting at the bottom and working around the sides.
Sewing: Sew in the ends for stability.