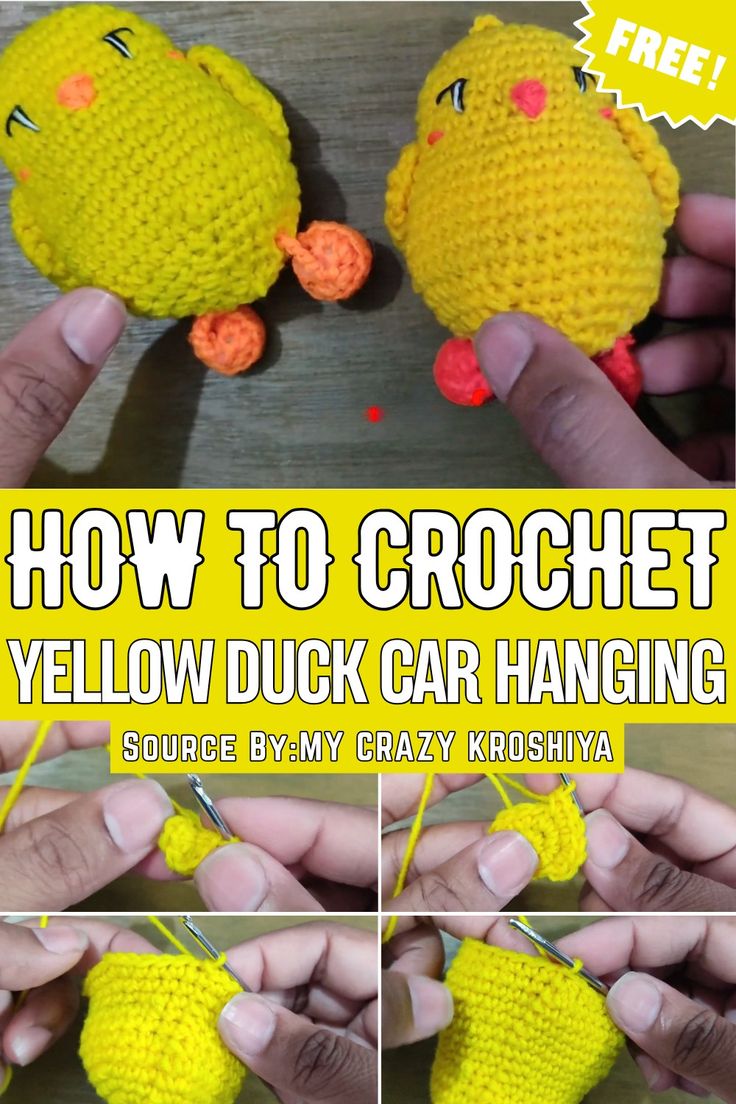
Crochet Yellow Duck Car Hanging
Brighten up your car and add a touch of charm with the Crochet Yellow Duck Car Hanging! This adorable accessory will bring a smile to your face every time you hit the road. Hand-crocheted with love and attention to detail, this cheerful yellow duck is sure to be a conversation starter among your friends and family. Not only does it look cute dangling from your rearview mirror, but it also adds a personal touch to your car interior. Spread some joy wherever you go with this delightful crochet creation!
Materials Needed
To complete this project, gather the following materials:
Yarn: Soft, durable yarn in required colors (Yellow, blue, black, etc.).
Crochet Hook: Appropriate size for your chosen yarn.
Fiber Filling: Polyester fiber for stuffing the toy.
Stitch Marker: Optional, for marking the beginning of rounds.
Needle: For sewing parts together and weaving in ends.
Scissors: For trimming excess yarn.
Abbreviations of Stitches
Here are the commonly used crochet abbreviations for this project:
- ch: Chain
- sc: Single Crochet
- sl st: Slip Stitch
- inc: Increase (two single crochets in one stitch)
- dec: Decrease (single crochet two stitches together)
- blo: Back Loop Only
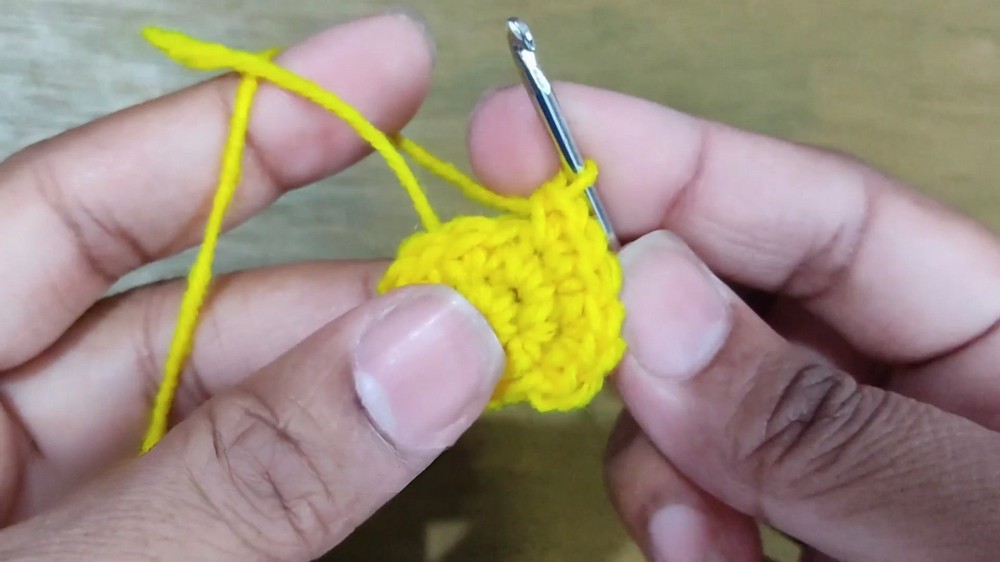
Step-by-Step Pattern
Follow these detailed instructions to crochet the plush character:
Magic Ring & First Round
Create a magic ring.
Work the required number of single crochets into the magic ring as described in the video.
Join the round with a slip stitch to the first stitch.
2nd Round
Chain 1.
Begin increasing by doing 1 single crochet (sc) and then making an increase (inc) – 2 stitches in the next stitch.
Repeat this pattern around: (1 sc, 1 inc).
Slip stitch to the first stitch to complete the round.
Subsequent Rounds
For each following round, increase the number of single crochets between increases:
Round 3: (2 sc, 1 inc).
Round 4: (3 sc, 1 inc).
Continue this format until the base is the desired diameter or size.
Slip stitch at the end of each round.

Middle Section: Uniform Rounds
Chain 1, then work 1 sc into each stitch around.
Repeat this for about 10 rounds (adjust as necessary for desired height).
Slip stitch at the end of each round.
Decreasing Section
Start decreasing to shape the toy: (11 sc, 1 dec).
Repeat the decrease pattern gradually across subsequent rounds, reducing the number of sc between decreases. For example:
Round 1 of decreases: (11 sc, 1 dec).
Round 2 of decreases: (10 sc, 1 dec).
Continue until the diameter reduces.
Insert fiber filling before fully decreasing.
Final Closing
Decrease stitches six times in one round.
Leave a long yarn tail and cut off any excess yarn.
Use the yarn tail and needle to stitch the opening closed securely.
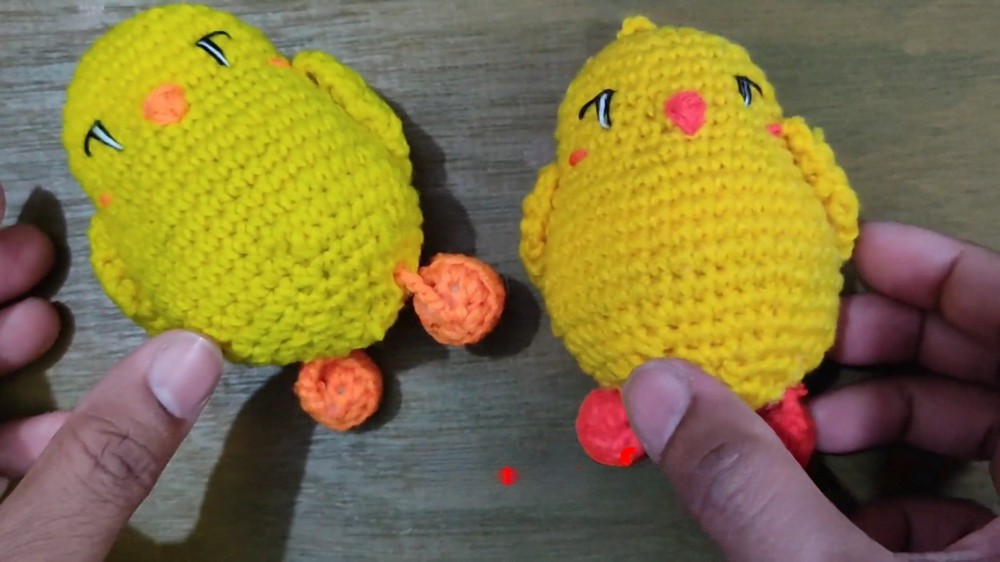
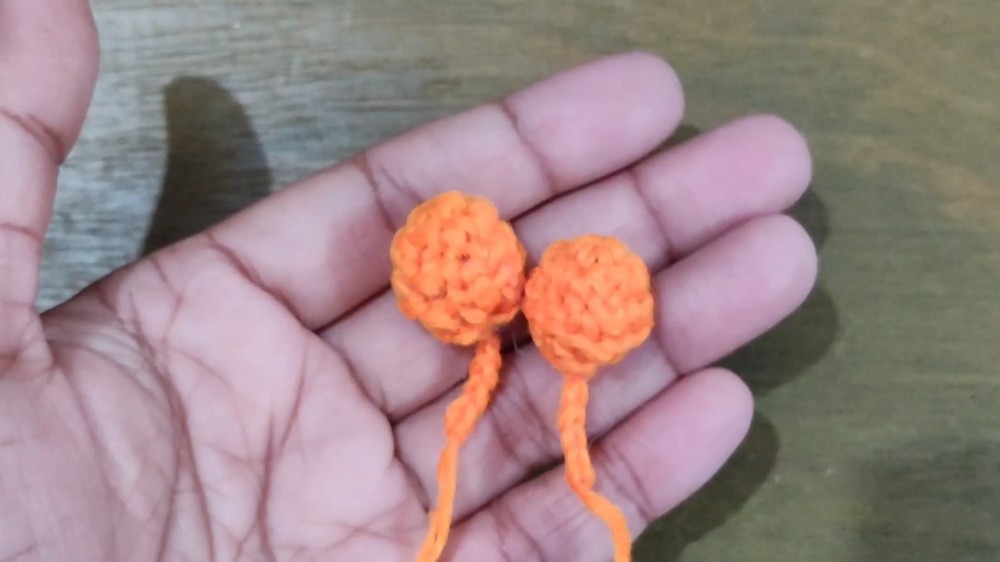
Legs
To make the legs, crochet new rounds in the same manner (using only blo for shaping).
Decrease stitches six times in the round to taper the shape.
Fill with fiber, and then stitch the legs onto the main body between rounds 20 and 21.
Face & Accessories
Add facial features (such as goggles or eyes) using crochet, felt, or embroidery.
Stitch any additional details between specified rounds as described.