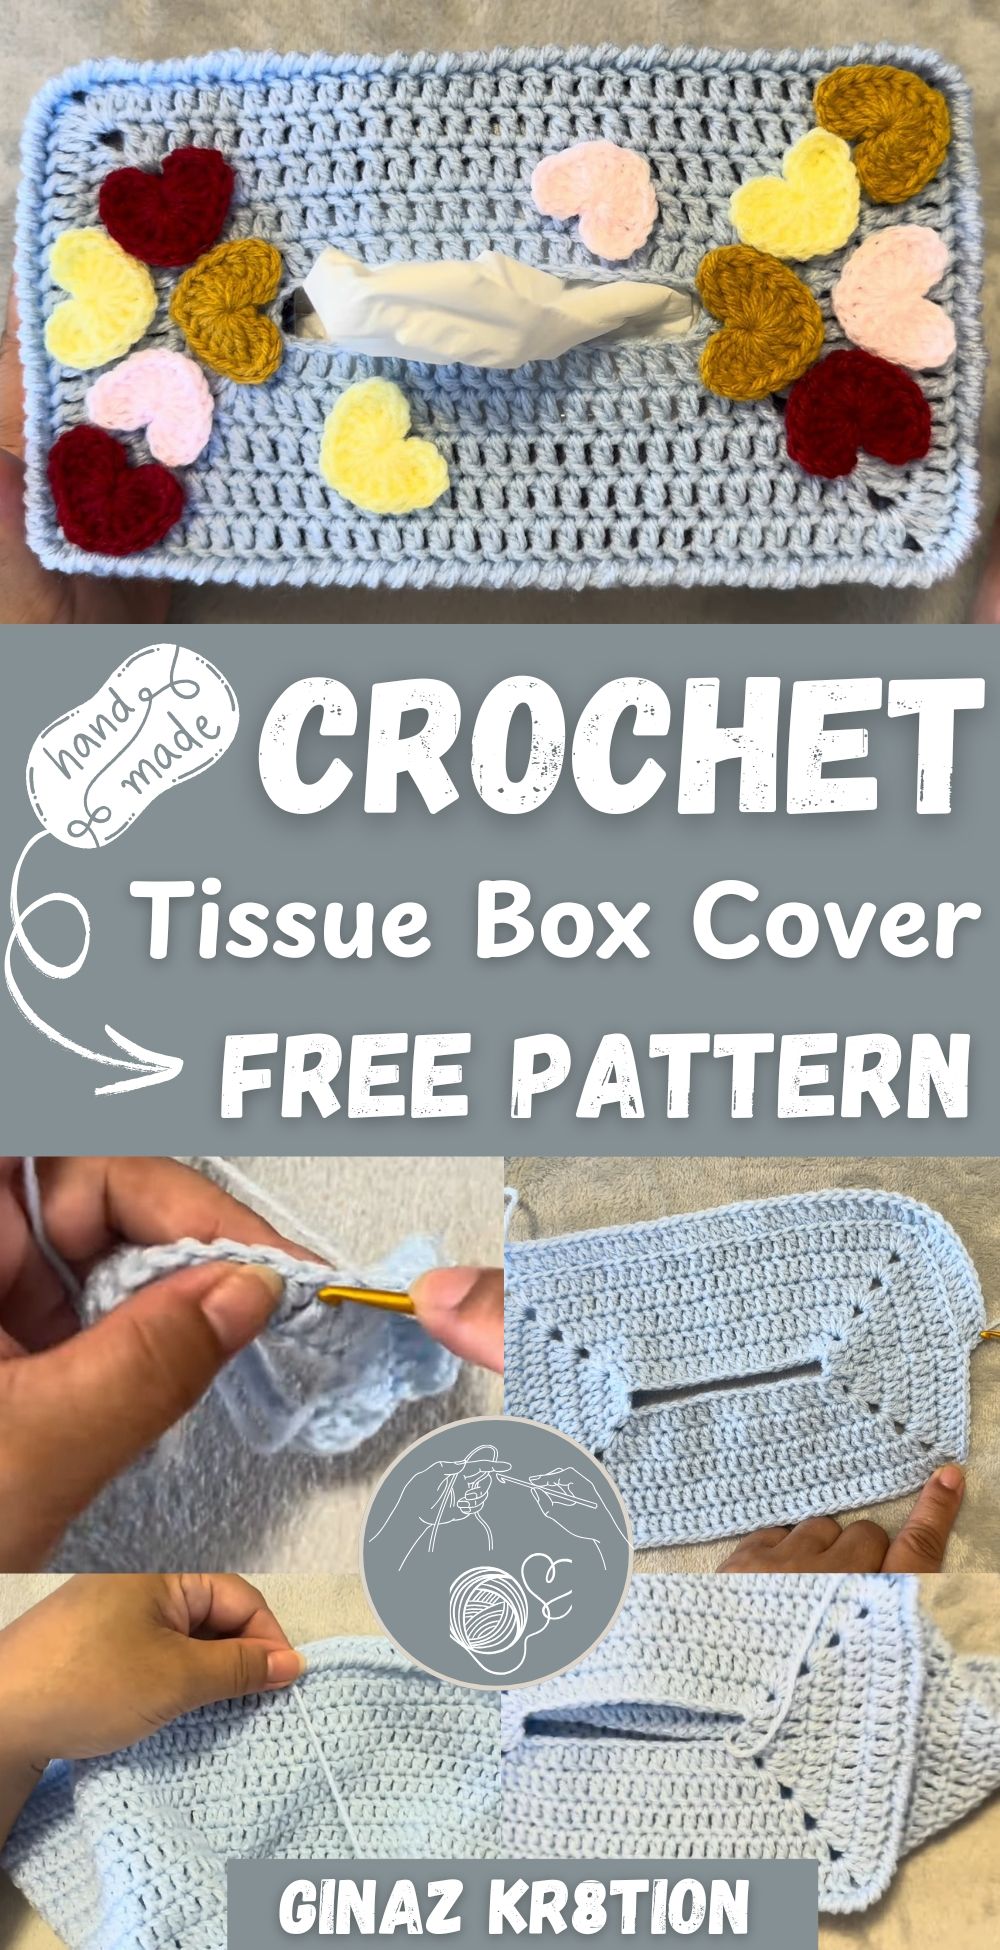
Crochet Tissue Box Cover
Crochet tissue box covers are a fun and practical way to spruce up any room in your home! Not only do they add a cozy touch to your decor, but they also help keep your tissues neatly organized and easily accessible. You can customize your cover with different colors, patterns, and even add embellishments like buttons or pom-poms to match your style and enhance the overall aesthetic of your space. Crocheting a tissue box cover can also be a relaxing and enjoyable craft project, perfect for beginners and seasoned crocheters alike. Plus, they make fantastic handmade gifts for family and friends, adding a personal touch to any present. So grab your yarn and crochet hook, and get ready to add a touch of charm to your tissue boxes!
Materials
- Yarn: Weight 3 (baby sport yarn, white used)
- Hook Size: 3.5 mm (Size 8)
- Notions: Scissors, yarn needle
Instructions
Base – Round 1
Chain 40.
Join with a slip stitch into the back ridge of the first chain, making sure not to twist.
Chain 3.
Double crochet (DC) into the next back ridge.
In the next back ridge, make a V-stitch (DC, ch 1, DC).
DC into the next 16 back ridges.
Make a V-stitch in the next back ridge.
DC into the next 2 back ridges.
Make a V-stitch in the next back ridge.
DC into the next 16 back ridges.
Make a V-stitch into the last back ridge.
Join with a slip stitch to the top of the starting chain-3.
Stitch Count: 4 DC on each short side, 18 DC on each long side.
Sides – Round 2
Chain 3.
DC in the next 2 stitches.
Make a Shell Stitch in the corner space (2 DC, ch 2, 2 DC).
DC across to the next corner.
Make a shell stitch in that corner.
DC in the next 4 stitches.
Shell stitch in the next corner.
DC across to the next corner.
Shell stitch in the final corner.
DC in the last stitch.
Join with a slip stitch at the top of the chain-3.
Stitch Count: 8 DC on short sides, 22 DC on long sides.
Sides – Round 3
Chain 3.
DC in the next 3 stitches.
Shell stitch in the corner.
DC in next 22 stitches.
Shell stitch in the corner.
DC in next 8 stitches.
Shell stitch in the corner.
DC in next 22 stitches.
Shell stitch in the corner.
DC in the final 3 stitches.
Join with a slip stitch to the top of the chain-3.
Rounds 4 & 5 – Repeat
Repeat Round 3 two more times.
Begin each round with a chain 3.
Work shell stitches into each corner.
Stitch Count (after Round 5): 20 DC on short sides, 34 DC on long sides.
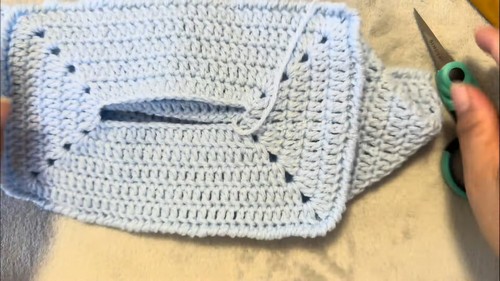
Round 6 – Top Opening
Chain 3.
Work in back loops only for the entire round.
DC across to the corner, using only back loops.
Skip the ch-2 corner space.
Continue DC across to the next corner (in back loops only).
Repeat this around.
Join to top of the chain-3.
Stitch Count: 108 DC total.
Rounds 7 to 13 – Body
Chain 3.
Work 1 DC into each stitch around, using both loops.
Join with a slip stitch to the top of the chain-3.
Repeat this round 6 more times (total 7 rounds of DC).
Maintain 108 DC in each round.
Round 14 – Additional DC Round
Chain 3.
DC in each stitch around.
Join with a slip stitch at the top of the chain-3.
Round 15 – Single Crochet (SC)
Chain 1.
SC into the same stitch as joining.
SC in each stitch around.
Do not join.
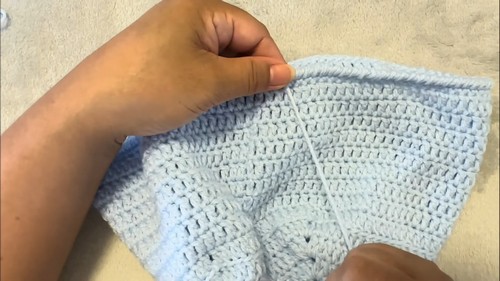
Crab Stitch Edging – Top
Chain 1.
Work Crab Stitch (reverse single crochet) around the top:
Insert hook into previous stitch (moving backwards), yarn over, pull up loop, yarn over and pull through both loops.
Continue crab stitch around entire edge.
Finish by weaving the tail through the base of the first crab stitch to close the round.
Cut yarn and weave in ends securely.
Crab Stitch Edging – Bottom
Join yarn into any stitch along the bottom edge.
Chain 1.
Work crab stitch as above, continuing around the entire base.
In corners, work into front loops only of the ch-2 spaces to keep edges neat.
Finish round, cut yarn, and weave in tails securely to close the gap and clean up the edge.
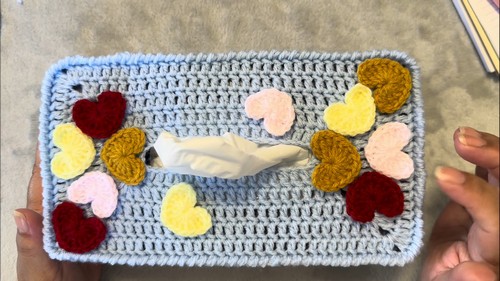
Optional Embellishment
You can add a heart applique or other embellishments.