

Crochet Pebble Beanie: Textured Puff-Stitch Hat Pattern (Child to Large Adult)
Stay warm and stylish with the Crochet Pebble Beanie — a cozy hat featuring a textured pebble (puff) stitch that creates a charming, bumpy surface. This pattern is worked from the bottom up with a ribbed brim and turned rounds for the body, and is written in three sizes: Child, Small Adult, and Large Adult. Customize with your favorite worsted-weight yarn colors for a unique look.
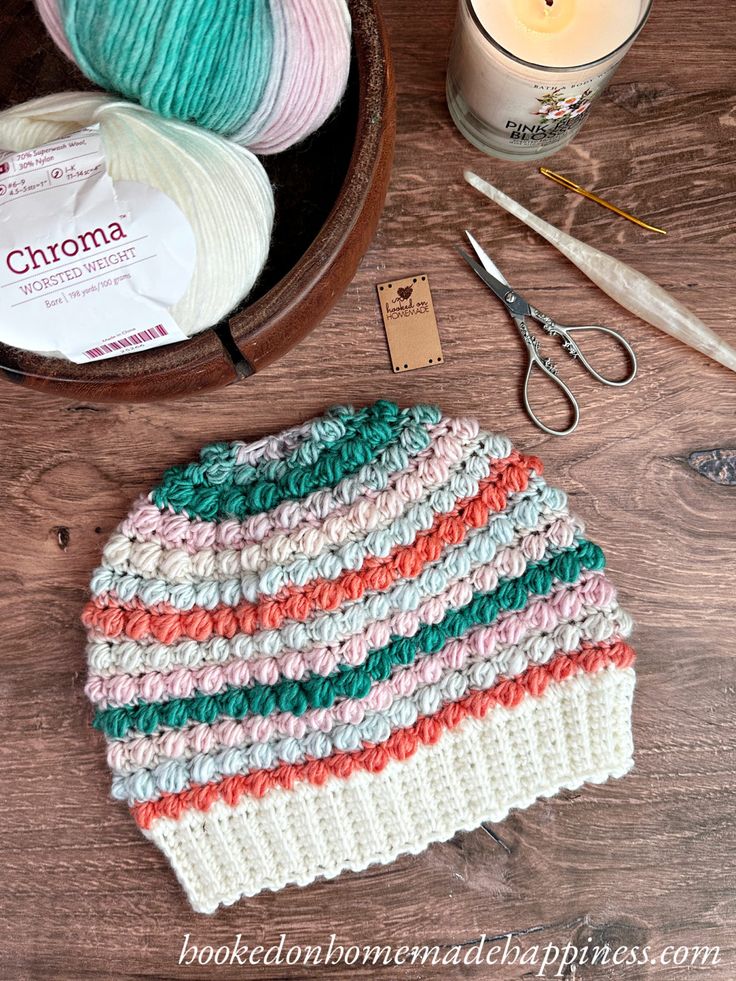
Caption: Finished Crochet Pebble Beanie worked in two colors, showing the ribbed brim and pebble texture.
Materials
100g worsted weight (acrylic, wool, or a blend) yarn in 2 colors (I used WeCrochet Chroma in Bare and Sea Anemone)
I/5.5 mm hook
Yarn needle
Scissors
Level
intermediate
Pattern notes & stitches to know
ch – chain
sl st – slip stitch
sc – single crochet
sc blo – single crochet back loop only
PS – puff stitch – *yarn over, insert hook into next stitch, pull up a loop* repeat from * to * 2 more times, yarn over, pull through all 7 loops
RS – right side
WS – wrong side
written in US terms
ch 1 does not count as sc
This beanie is worked from the bottom up, starting with the ribbing around the bottom.
The main portion of the beanie is made in turned rounds.
Approx Finished Size –
Child: Circumference: 18” Length: 7”
Small Adult: Circumference: 20” Length: 8”
Large Adult: Circumference: 22” Length: 8”
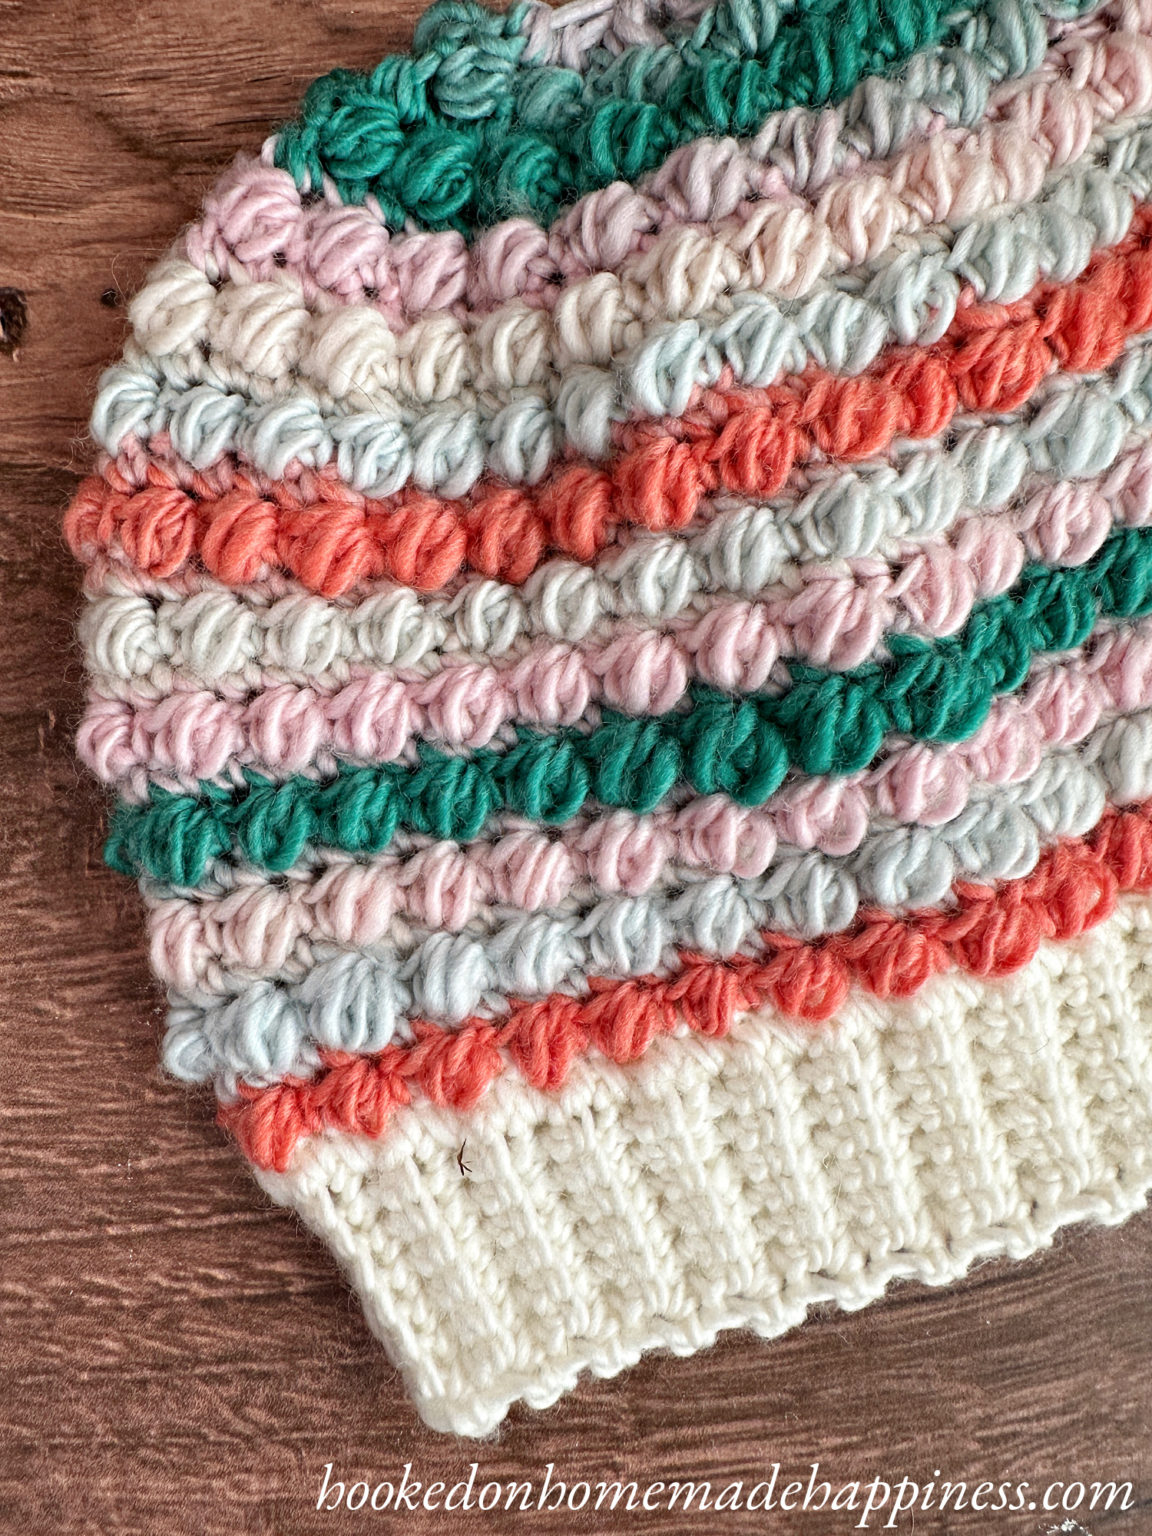
Caption: Close-up view of the pebble (puff) stitch texture and color change in the body of the beanie.
Pattern:
Pattern is written in 3 sizes. Child size is noted first, Small Adult noted in ( ), Large Adult noted in [ ]
Starting with the brim color ch 9
Row 1: sc in the 2nd ch from the hook and in each ch across (8 sc)
Row 2 – 66, (72) [78]: ch 1, turn, sc, sc blo in next 6 stitches, sc in last (8 sc)
To adjust the circumference, add or take out ribbing rows. Number of rows must be a multiple of 6.
Bring both short ends of the ribbing together, slip stitch the ends together. Now you will work around the top of the ribbing in joined rounds.
Round 1 (rs): ch 1, sc evenly around, working 1 sc in the end of each row of ribbing, join to the first sc with sl st (66, (72), [78] sc)
Change to main color
Round 2 (ws): ch 1, turn, sc in first stitch, PS in next, *sc in next stitch, PS in next* repeat from * to * around, join to first sc with sl st (66, (72), [78])
Round 3 (rs): ch 1, turn, sc in each stitch around, join to first sc with sl st (66, (72), [78] sc)
Round 4 (ws): ch 1, turn, PS in first stitch, sc in next, *PS in next stitch, sc in next* repeat from * to * around, join to first PS with sl st (66, (72), [78])
Round 5 (rs): ch 1, turn, sc in each stitch around, join to first sc with sl st (66, (72), [78] sc)
Round 6 – 12, (16), [20]: repeat rounds 2 – 5, ending with a round 4 repeat
Decreases for the crown begin in the next round
Round 17 (rs): ch 1, turn, *sc in 4 stitches, sc2tog* repeat from * to * around, join to first sc with sl st (55, (60), [65] sc)
Round 18 (ws): ch 1, turn, sc in first stitch, PS in next, *sc in next stitch, PS in next* repeat from * to * around, join to first sc with sl st (55, (60), [65])
Round 19 (rs): ch 1, turn, *sc in 3 stitches, sc2tog* repeat from * to * around, join to first sc with sl st (44, (48), [52] sc)
Round 20 (ws): ch 1, turn, PS in first stitch, sc in next, *PS in next stitch, sc in next* repeat from * to * around, join to first PS with sl st (44, (48), [52])
Round 21 (rs): ch 1, turn, *sc in 2 stitches, sc2tog* repeat from * to * around, join to first sc with sl st (33, (36), [39] sc)
Round 22 (ws): ch 1, turn, sc in first stitch, PS in next, *sc in next stitch, PS in next* repeat from * to * around, join to first sc with sl st (33, (36), [39])
Round 23 (rs): ch 1, turn, *sc in 1 stitch, sc2tog* repeat from * to * around, join to first sc with sl st (22, (24), [26] sc)
Round 24 (ws): ch 1, turn, PS in first stitch, sc in next, *PS in next stitch, sc in next* repeat from * to * around, join to first PS with sl st (22, (24), [26])
Round 25 (rs): ch 1, turn, sc2tog around, join to first sc with sl st (11, (12), [13] sc)
Fasten off.
Leave a long end for sewing.
Using a yarn needle, weave the long end in and out around the top of the beanie. Pull tight to cinch closed. Sew the top closed. Weave in the ends.
Enjoy your Crochet Pebble Beanie — experiment with color placement and yarn texture to make it your own.