

DIY Crochet Mushroom Keychain — Easy Step-by-Step Pattern with Photos
Make a charming crochet mushroom keychain to brighten your keys or bag. This small amigurumi-style accessory is quick to crochet, perfect for using scrap yarn, and makes a cute handmade gift. Below is a simple step-by-step pattern with photos to guide you through making the cap and stem, assembling, stuffing, and embroidering the details.
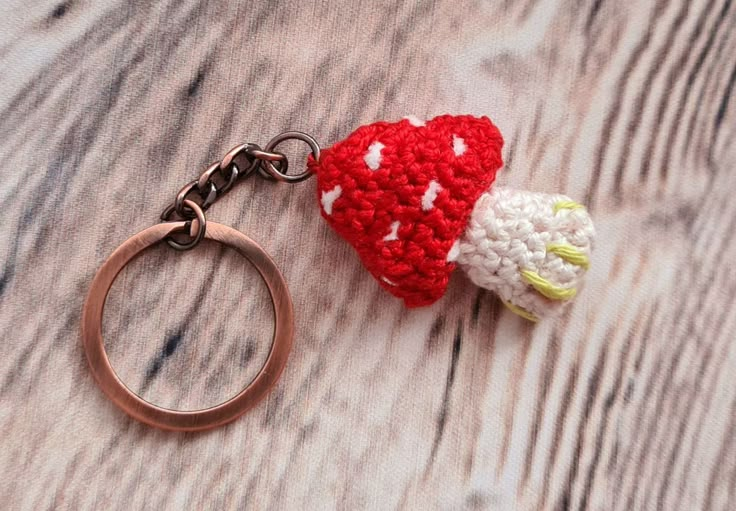
Finished crochet mushroom keychain, ready to attach to keys or a bag.
Materials:
- Crochet yarn (50 g ~ 115 m)
- Crochet hook size 2.00 mm
Abbreviations:
- DC – Double Crochet
- Sl st – slip stitch
- SC – Single Crochet
- CH – Chain
Part 1 (make 2 pieces = mushroom cap halves)
1. ch 11, in 2nd ch from hook work 1 sc, 9 sc
turn
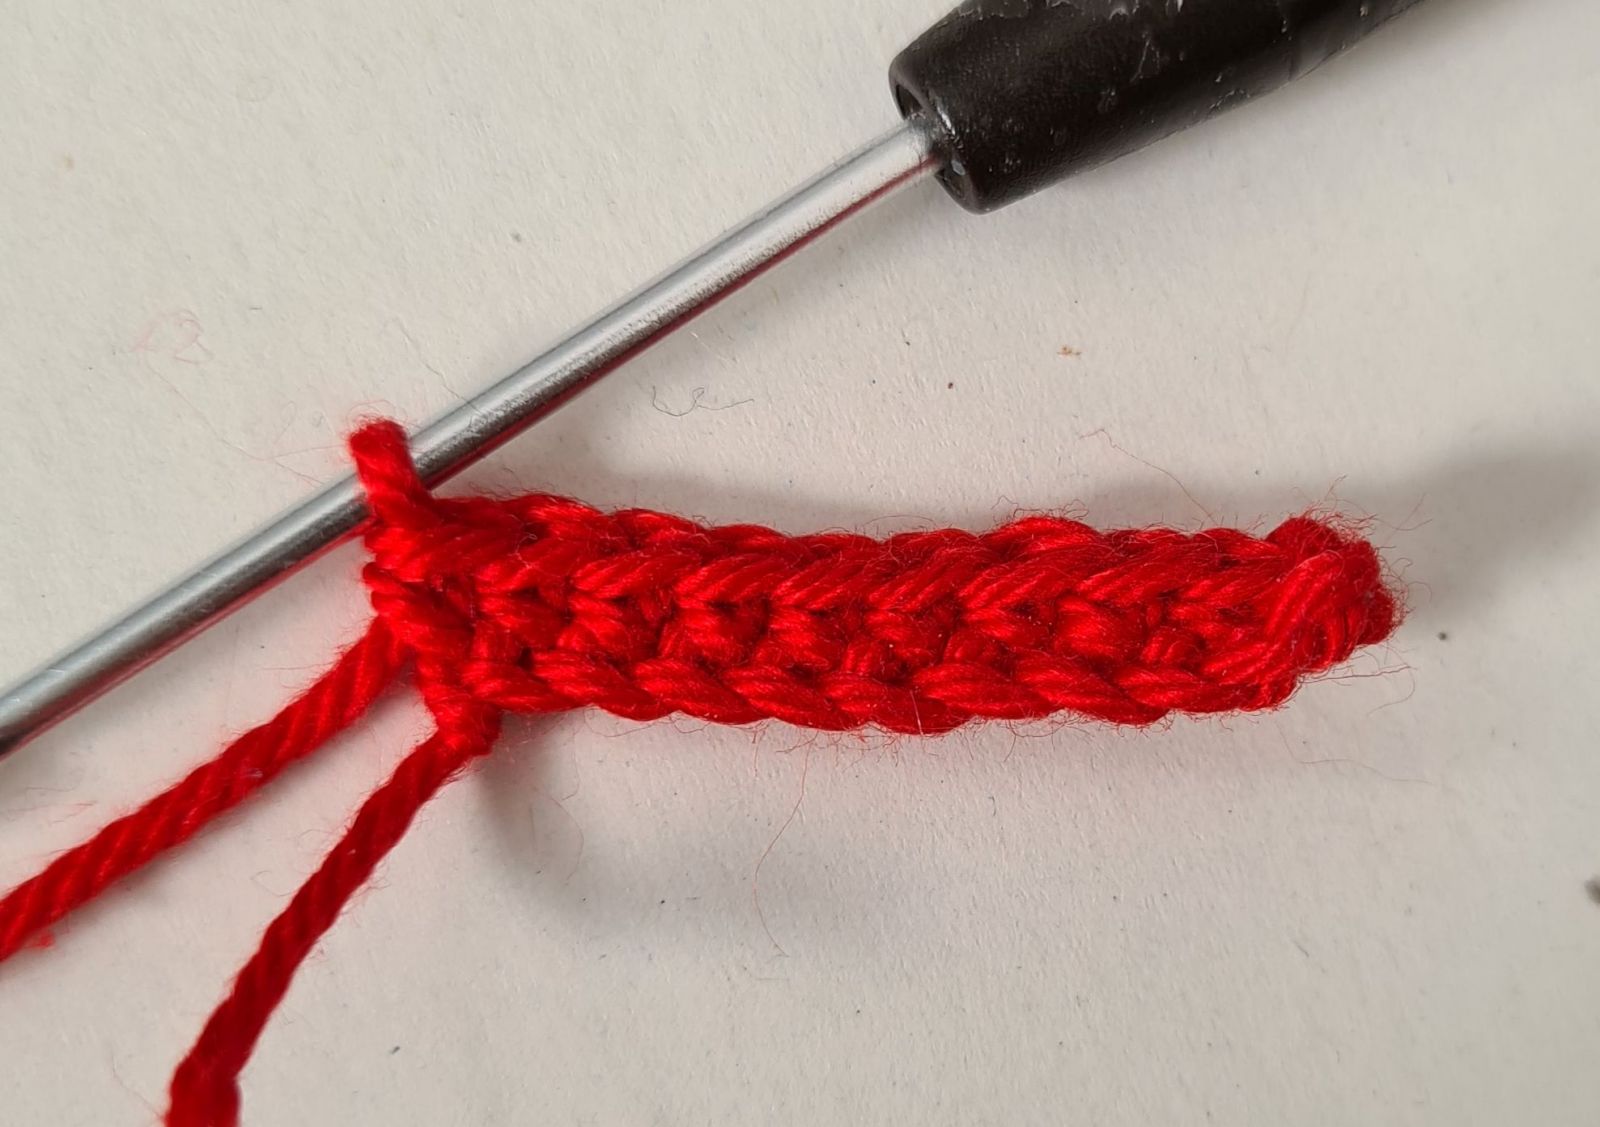
Starting the cap: chain foundation and first row of single crochets.
2. ch, 10 sc
turn
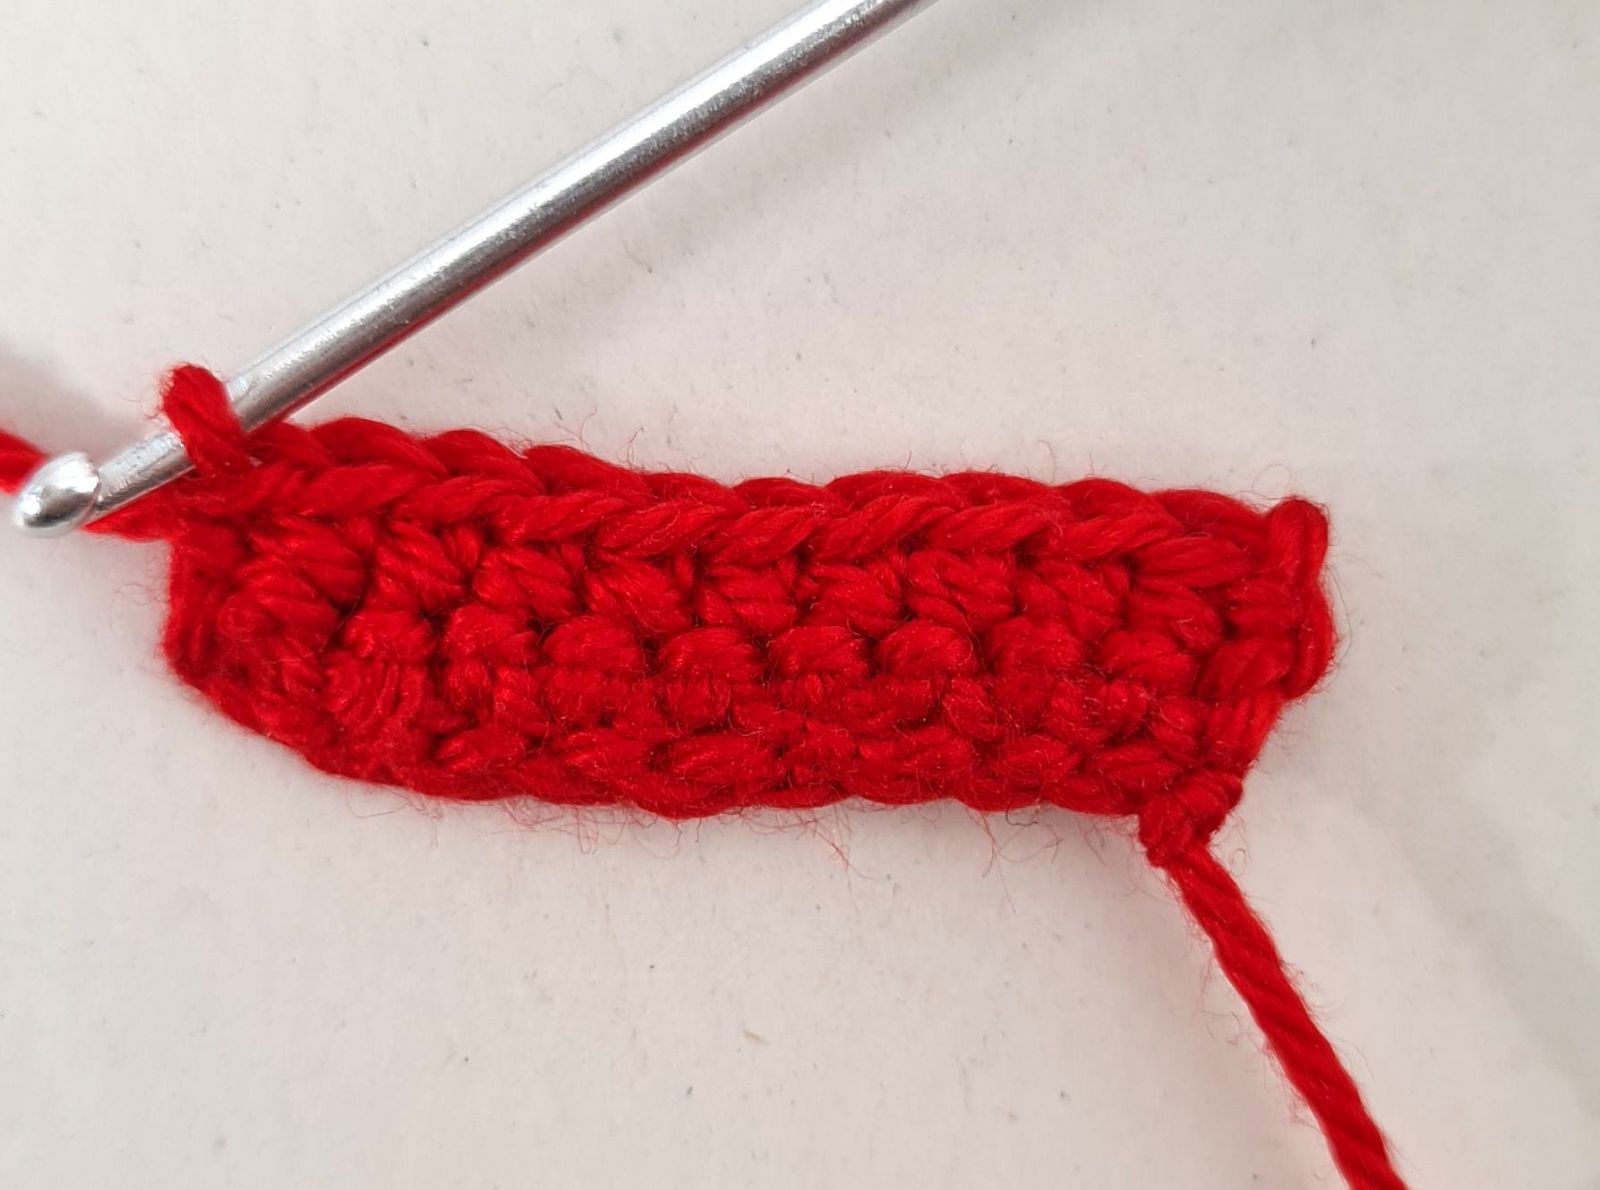
Shaping the cap with decreases to form the curve.
3. ch, 1x dec, 6 sc, 1x dec (8)
turn
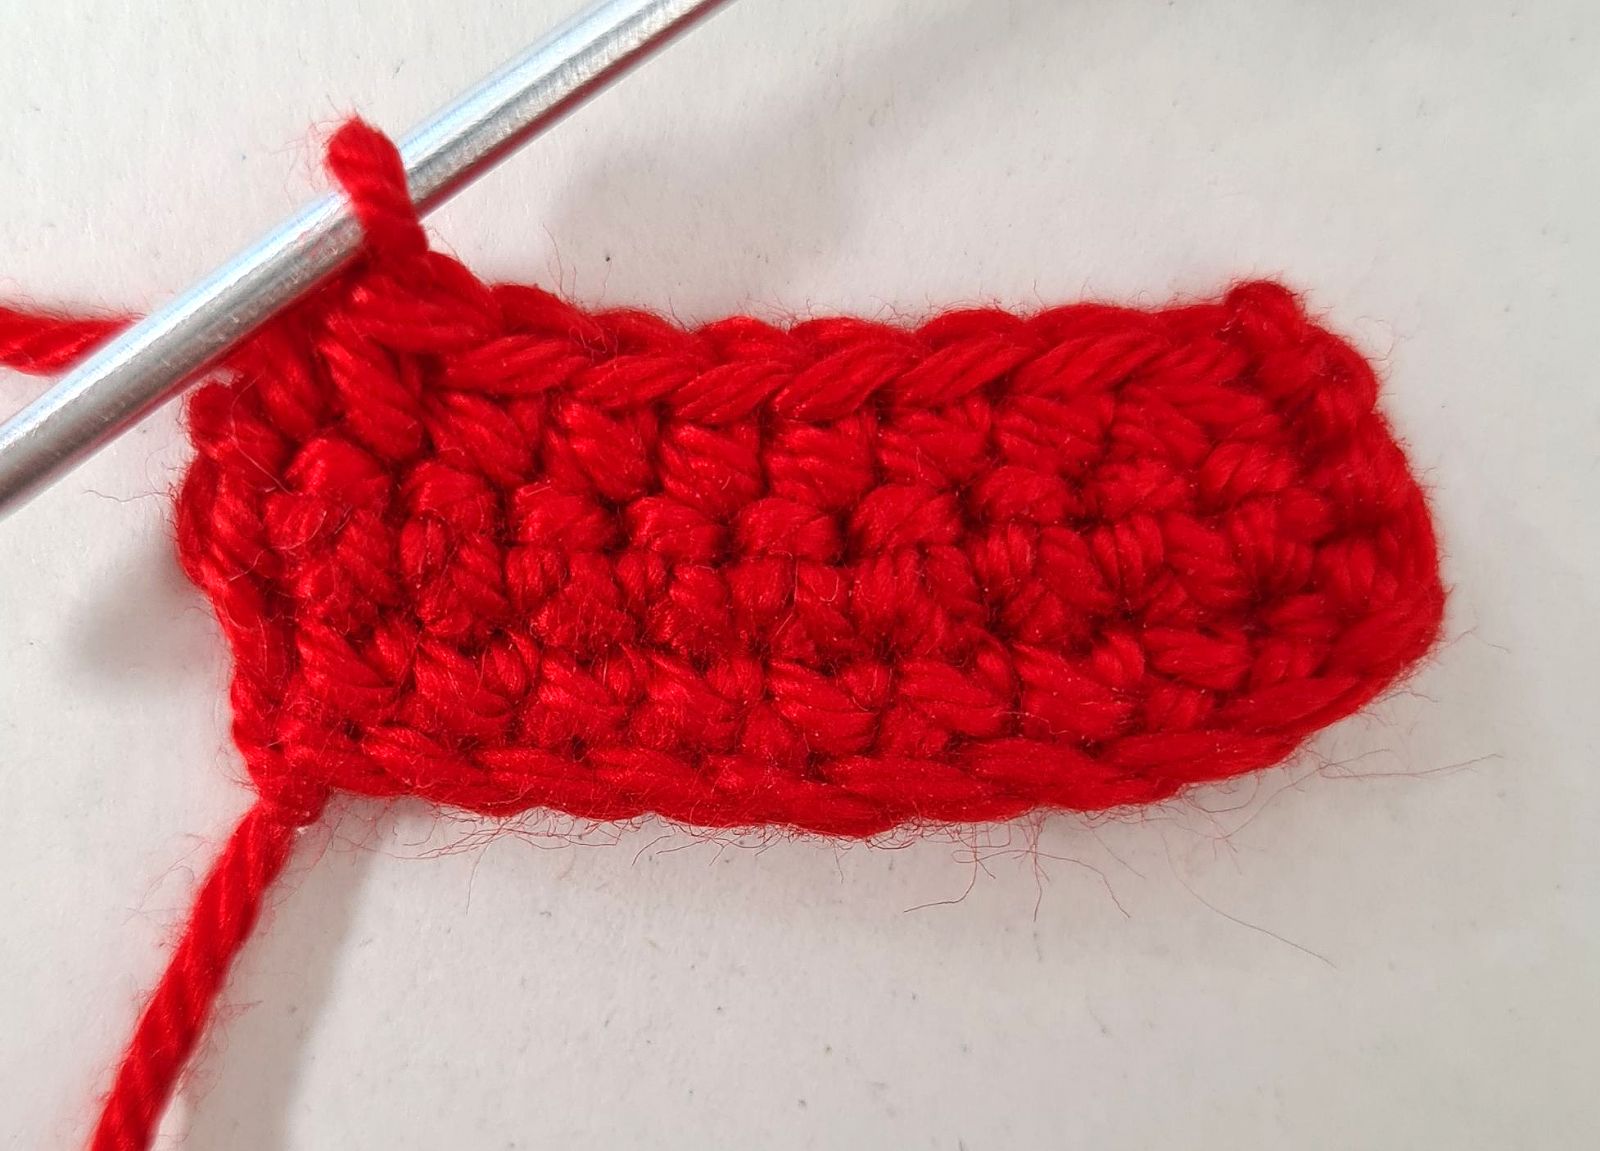
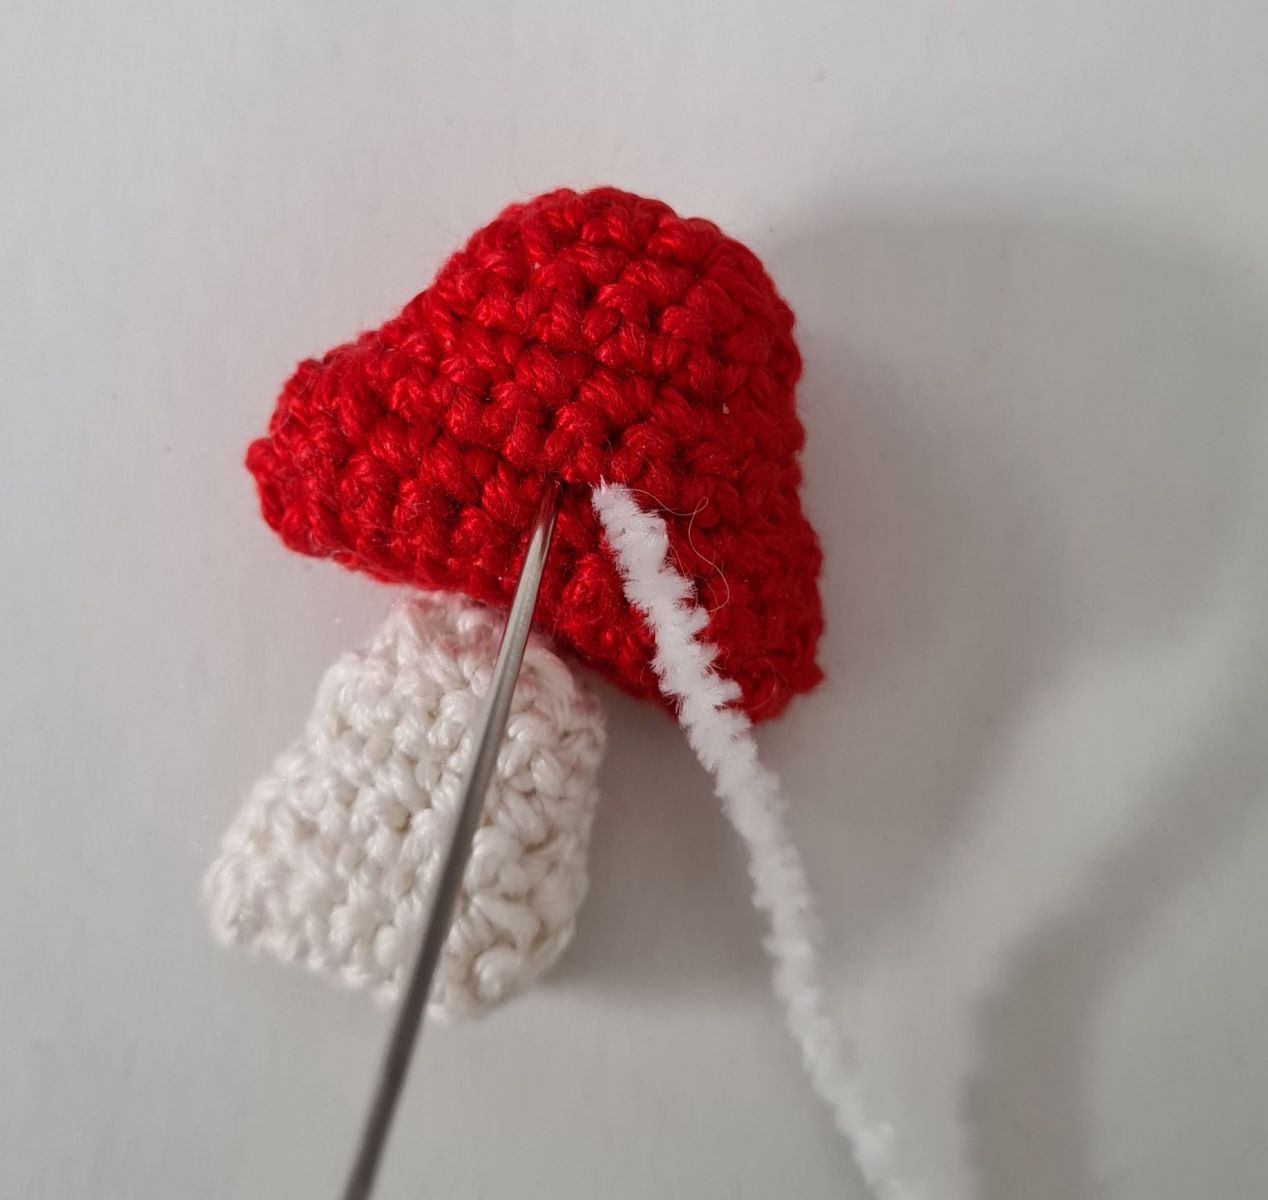
Make two cap halves; sew them together and stuff lightly.
4. 1 ch, 8 sc
turn
5. ch, 1x dec, 4 sc, 1x dec.
turn
6. 1 ch, 6 sc
turn
7. 1 ch, 1x dec, 2 sc, 1x dec
turn
8. 1 ch, 4 sc
turn
Work Part 1 two times, sew the two pieces together and stuff them.
Part 2 (stem / underside pieces — make 2)
1. ch 8, in 2nd ch from hook work 1 sc, 6 sc
turn
2. ch, 1x dec, 3 sc, 1x dec
turn
3., 4., 5. ch, 5 sc
Then: ch 1, work 1 sc in each stitch. Turn.
6. ch, 1x dec, 1 sc, 1x dec
Work Part 2 two times, sew the two pieces together and stuff.
Sew Part 1 (cap) and Part 2 (stem/underside) together to form the mushroom shape.
Embroider the dots with white yarn and the grass detail with green yarn as desired.
Detail: white embroidered dots added to the mushroom cap.
Done!
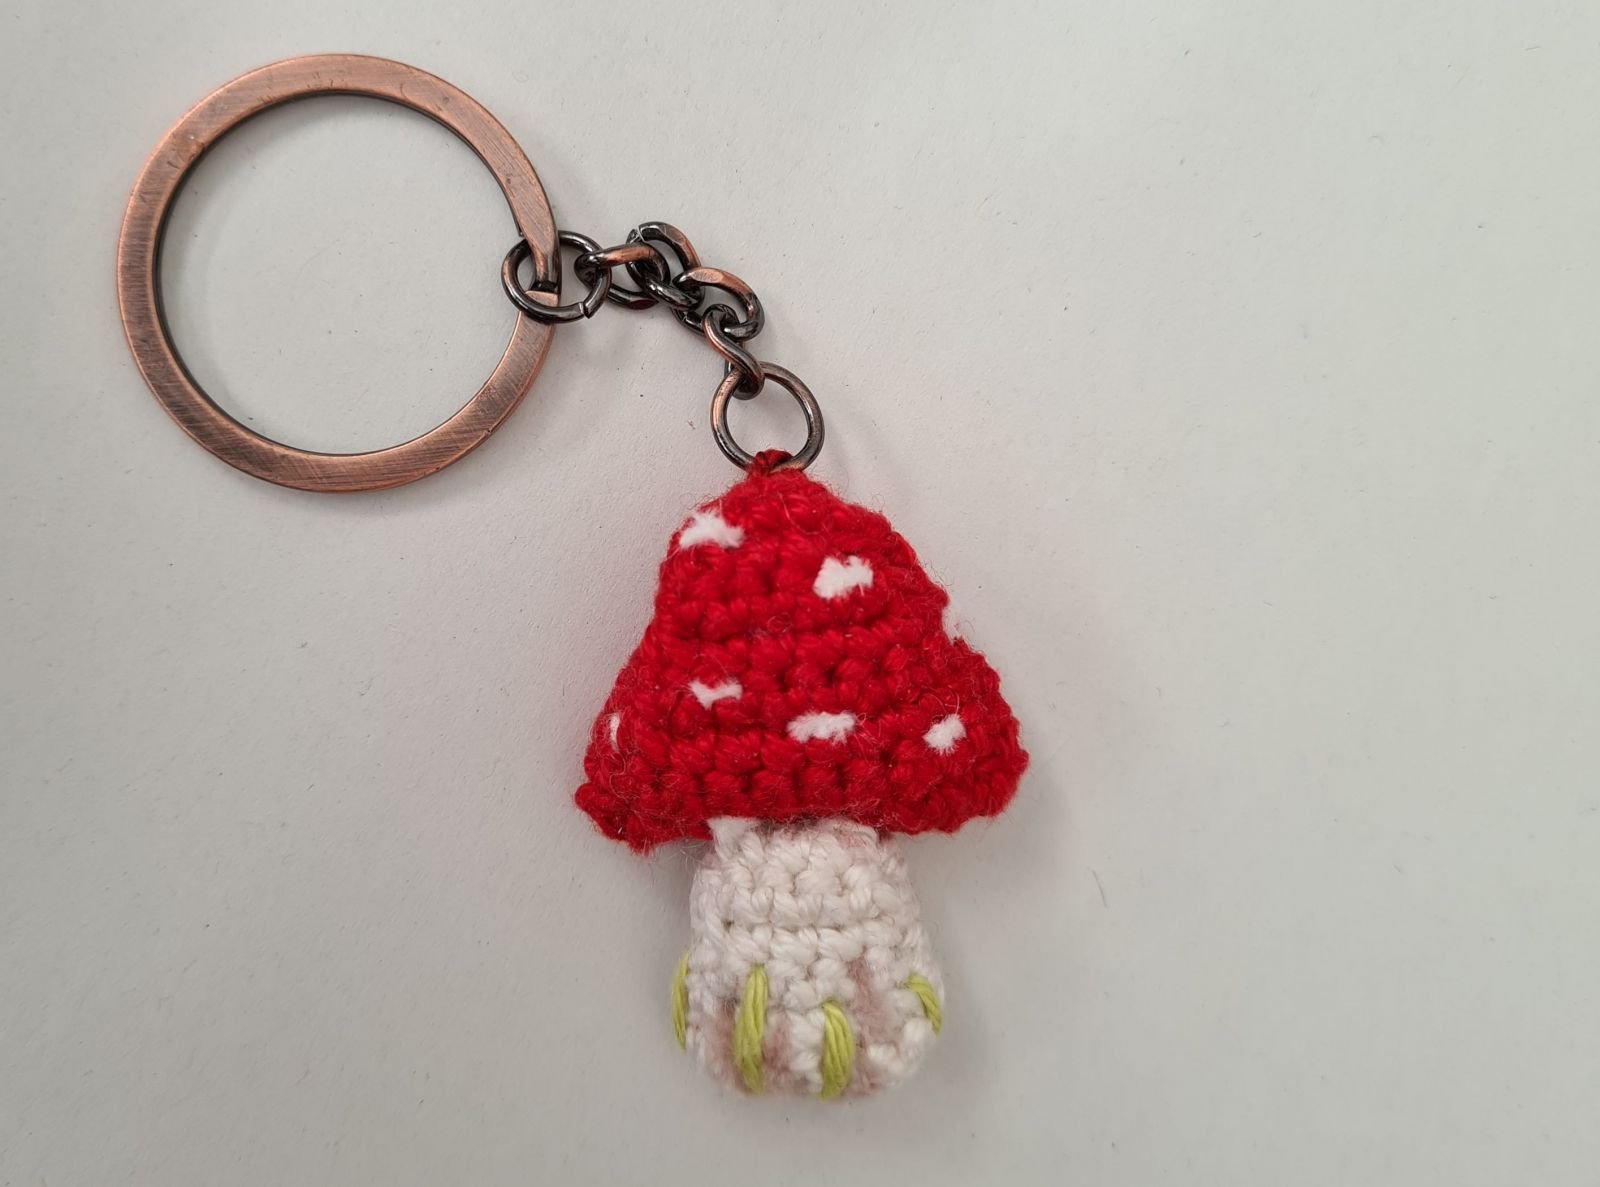
Finished mushroom keychain with embroidered dots and grass — ready to use or gift.