


How to Crochet an Oversized Braided Headband — Easy Step-by-Step Pattern
Make a cozy, stylish Crochet Oversized Braided Headband with this simple step-by-step pattern. This oversized, braided design is perfect for beginners who know basic stitches and want a quick accessory that holds hair back and adds a handmade touch to any outfit. Follow the sequence below to make three identical strips, braid them, and finish by sewing the ends together.

Finished oversized braided headband displayed flat.
The Ingredients:
- Yarn
- Sewing needle
- Crochet hook J/10 — 6.00 mm
- Yarn of your choice
Crochet Techniques with abbreviations:
- HDC = Half Double Crochet
- SC = Single Crochet
- SS = Slip Stitch
- CH = Chain
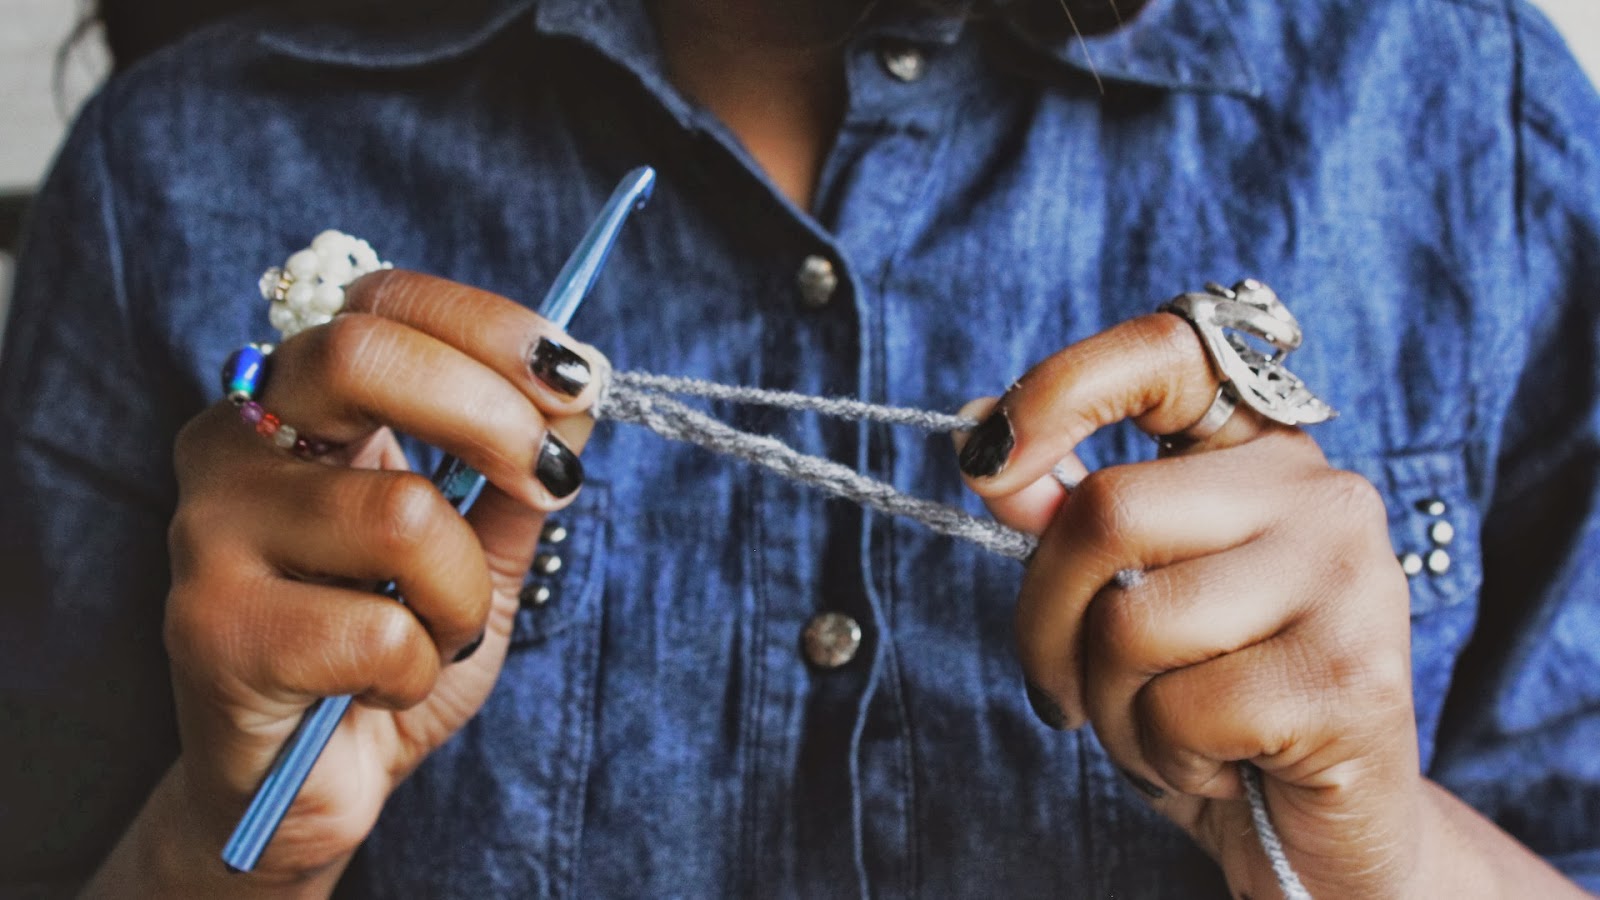
Basic tools: yarn and a 6.00 mm (J/10) crochet hook.
Gauge/starting foundation: You will CH 8 to begin each strip.
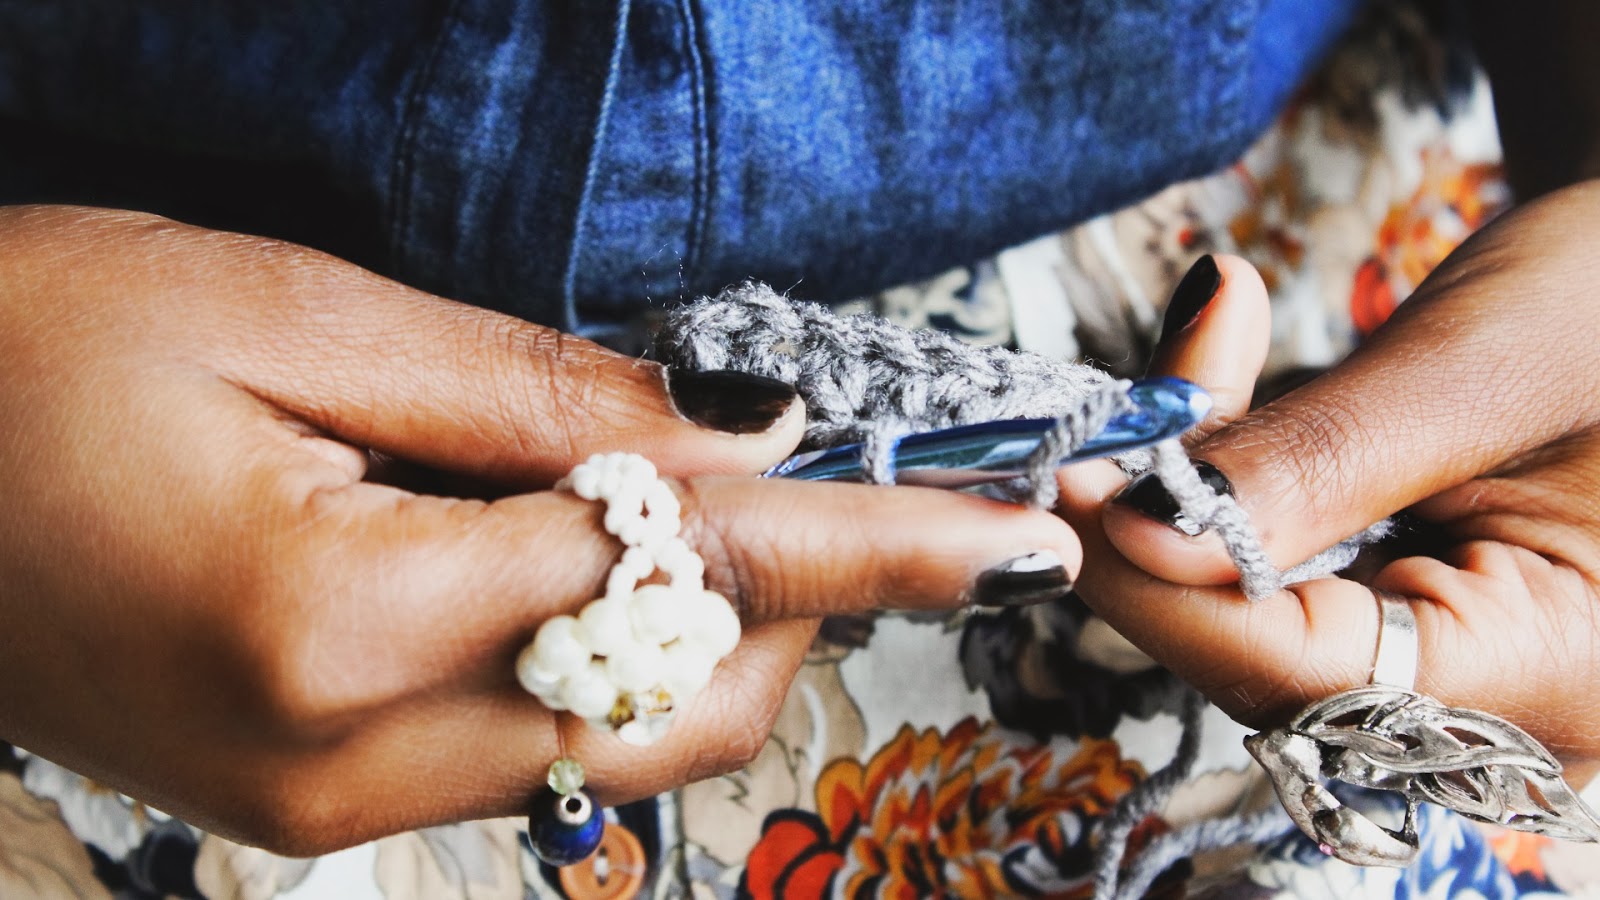
Start with a chain of 8 stitches for each strip.
Row 2: DC (double crochet) across the entire row.
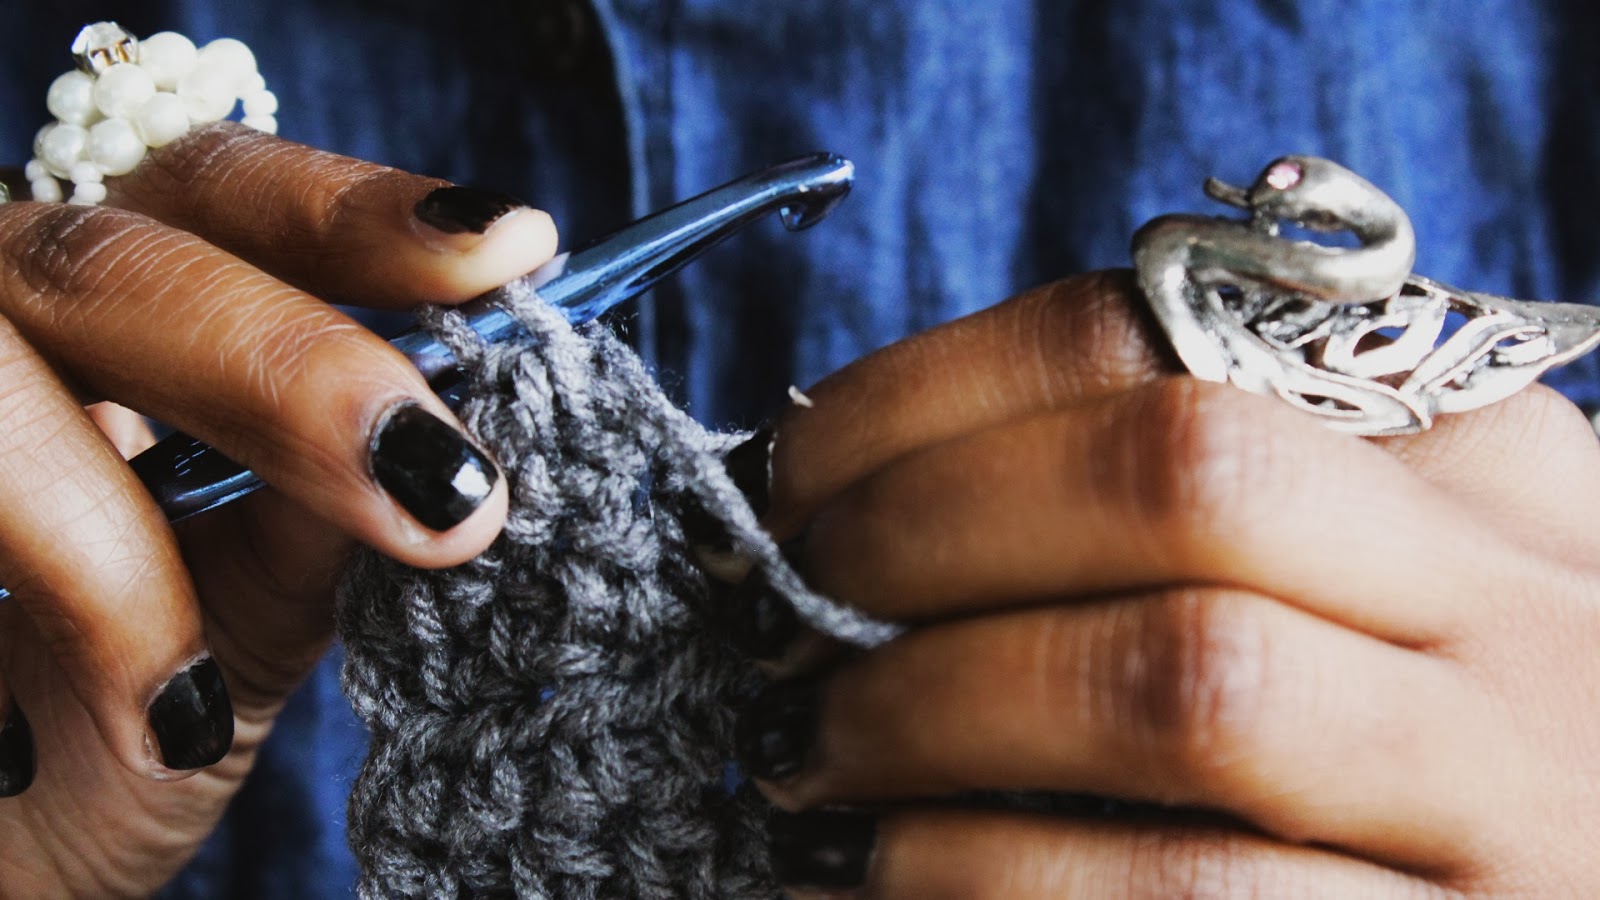
Work double crochet rows to build the length of the strip.
For Row 3 through Row 52: continue working DC across each row. At the end of Row 52, SS into the last stitch and cut the yarn.
Edge finish: SC around the entire strip to neaten the edges. Repeat this whole process two more times so you have three identical strips total.
Assembly: Align the three strips and join them together at one end. Thread your yarn sewing needle and sew the ends together securely to hold the three strips in place before braiding.
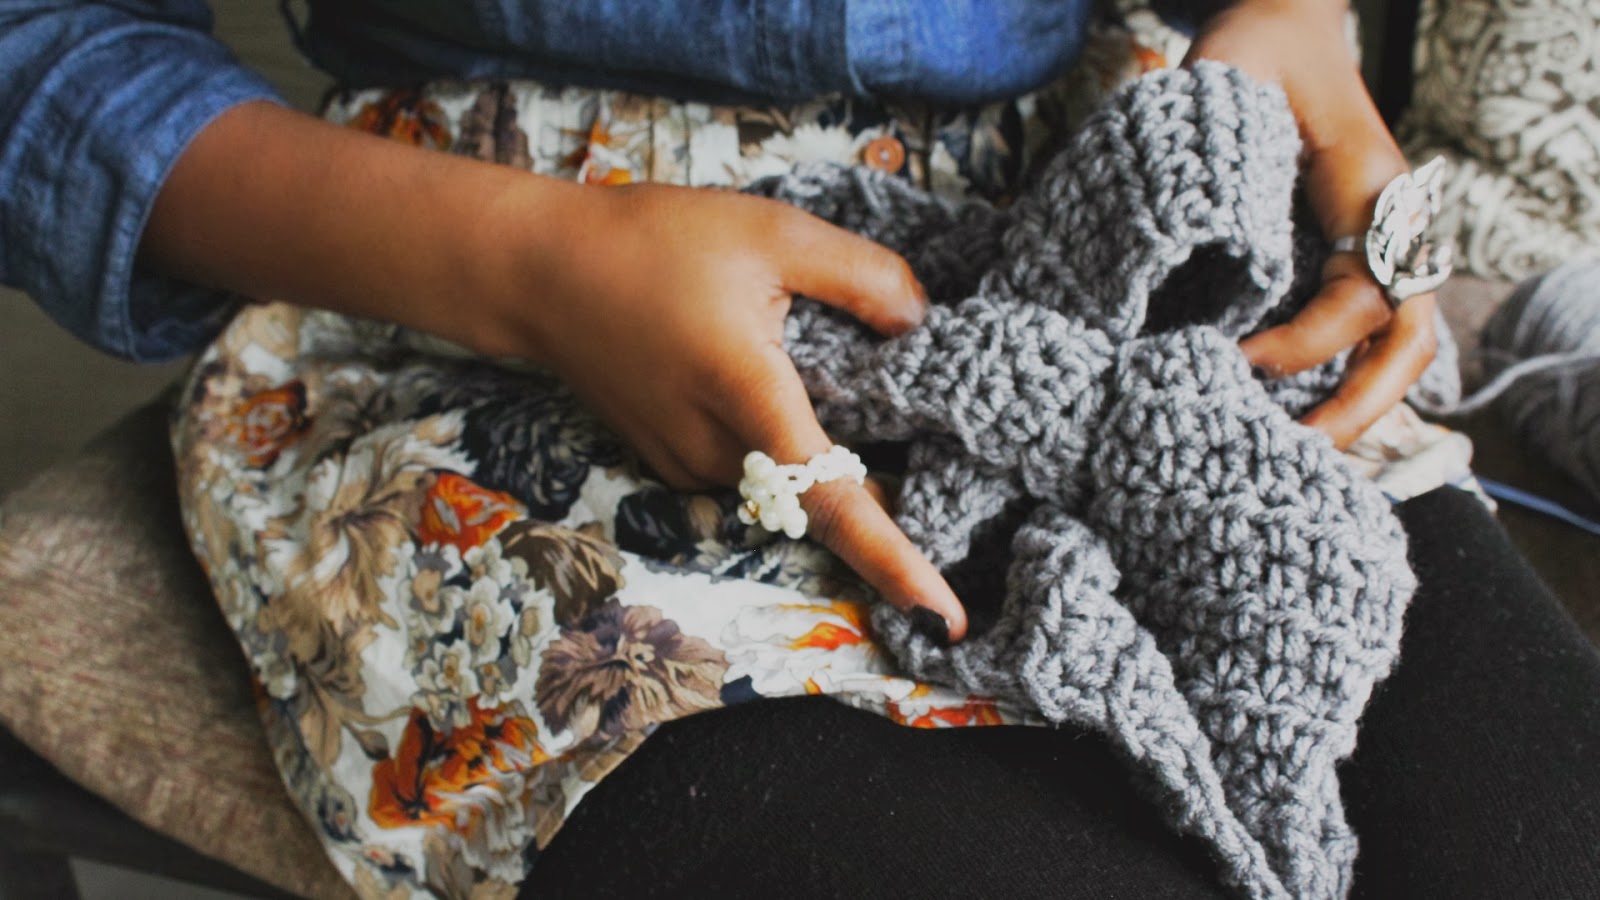
Three finished strips ready to be braided into the headband.
Braid the three strips together evenly. When the braid reaches the desired length, thread the yarn sewing needle and sew the braid end to secure it. Connect both ends of the braid by sewing them together to form the circular headband.

Final oversized braided headband with sewn ends secured.
Finishing touches: Weave in any remaining loose ends with the sewing needle, trim excess yarn, and adjust the braid so it sits evenly. Your oversized braided headband is ready to wear!