


DIY Crochet Checkered Card Holder — Easy Step‑by‑Step Pattern
Keep your cards organized in style with this easy Crochet Checkered Card Holder. This small, handmade accessory combines a classic checkered look with a simple double‑crochet stitch pattern, making it a quick project for beginners who want a useful finished piece. Follow the step‑by‑step pattern below to create a colorful card holder that closes with a button and loop.
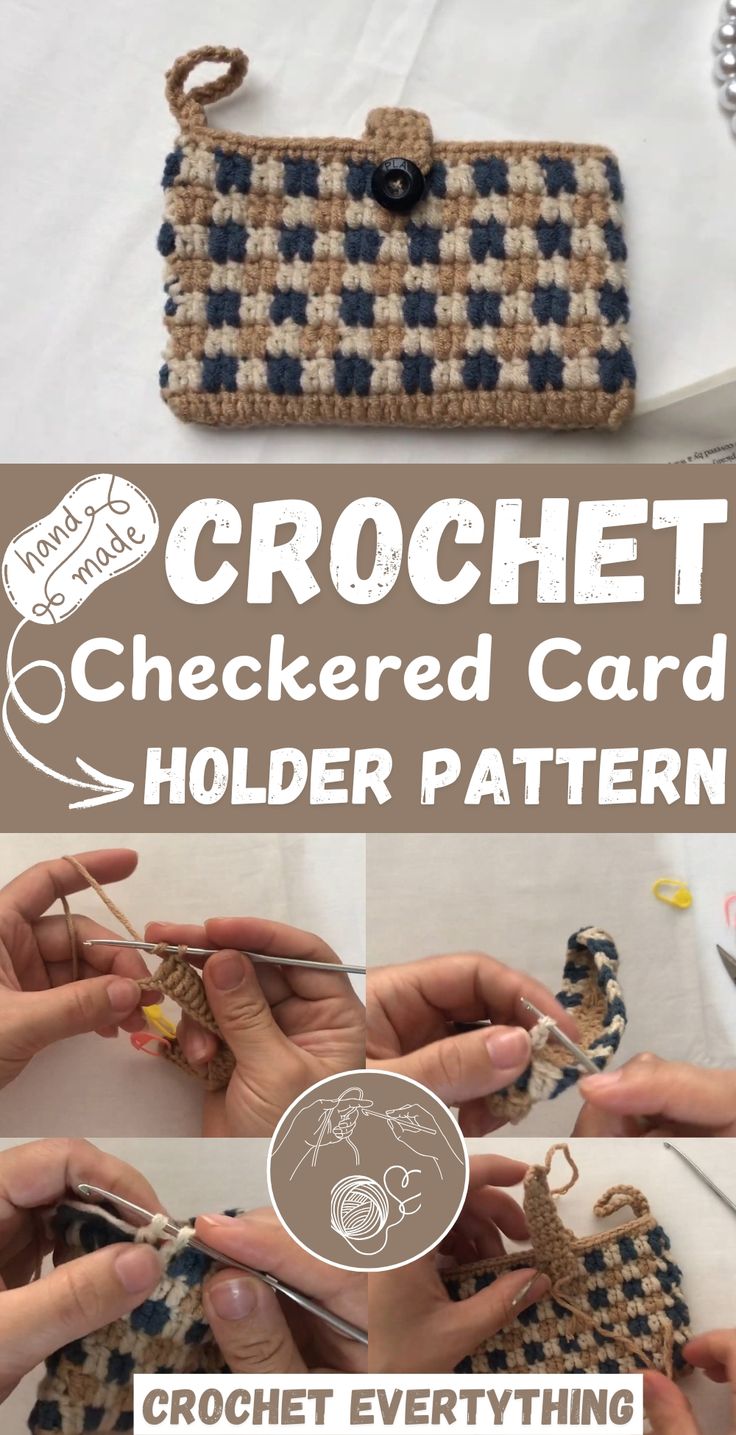
Materials Needed:
- 3 different colors of yarn (referred to as color A, B, and C)
- A 3mm crochet hook
- A button
- Stitch markers
- Yarn needle
Pattern:
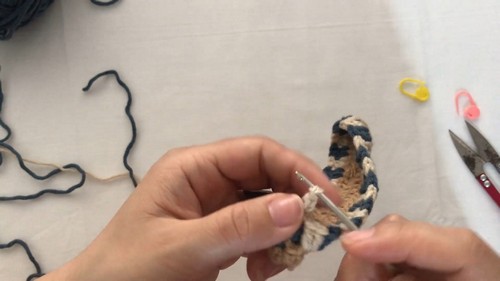
1. Start with color A and make a slip knot.
2. Chain 30 (ch 30).
3. Double crochet (dc) in the 4th chain from the hook. (Insert hook, yarn over, pull through 2 loops, yarn over, pull through 2 again.)
4. Place a stitch marker in the first double crochet to mark your beginning stitch.
5. Double crochet in each stitch across the row. At the end of the row you should have 25 double crochet stitches.
6. In the last stitch, make 3 double crochet in the same stitch (increase).
7. Working into the back loops only, skip the first stitch and double crochet in the next stitch and each stitch across for a total of 25 double crochet.
8. In the last stitch, make another double crochet increase (2 double crochet in the same stitch).
9. Slip stitch to the first double crochet to join.
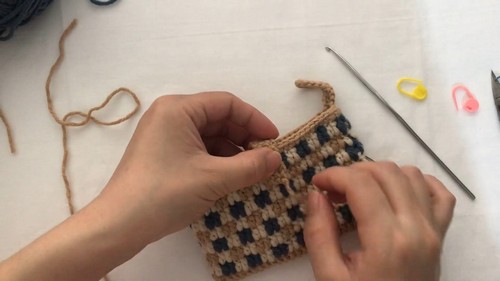
10. Change to color B by tying on the new color and chaining 3 (counts as the first dc).
11. Double crochet across each stitch in the row. To change colors seamlessly, join the next color (color C) when two loops remain on the hook before completing the stitch.
12. Continue alternating colors A, B, and C, working double crochet in each stitch across and carrying the unused yarn along the side as you go to create the checkered effect.
13. Work for seven rows or until you reach your desired length for the holder, then finish the short edge by changing to color A and making a slip stitch in the first stitch of the previous row.
14. Chain 1, then single crochet in each stitch across to clean up the edge.
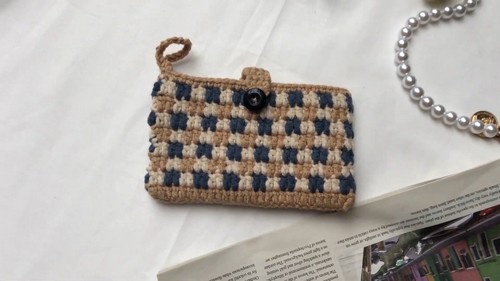
15. Fasten off and weave in all ends with a yarn needle.
16. Create a buttonhole loop by chaining a small number of chains that fit snugly around your button, then join with a slip stitch to the start of the chain. Fasten off and weave ends.
17. Sew the button on the front of the cardholder opposite the buttonhole loop so the holder closes securely.
Finishing tips: Block lightly if desired to even out rows. Adjust the initial chain or number of rows to fit larger or smaller cards as needed.