


How to Crochet a Star Baby Blanket — Easy, Beginner-Friendly Pattern & Color Tips
The Crochet Star Baby Blanket is a sweet, cozy project perfect for a new baby or as a thoughtful shower gift. This beginner-friendly pattern uses repeated rounds to form a star-shaped motif that expands into a blanket; simple color changes create a charming striped look. Below you’ll find materials, step-by-step rounds, color-change guidance, sizing and finishing tips to help you complete this adorable blanket.
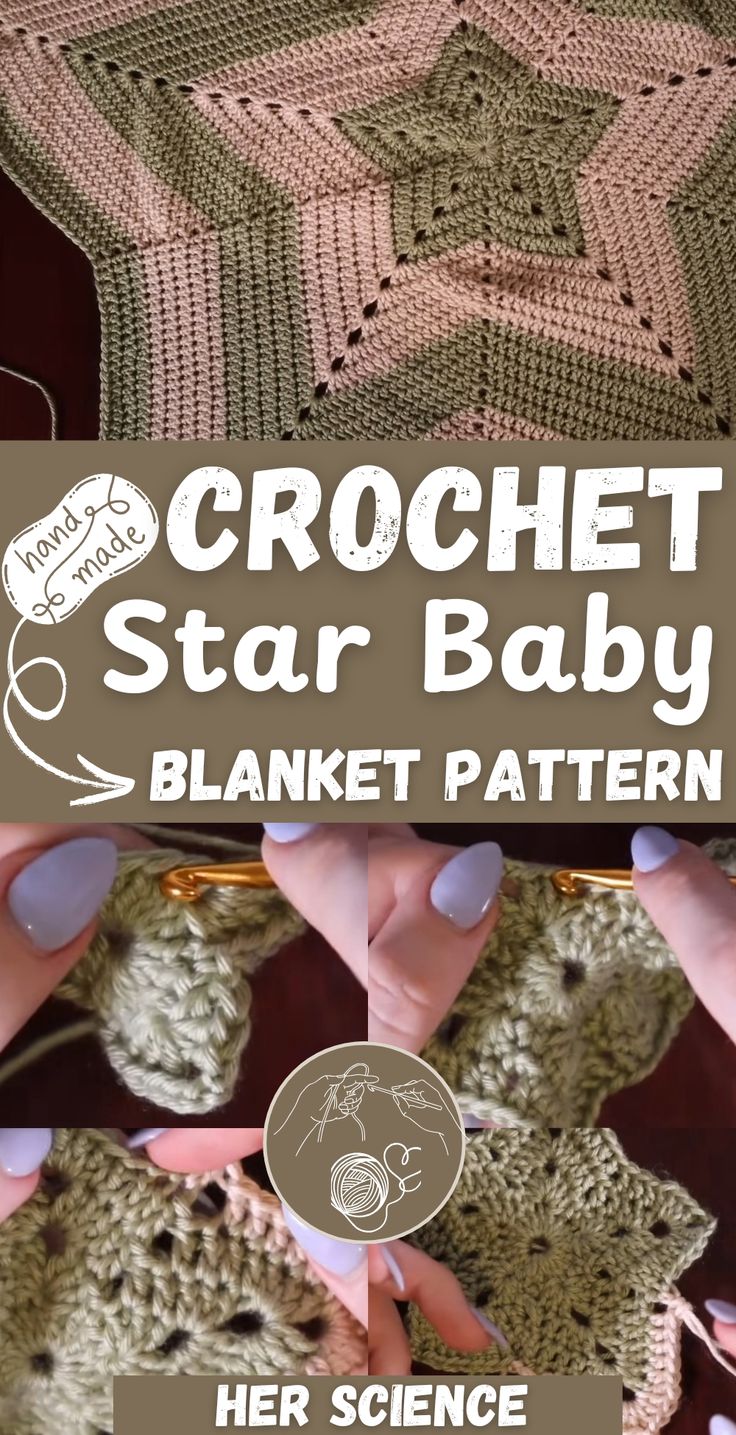
Materials
- Any soft, non-bulky yarn suitable for baby items
- Choose as many colors as you’d like
- Crochet hook size recommended for your yarn
- Yarn needle for weaving in ends
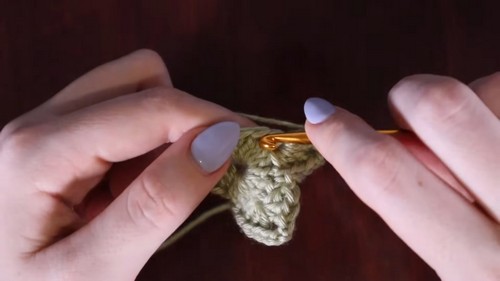
Round 1: Magic Circle and Double Crochets
Create a magic circle.
Chain 1 to secure the circle.
Work 20 double crochets into the circle.
Pull the yarn tail to tighten the circle, then slip stitch into the top of the first double crochet to close the round.
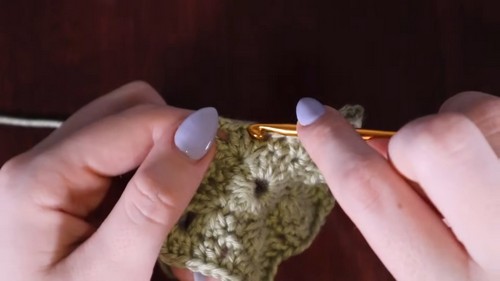
Forming the Star Points
Skip the first stitch.
Single crochet into the next stitch.
Skip one stitch, then in the next stitch place: 3 double crochets, chain 3, and 3 more double crochets (this forms a point).
Skip the next stitch, single crochet into the following stitch.
Repeat from * around.
Slip stitch into the first single crochet to finish the round.
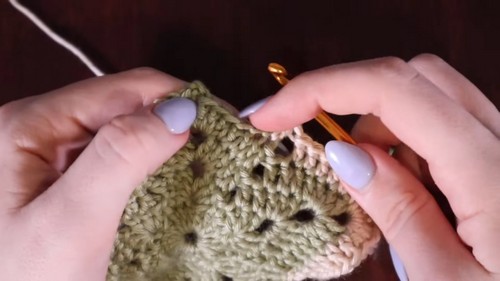
Round 3 and Beyond: Expanding the Star
Slip stitch into the next stitch.
Work 1 double crochet into each of the next 2 stitches.
In the chain-3 space from the previous round: place 3 double crochets, chain 3, and 3 more double crochets.
Work 1 double crochet into each of the next 2 stitches.
Skip 2 stitches, then double crochet into the next 2 stitches.
Repeat around.
Slip stitch to the first double crochet to complete the round.
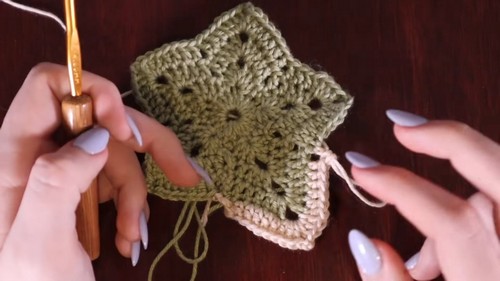
Color Changes
To change colors: begin a slip stitch as usual, then yarn over with the new color to finish the slip stitch. Pull both yarns tight to secure. A common suggestion is to change colors every 5 rounds for a striped effect, but adjust as you prefer.
Sizing and Finishing
Continue working the star pattern until the blanket reaches your desired size. Weave in all ends with a yarn needle. Optional: add a border or edging for extra definition and durability.
Quick Tips
- Keep stitch counts consistent as you expand to maintain an even shape.
- Carry colors neatly along the back when changing less frequently to reduce ends to weave in.
- Block lightly if you want to even out the edges before adding a border.