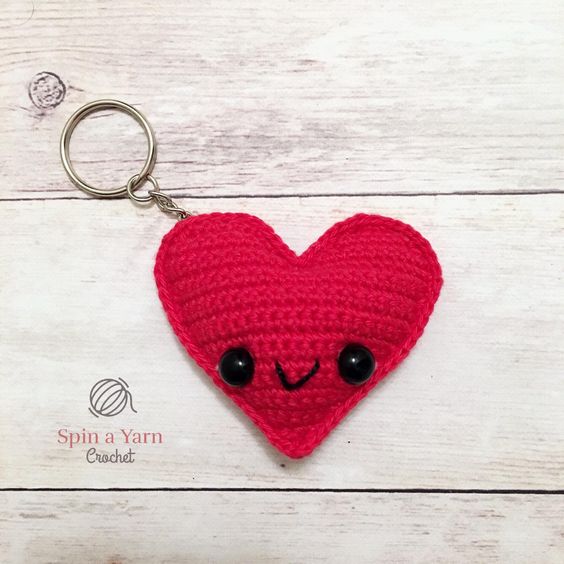
Crochet Kawaii Heart Keychain
If you're looking for a fun and creative project, why not try making your very own crochet heart keychain? This cute and kawaii accessory is not only a great way to add a touch of personality to your keys, but it also makes for a thoughtful and handmade gift for your loved ones. With just a few simple materials and some basic crochet skills, you'll be able to whip up these adorable little hearts in no time. Looking for a charming and whimsical accessory to brighten up your everyday life? Look no further than the crochet kawaii heart keychain! This delightful little creation is not only a practical way to keep your keys organized, but it also adds a touch of cuteness and personality to your belongings. Whether you're a seasoned crochet enthusiast or a beginner looking for a fun project, making your own kawaii heart keychain is sure to bring a smile to your face.
Materials;
- 1.50mm hook
- 1.75mm hook to crochet around the outside;
- Light weight cotton yarn in red (I used a generic kind from a local store);
- Black crochet thread for mouth
- 9mm Safety Eyes
- Stuffing
- Tapestry needle
- Key Ring
Terms and Stitches:
Ch – Chain
Sc – Single crochet
Inc – Increase. Work 2 sc in the same st.
Dec – Decrease. Work 2 sc together.
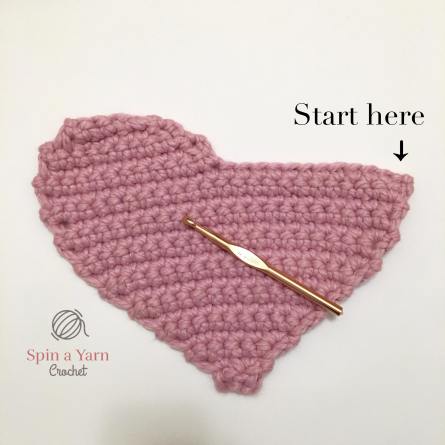
Heart (make 2 panels) in red:
Ch 1 and turn at the end of each row, Using a 1.50mm hook:
Row 1: Ch 3, sc across (2 sts)
Row 2: Inc twice (4 sts)
Row 3: Inc, sc 2, inc (6 sts)
Row 4: Inc, sc 4, inc (8 sts)
Row 5: Inc, sc 6, inc (10 sts)
Row 6: Inc, sc 8, inc (12 sts)
Row 7: Inc, sc 10, inc (14 sts)
Row 8: Inc, sc 12, inc (16 sts)
Row 9: Inc, sc 14, inc (18 sts)
Row 10: Inc, sc 16, inc (20 sts)
Row 11: Sc across (20 sts)
Row 12: Inc, sc 18, inc (22 sts)
Rows 13-14: Sc across (22 sts)
Row 15: Inc, sc 20, inc (24 sts)
Row 16: Sc across (24 sts)
Now we will start the heart shape. Each “bump” is done separately, so you will be crocheting only half way across the panel and then we’ll go back and do the second bump afterwards.
Row 17: Sc 12 (12 sts)
Row 18: Dec, sc 10 (11 sts)
Row 19: Dec, sc 7, dec (9 sts)
Row 20: Dec, sc 5, dec (7 sts)
Row 21: Dec, sc 1, dec twice (4 sts)
Tie off. Turn your heart panel so that the bump you just completed is on the left, as seen in the pictures below. Join your yarn and repeat rows 17 to 21 for the second bump. Repeat all of the above for the second panel. Move on to assembly below!

Assembly:
Step 1: Face
You should now have two completed heart panels, like so:
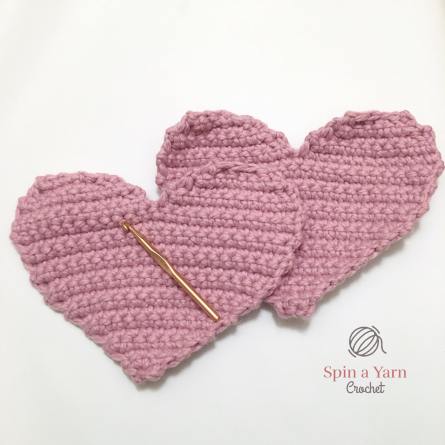
First, you will add your facial features to the front panel. Insert your safety eyes and stitch on a mouth. Feel free to add eyebrows or cheeks for extra character!
Step 2: Heart
Place the two panels together, matching up all sides. Starting on the left side at the top, begin attaching the panels together by chaining one and single crocheting around the outside of the panels in red using a 1.75mm hook.
Crochet all the way down and around the heart and up the opposite side. Stop here and pull up a long loop.
Stuff your heart.
Continue crocheting the panels together, topping up stuffing as you go. Slst to first st to join. Tie off. Poke the yarn tail inside.
Step 3: Optional
I also decided to add some needle sculpting to the eyes to give them extra character. You can do that as follows:
- Insert your tapestry needle behind Eye A (I started with the right eye, but it doesn’t matter) leaving a long tail;
- Exit the needle from behind Eye B ;
- Reinsert the needle into a different stitch behind Eye B;
- Exit the needle out the back of your heart;
- Thread the yarn tail from Eye A into your needle. Reinsert your needle into a different stitch behind Eye A.
- Exit your needle out the same stitch in the back of your heart.
- Gently tug on both yarn tails to create the sculpting.
- Tie a knot in the yarn tails and poke back inside the piece.
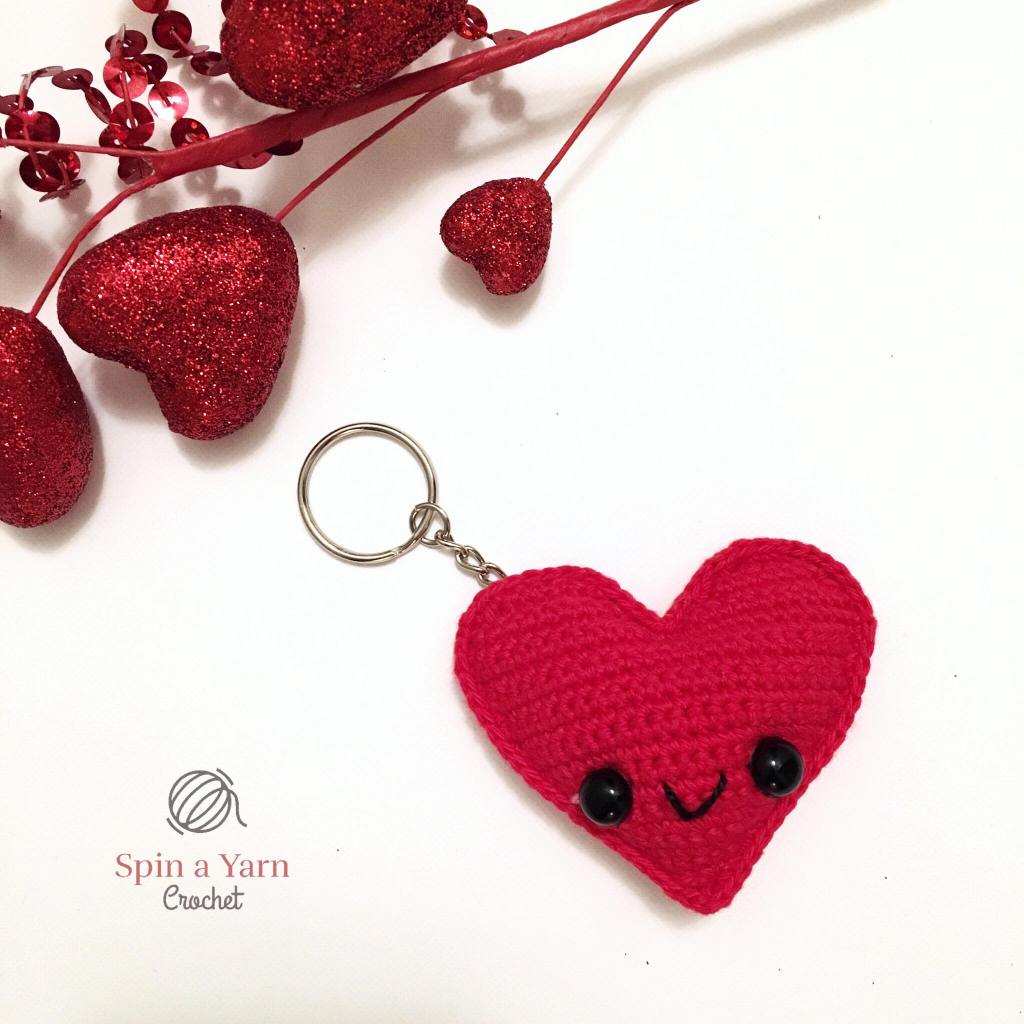
Attach a key ring and you’re done!