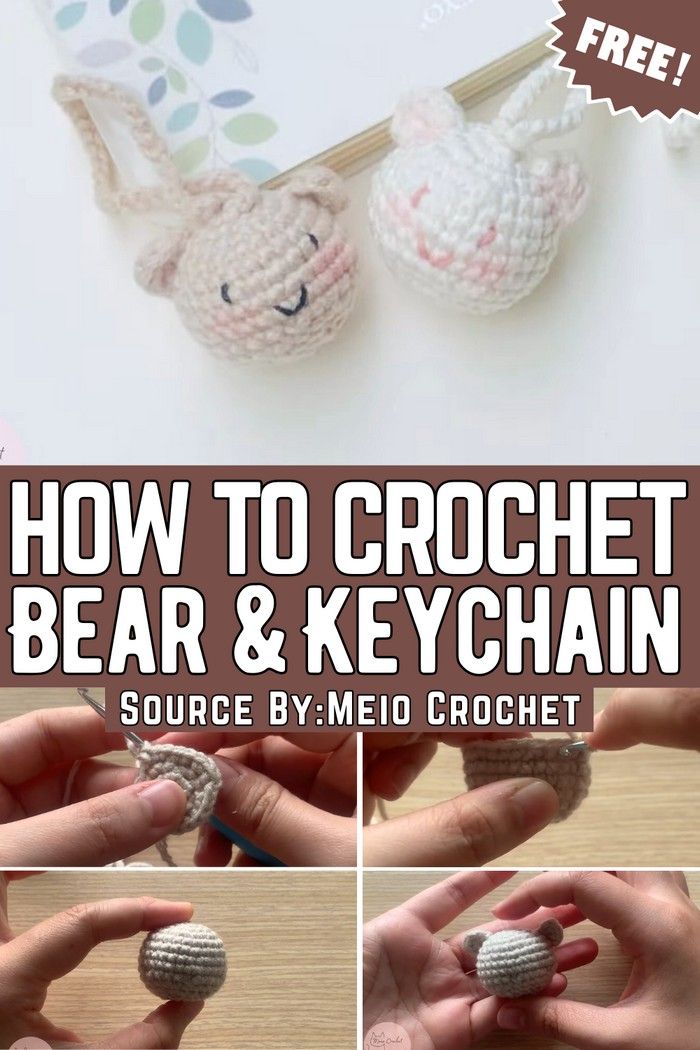
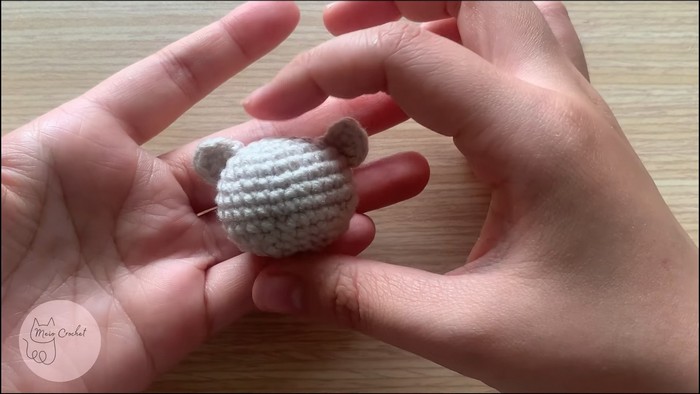
Crochet Bear Amigurumi Keychain
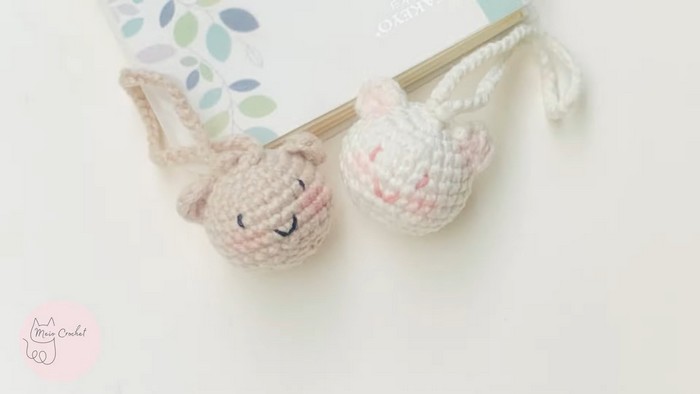
Crochet Bear Amigurumi Keychains are adorable little companions that add a touch of cuteness to your everyday items. With their fuzzy yarn bodies and sweet expressions, these miniature bears are perfect for jazzing up your keys, bags, or even as a small gift to brighten someone's day. The charm of these keychains lies in their handcrafted details and charming designs, making them a delightful accessory for anyone who appreciates handmade goodies. Whether you're a crochet enthusiast or a fan of cute critters, a Crochet Bear Amigurumi Keychain is sure to bring a smile to your face every time you see it hanging by your side.
Materials Needed
To follow along with this tutorial, you'll need:
- Yarn: Soft, lightweight yarn suitable for crochet (preferably in your color choice for the head and ears).
- Crochet hook: Size suitable for the yarn (recommended size is typically 3mm or 4mm for lightweight yarn).
- Stuffing material: Cotton or polyester fiberfill to stuff the head and give it shape.
- Keyring: Standard metal or plastic keyring to attach the keychain.
- Scissors: For cutting yarn.
- Tapestry needle: For hiding loose ends and sewing the ears onto the base.
Abbreviations Used in the Pattern
Here’s a list of commonly used crochet abbreviations in the pattern for reference:
- sc: Single Crochet
- hdc: Half Double Crochet
- dc: Double Crochet
- inc: Increase (2 single crochets in 1 stitch)
- dec: Decrease (crochet 2 stitches together)
- ch: Chain
- sl st: Slip Stitch
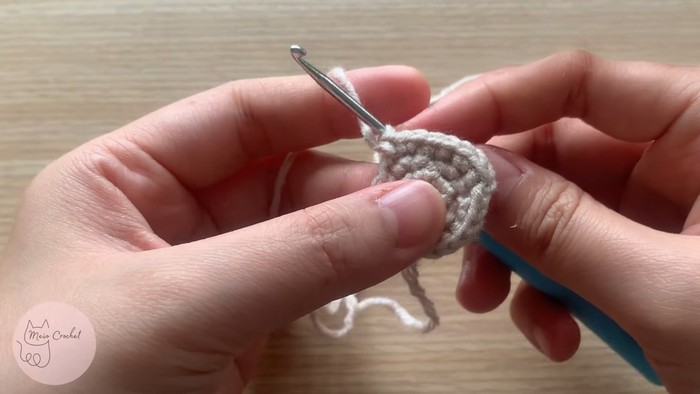
1. Creating the Base with Magic Ring
Steps:
Create the base: Begin with a magic ring (a method to start crocheting in the round).
Row 1: Crochet 6 sc into the magic ring. Pull the yarn tail to tighten the ring and close it.
2. Increasing Stitches
Steps:
Row 2: Work 2 sc in each stitch around (you'll have 12 sc total).
Row 3: Crochet 1 sc into the first stitch, then 2 sc in the next stitch. Repeat this pattern of 1 sc, 1 inc around, ending with 18 sc.
Row 4: Crochet 2 sc in the first two stitches, followed by 1 sc in the third stitch. Repeat this sequence around (24 sc).
Row 5: Crochet 1 sc into each stitch without increasing or decreasing (maintain 24 sc).
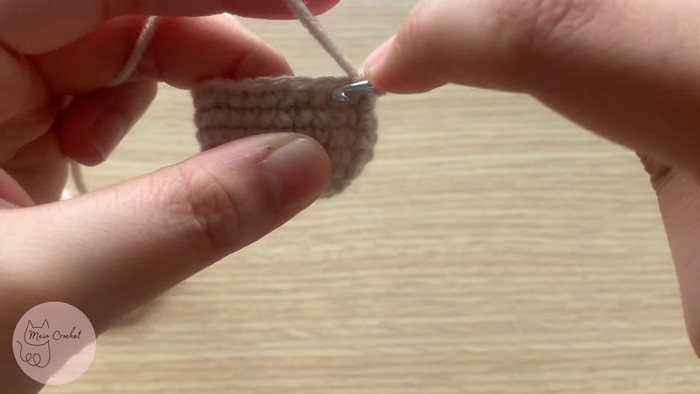
3. Adding More Rows and Maintaining Stitch Count
Steps:
Row 6: Crochet 3 sc, followed by 2 sc in the fourth stitch. Repeat until the total stitch count increases to 30 sc.
Row 7 & Row 8: Crochet 1 sc into each stitch for each row (30 sc). Keep the stitch count steady.
4. Decreasing Stitches to Shape the Head
Steps:
Row 9: Work 3 sc, followed by a 1 dec. Repeat this sequence around to reduce the stitch count to 24 sc.
Row 10: Crochet 1 sc into each stitch without changing the stitch count (maintain 24 sc).
Row 11: Crochet 1 sc, followed by 1 dec, then 1 sc in the next stitch. Repeat this pattern (18 sc).
Row 12: Alternate 1 sc and 1 dec around to reduce the total to 12 sc.
Row 13: Stuff the piece with cotton or fiberfill. Then crochet 6 dec until the stitch count is reduced to 6 stitches.
5. Closing the head: Use a tapestry needle to sew and hide the loose ends
6. Creating the Ears
Steps:
Magic ring for ears: Begin the ears with a magic ring. Inside the ring, crochet stitches in this order:
1 sc
1 hdc
1 dc
1 hdc
1 sc
Position the ears: Sew the ears securely onto the head with the tapestry needle.
7. Crocheting the Keychain Handle
Steps:
Create the chain: Crochet 45 ch (or more if you want a longer handle).
Attach the chain to the head: Insert the hook into the top of the base and secure the chain using a sl st.
Finish off: Cut the yarn and hide the threads neatly with a tapestry needle.