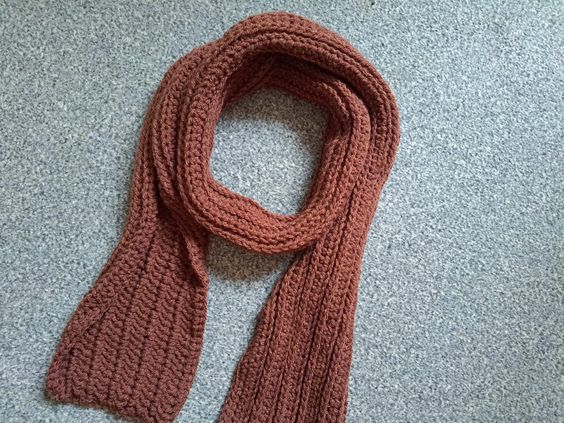
Crochet Man Scarf Free Pattern
Elevate your winter wardrobe with the exquisite Crochet Gentleman's Scarf. This stylish accessory is meticulously handcrafted using the finest quality yarn, ensuring both warmth and sophistication. The intricate crochet pattern adds a touch of elegance, making it the perfect addition to any gentleman's ensemble. Unleash your inner fashionista with the Crochet Gentleman's Scarf, a true masterpiece of craftsmanship. This versatile accessory is designed to keep you cozy during chilly winter days while effortlessly elevating your style game. The attention to detail in the crochet work is simply mesmerizing, creating a unique texture that is both eye-catching and luxurious. Whether you're heading to a formal event or simply strolling through the city streets, this scarf is guaranteed to turn heads and make a statement. Embrace the art of crochet and indulge in the timeless charm of the Crochet Gentleman's Scarf.
Level: Easy/beginner +
Gauge
4” (10 cm)= 12 HDC
4” (10 cm)= 8 rows
Size of finished scarf (before sewing)
6.5” (17 cm) wide and 72.5” (184 cm) in length
Notes
I will be using US terms (British terms in bracket).
You will need
2 skeins of Vanna’s Choice by Lion Brand Yarns in shade 126 Chocolate (or any other Aran/Medium 4 yarn of your preference)
6 mm crochet hook
A pair of scissors
A tapestry needle
Abbreviations
Ch: chain
St: Stitch
Sl st: slip stitch
Sk: Skip
HDC: Half Double Crochet (Half Treble Crochet)
EOR: End of row
Pattern begins here
To start, make a slip knot.
Ch 200
Row 1: HDC in 3rd chain from the hook, HDC into each ch until end of row (first ch 2 counts as a HDC)
Row 2: Ch 1 (=turning chain throughout), turn your work, HDC into front facing loop of the bottom of each HDC from previous row (see photo below for more details) until eor, placing your last stitch into the ch 2 from previous row. This front facing loop is not one of the 2 loops at the top of each stitch, but this is the loop which is at the bottom front of the stitch.
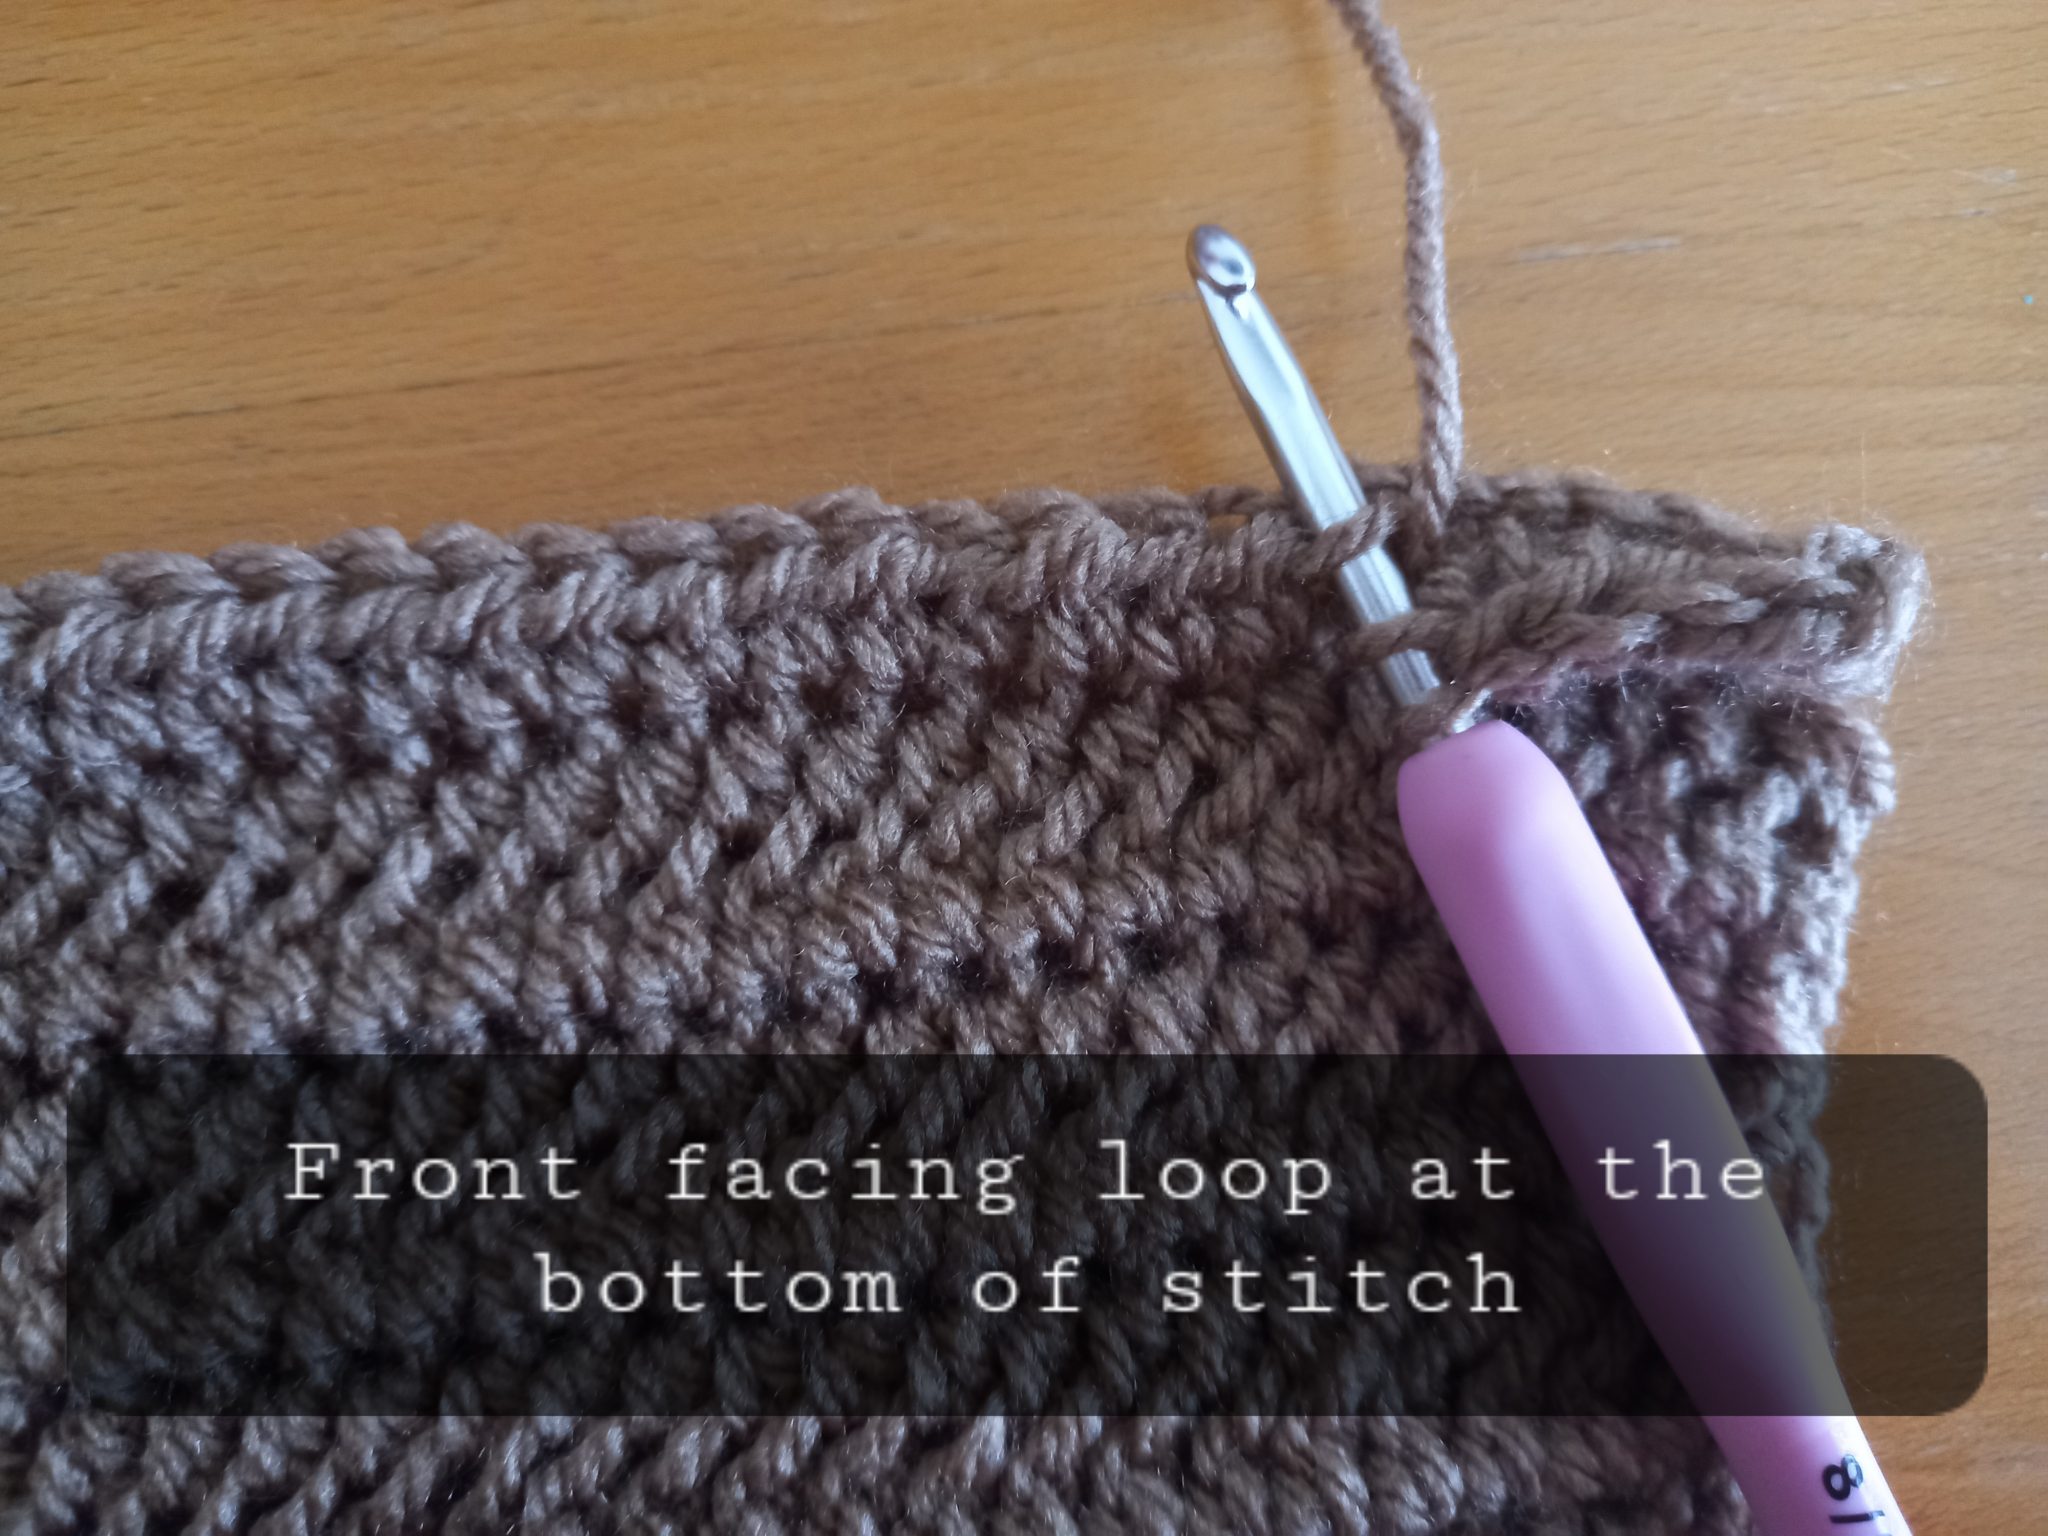
Place your HDC through the front facing loop at the bottom of the stitch
Row 3: Ch 1, turn your work, HDC into the back loop only of each HDC until eor (see photo).
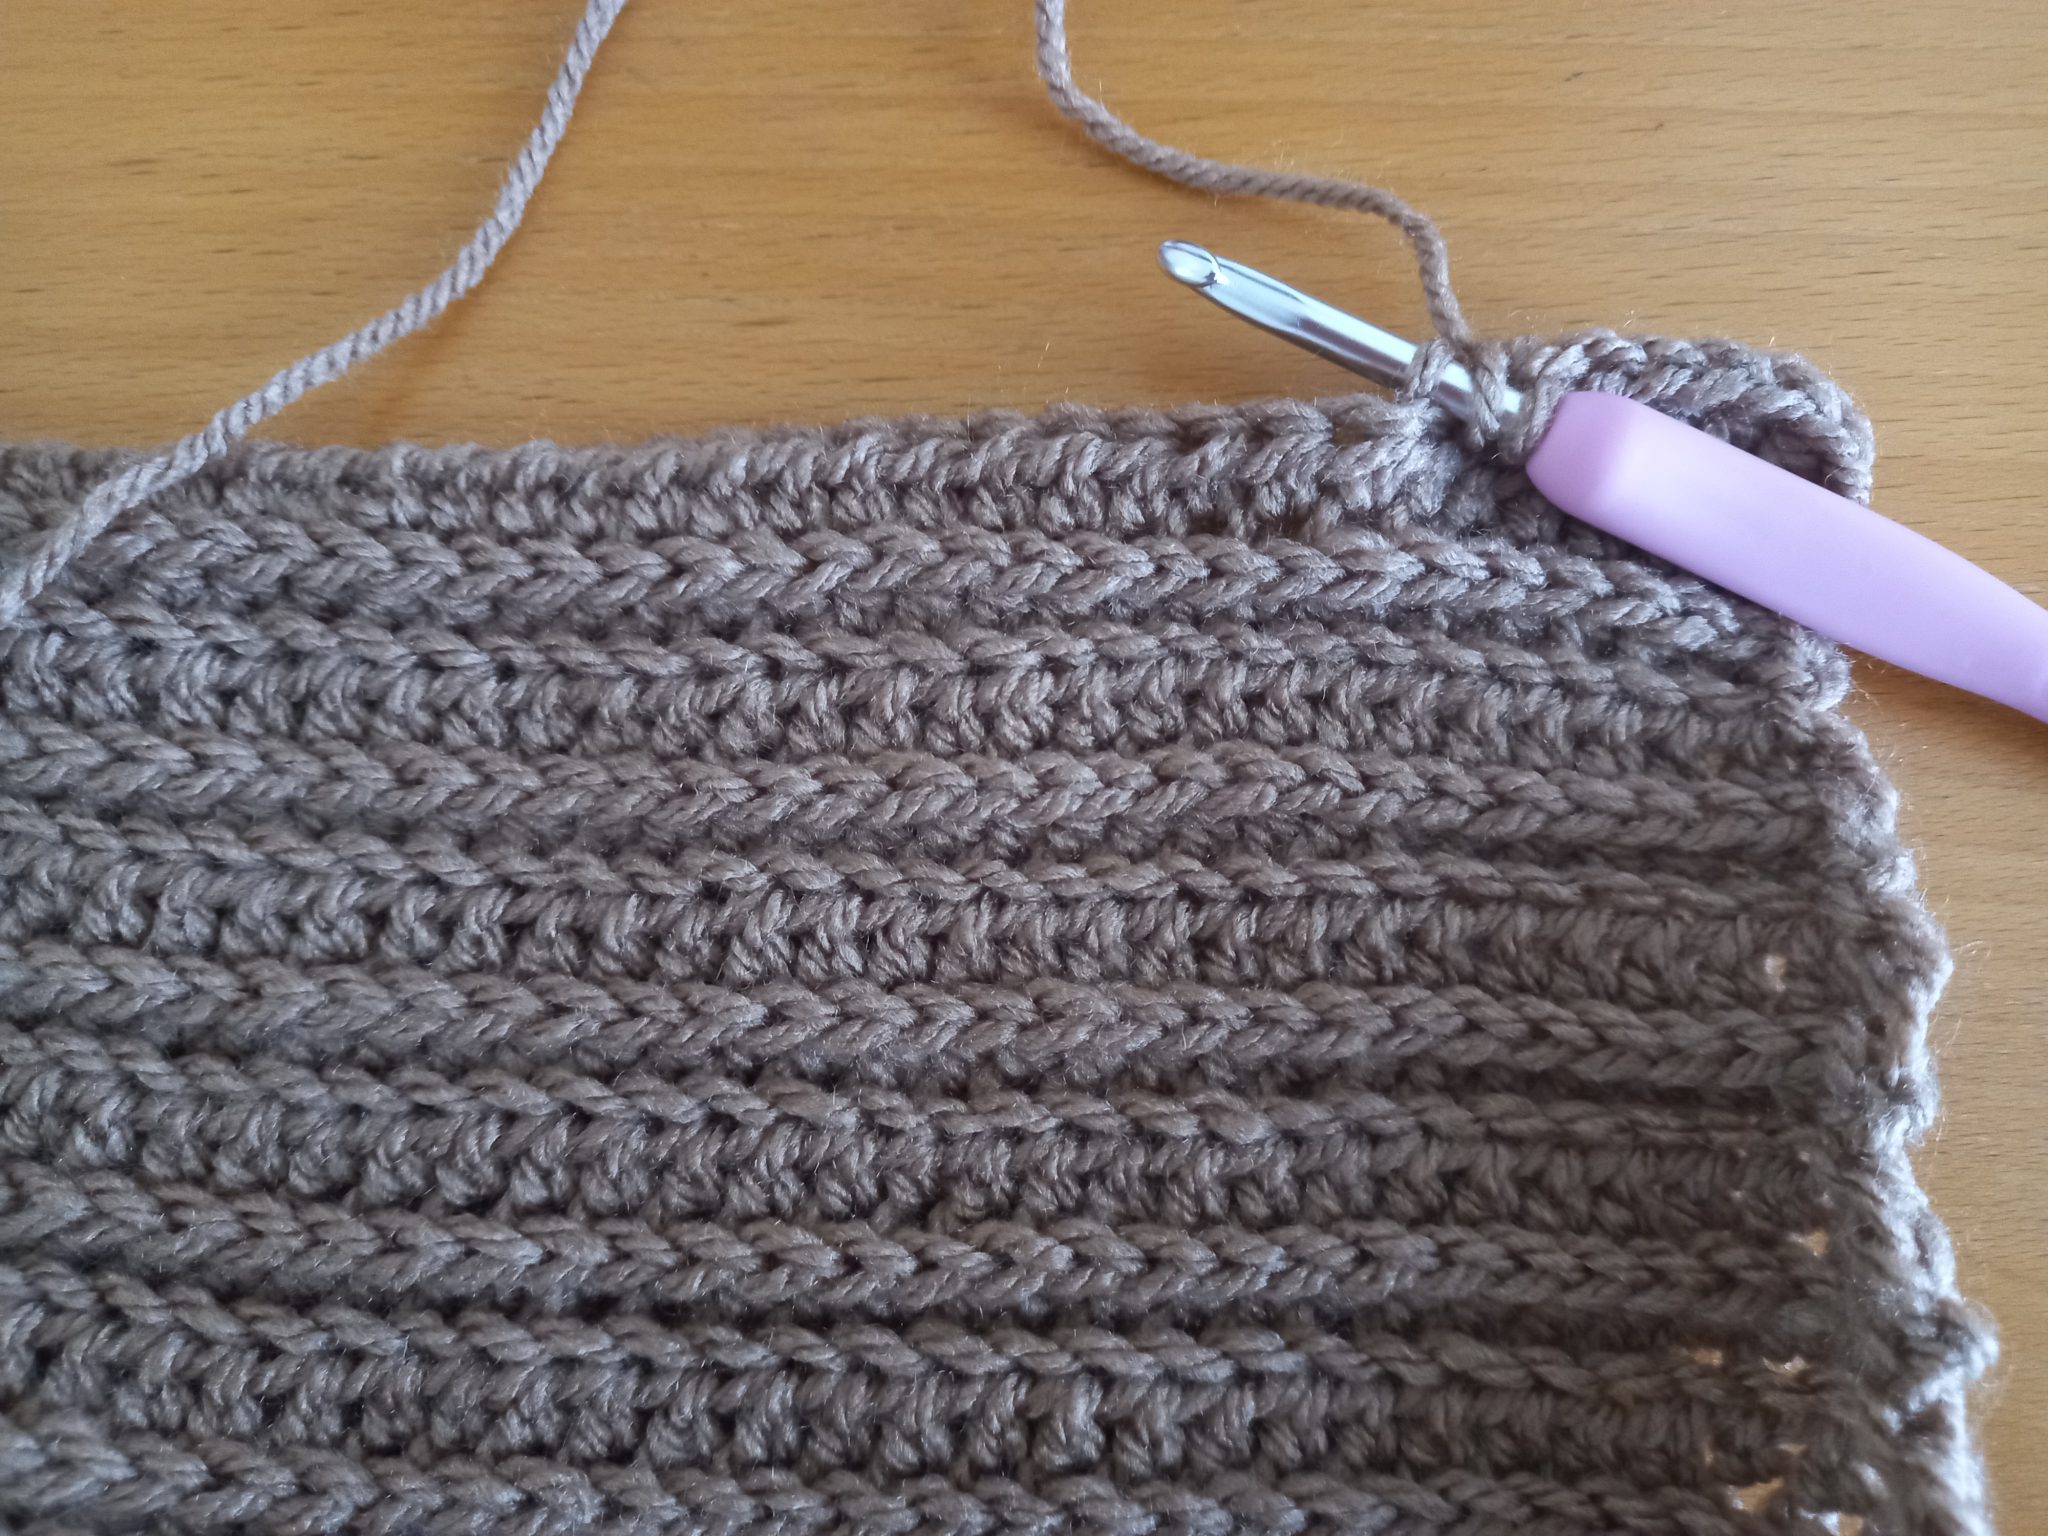
Place your HDCs into the back loop only of the stitches for this row
Row 4: Ch 1 (=turning chain), turn your work, HDC into front facing loop of the bottom of each HDC from previous row until eor.
Rows 5-13: Alternate rows 2 and 3 until you reach row 15, or until you are satisfied with length of project.
You can add more rows if you wish to make this project larger.
Fasten off, tidy up all loose ends.
Optional: Block your project to avoid “curling”.