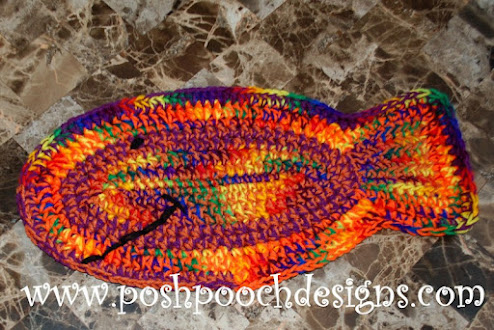
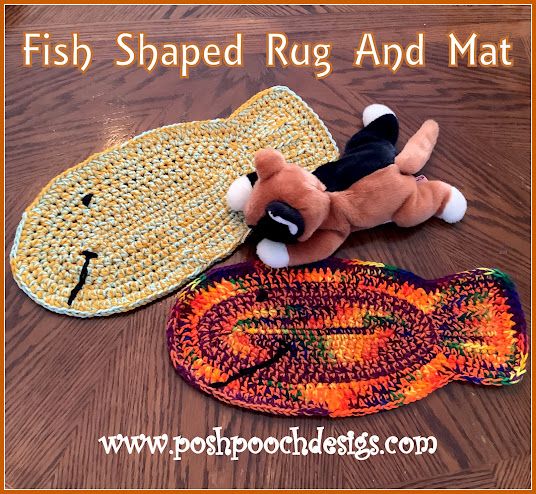
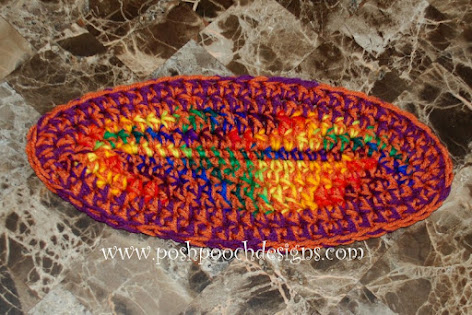
Crochet Fish Shaped Rug And Mat
If you're looking to add a touch of whimsy to your home decor, a crochet fish-shaped rug and mat might be just the thing you need! These charming creations bring a playful and unique twist to any room, whether it's the bathroom, nursery, or even a cozy corner in your living space. The intricate crochet work gives these rugs a handmade and cozy feel, perfect for adding warmth and character to your floors. With their fun shape and colorful designs, these fish-shaped rugs are sure to bring a smile to your face every time you see them. So why not hook yourself up with one of these delightful rugs and mats to dive into a sea of charm and coziness at home!
Skill: Easy to Moderate
Materials:
- Hook size – K / 6.50 MM
- Yarn — Med (4) 7 oz. skeins of yarn (I used Red Heart worsted weight)
- Yarn Needle
Stitches:
- Chain (ch)
- Slip Stitch (slst)
- Single Crochet (sc)
- Half Double Crochet (hdc)
- Double Crochet (dc)
Size: 18 x 8 inches
Notes:
- Ch1 does not count as st
- Ch2 counts as hdc
- Use two strands of yarn to work the entire rug.
- (I used scrap yarns I had on hand).
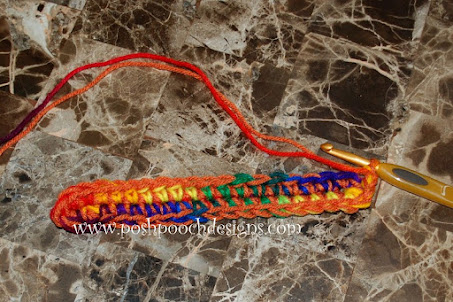
Fish Body
R: 1 — Ch 19, 2 sc in the 2nd ch from the hook,
1 sc in the next 16 chs, 2 sc in the last ch,
turning and working down the opposite side of the ch,
2 sc in the 1st ch, 1 sc in the next 16 chs, 2 dc in the last ch,
join with a sl st, ch 2 (40sc)
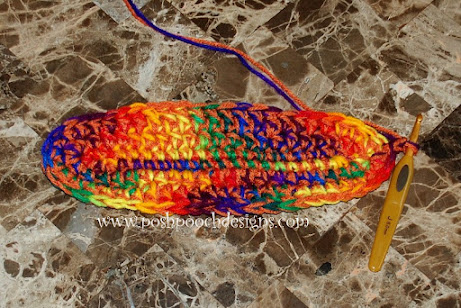
R: 2 — 1 hdc in the 1st sc, 1 hdc in the next 18 sc,
2 hdc in the next 2 sc, 1 hdc in the next 18 sc,
2 hdc in the last sc, join to the ch2, ch 2 (44 hdc)
R: 3 — 1 hdc in the 1st st, *1 hdc in next 6 st,
1 dc in the next 8 hdc, 1 hdc in the next 6 hdc* ,
2 hdc in the next 2 hdc, repeat from * to *,
then 2 hdc in the last hdc, join to the ch2, ch 2.
(48 sts)
R: 4 — 1 hdc in the 1st hdc, 1 hdc in the next 22sts,
2 hdc in the next 3 hdc, 1 hdc in the next 22 sts,
2 hdc in the last 2 hdc, join ch 2. (52 hdc)
R: 5 — 1 hdc in the 1st hdc, 1 hdc in the next 23 sts,
2 hdc in the next 3 hdc, 1 hdc in the next 23 sts,
2 hdc in the last 2 hdc, join, tie off and set aside. (58 hdc)
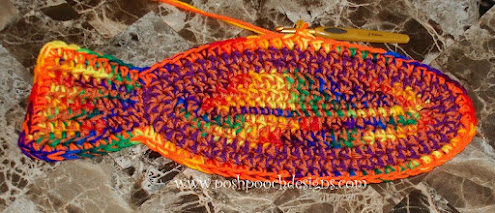
Fish Tail
R: 1 — Ch 9, 1 sc in the 2nd ch from the hook,
1 sc in the next 2 chs, 1 hdc in the next 5 chs, turn, ch1 (3sc, 5 hdc)
R: 2 — 1 hdc in the first 5 sts, 1 sc in the last 3 sts, turn, ch 1 (3sc, 5 hdc)
R: 3 — 1 sc in the first 3 sts, 1 hdc in the last 5 sts, turn, ch 1 (3sc, 5 hdc)
R: 4 — Repeat R: 2
R: 5 — Repeat R: 3
R: 6 — Repeat R: 2, Tie off leaving a tail of yarn for sewing on the fish tail.
Sewing on the Fish Tail
Place the fish tail on one of the end of the fish body.
Using matching yarn, sew tail to body with
whip stitches from the back side.
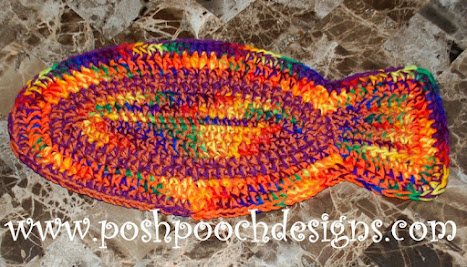
R: 8 — Attach 2 strands of yarn to the bottom center of the fish body,
With a sc. Sc evenly and loosely around the entire fish,
join to the 1st sc where you started, Ch 2
R: 9 — 1 hdc in the 1st St, *2 hdc in the next st, 1 hdc in the next st,
* Repeat From * to * till you reach the tail, skip the nest st,
1 hdc in each st up the side of the tail, 2 hdc in the corner,
1 hdc in each st across bottom of tail, 2 hdc in the next corner,
1 hdc in st down the tail till you reach the fish body, skip the next st,
Repeat from * to * across the bottom of the fish body
around to where you stated this row, join To the ch 2, and ch 2
R: 10 — Repeat R: 9 and tie off
Optional — Step 5 — the Face
With Black or your color choice of yarn,
Embroidery a Smile and the eye by long straight stitches.