Crochet Table Mat
Crochet table mats are a cute and practical way to add a touch of warmth to your home decor! They come in all sorts of colors and patterns, making them versatile for any style or season. Whether you're sipping a morning cup of coffee or hosting a dinner party, a charming crochet table mat can instantly elevate your table setting. Plus, they make wonderful handmade gifts for loved ones, adding a personal touch to any occasion. So, why not brighten up your dining area with a lovely crochet table mat and bring a cozy vibe to your home?

Materials and Preparation:
To create this beautiful crochet table mat, you’ll need the following materials:
Yarn: 100% cotton yarn (Nature Cotton Yarn is used in the tutorial)
Colors: Beige and Dark Red
Hook Size: 2.5 mm crochet hook
Additional Tools: Scissors, tapestry needle (for weaving ends)
Yarn Weight: Medium or DK weight yarn
Optional: Gauge swatch is not necessary for this project, but it's a good habit if you’d like to check your tension.
Abbreviations and Notes:
Before starting the pattern, familiarize yourself with these abbreviations:
- CH: Chain
- DC: Double Crochet
- SC: Single Crochet
- SL ST: Slip Stitch
- SP: Space
Important Notes:
- This pattern grows with each row, so pay close attention to increases.
- Each row increases by an extra DC in every set, making the mat expand evenly.
- Color changes for alternating rows add texture and detail.
- Keep a loose tension to avoid puckering or distortion.
Gauge, Approximate Size, and Pattern Notes:
Gauge: Not critical for this project but follow tutorial tension for best results.
Finished Dimensions: Approximately 11 inches in diameter after completing all rows.
Pattern Notes:
This mat uses «V-stitch» and «fan stitch» techniques for decorative effect.
Each row builds from the foundation chain outwards in a circular format.
Step-by-Step Pattern:
Foundation Base (Row 1):
Using beige yarn, begin with a slip knot.
Work 7 CH.
Join the last chain to the first using a SL ST to form a ring.
CH 4 (counts as first DC and CH-1 SP), then create a DC in the ring.
CH 1, then work another DC into the ring. Repeat until the ring has 12 DC (including the CH-4).
Close the round with a SL ST into the third chain to complete the row.
Row 2:
CH 2 (counts as the first DC).
In the same space, work another DC to start the increase.
CH 1, then work 2 DC into the next DC top (skip the chain spaces from the previous row).
Repeat the pattern—CH 1, 2 DC into each DC top—until the end.
Complete the row with SL ST into the second chain.
Row 3:
CH 2, work 1 DC into the next DC top.
Work 2 DC into the following DC top (increase).
Repeat this pattern:
CH 1
Work single DCs, followed by 2 DC increases in the last DC of each cluster.
Continue around, increasing in every cluster's last DC.
Close with SL ST into the second chain.
Row 4:
CH 2, work 1 DC in the next DC top.
Work 1 DC in the following DC top, then increase with 2 DC in the next DC.
Repeat the pattern:
CH 1,
2 individual DCs, followed by an increase (2 DC in the same stitch).
Finish the row and join with SL ST.
Continue Rows 5-8:
Follow the same formula. Each row increases by one additional DC per cluster.
For Row 5: Work clusters of 5 DCs with increases.
For Row 6: Work clusters of 6 DCs with increases, and so forth.
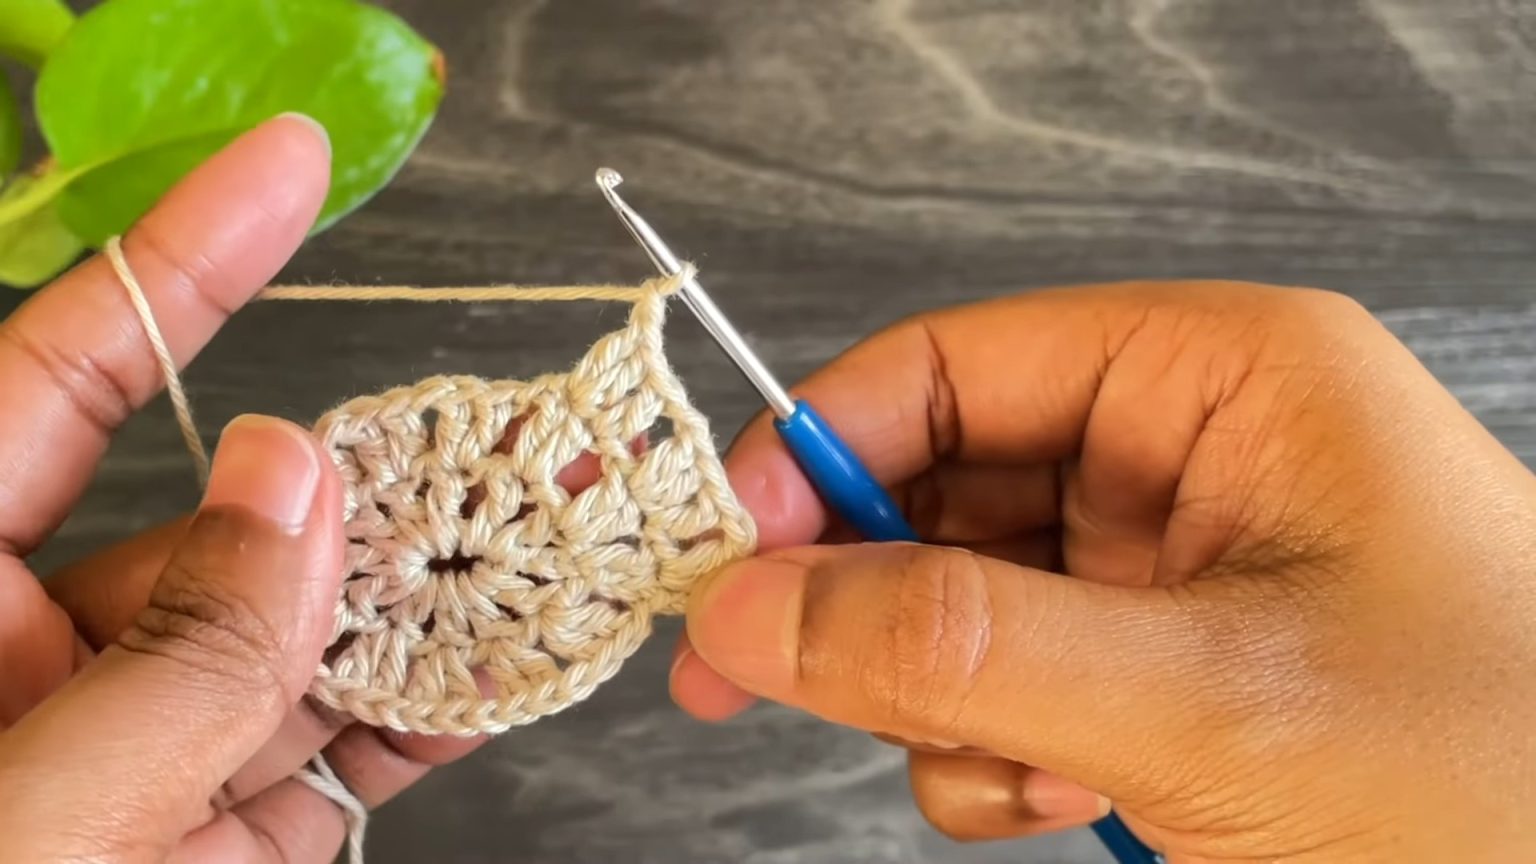
Creating the Decorative V-Stitches (Row 9):
Switch to Dark Red yarn with a slip knot.
Join the yarn to the top of any V-stitch with a SL ST.
CH 3 (counts as first DC), then work 4 DC into the same space (total 5 DC).
SC into the next chain-1 space.
Repeat across:
Work 5 DCs into each V-stitch
Work SC into each chain-1 space between clusters.
Finish the row and join with SL ST.
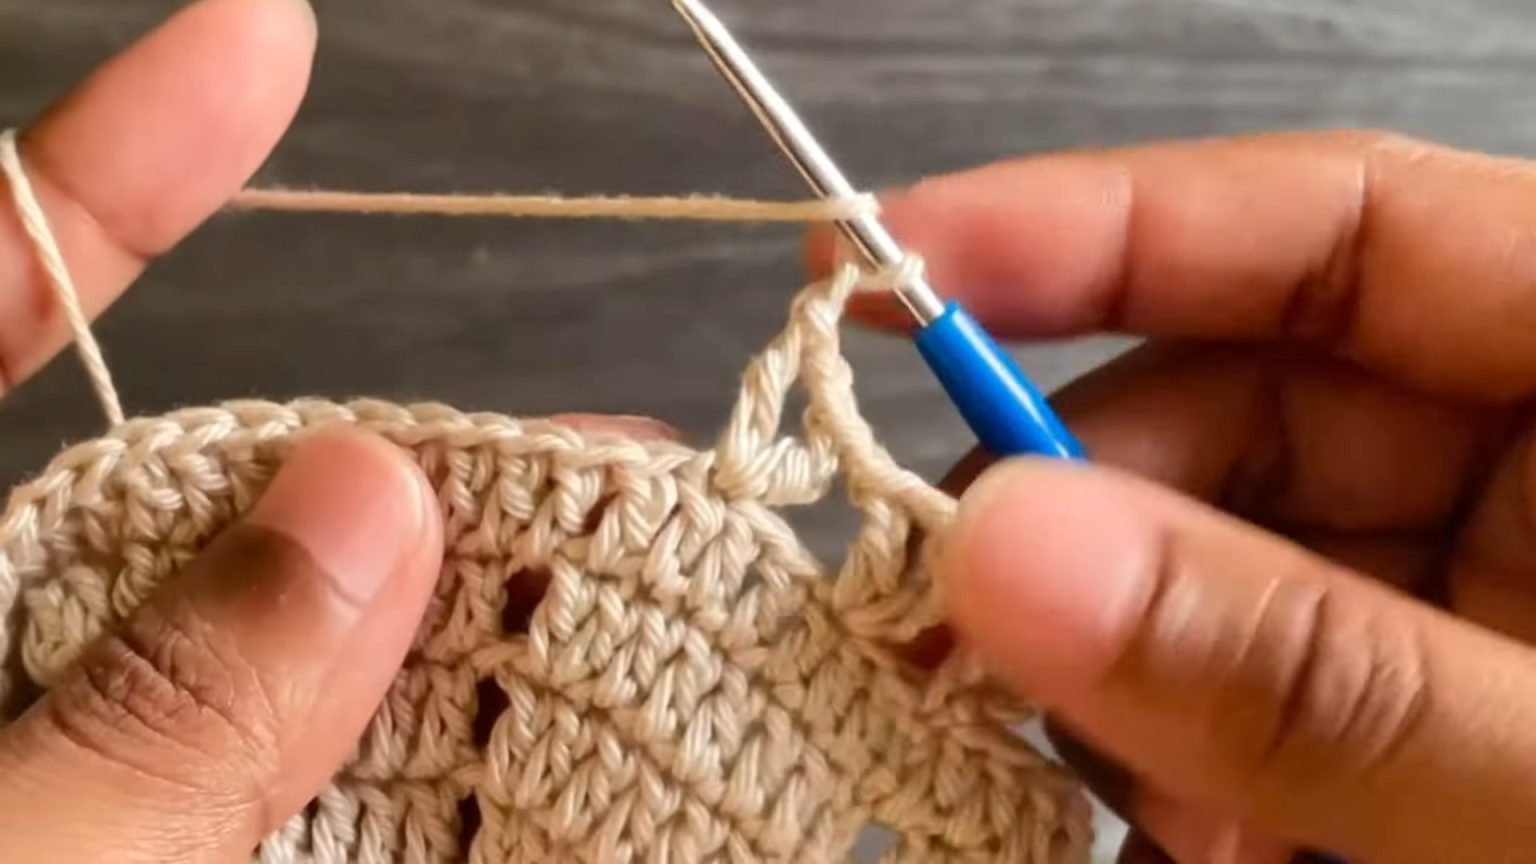
Second V-Stitch Row (Row 10):
Switch back to beige yarn with a slip knot.
Attach yarn in SC space from the previous row.
CH 5, work a DC into the same space (forms a V-stitch).
CH 1, skip to the next SC and work more V-stitches (DC, CH 2, DC) in each SC space.
Finish the row and join with SL ST.
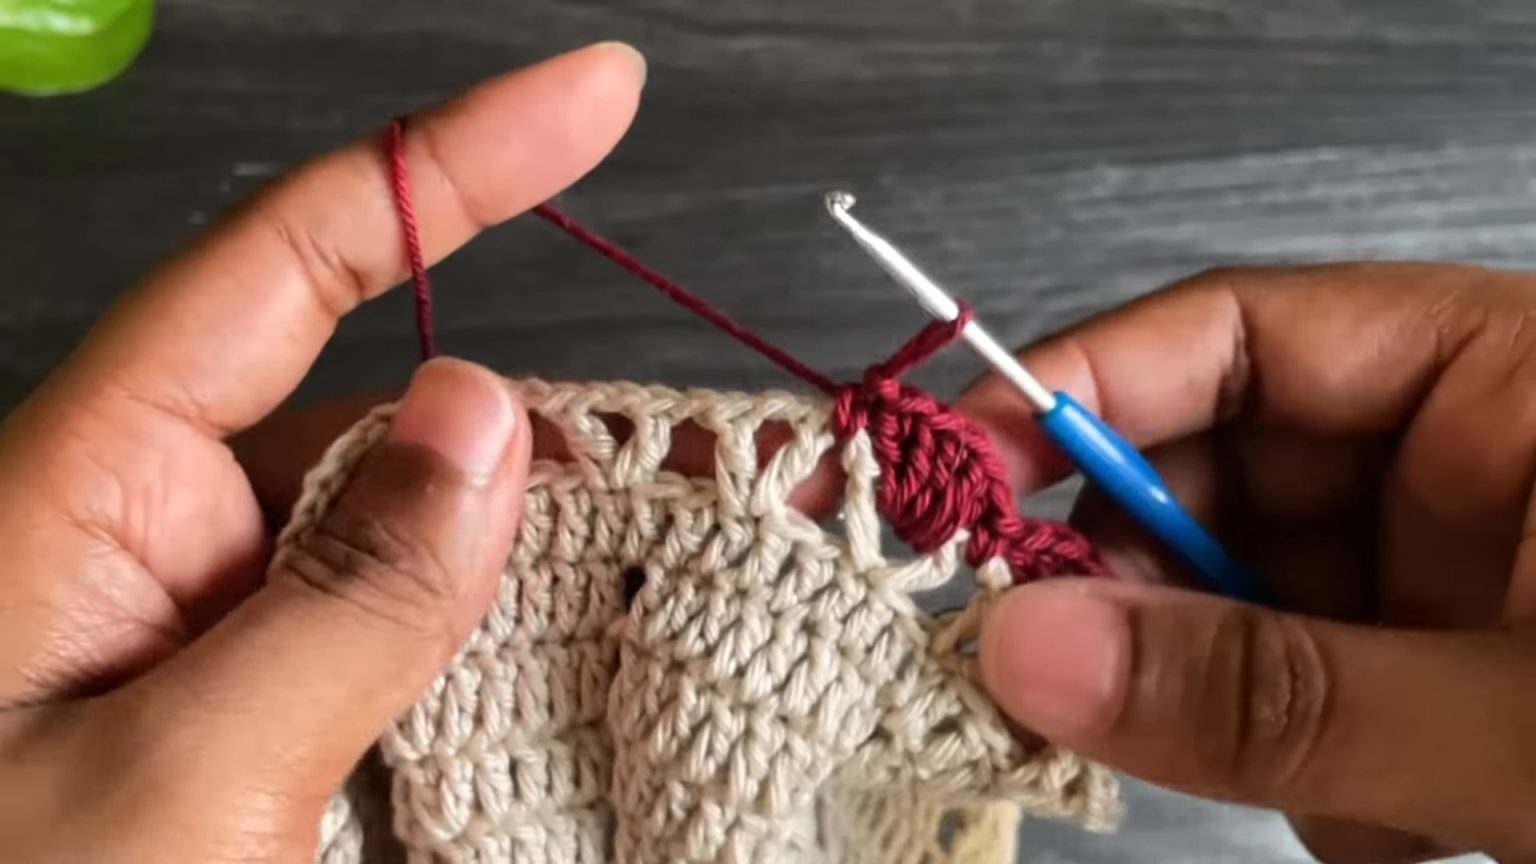
Repeat Fan Rows (Row 11+):
Use Dark Red yarn.
Work fan stitches (5 DC in each V-stitch space) across the row.
Alternate yarn for subsequent rows (beige for next V-stitch row, red for next fan row).
Final Touches:
Complete with 2 more rows of alternating V-stitch and fan stitches to extend.
Fasten off and weave in all loose ends with a tapestry needle.
Block gently if needed to achieve the desired dimensions.