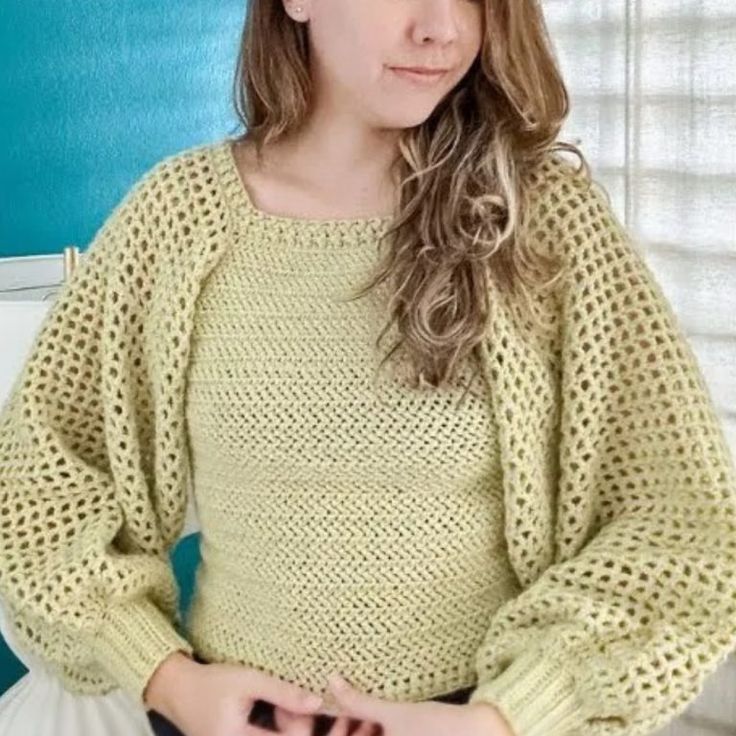
Crochet Puff Sleeve With Ribbed Cuffs Top
The Crochet Puff Sleeve With Ribbed Cuffs Top is an absolute stunner! The delicate crochet detailing on the puff sleeves adds a touch of whimsy and sophistication to any outfit. The ribbed cuffs give it a cozy, comfy feel that's perfect for both casual outings or dressed-up occasions. This top is a versatile piece that can effortlessly take you from day to night with just the right accessories. Embrace your unique style with this charming top that is sure to turn heads and make you feel fabulous!
Materials Needed
- Yarn: Acrylic yarn (any medium worsted weight yarn).
- Crochet Hook: 4.5mm crochet hook.
- Scissors: For cutting yarn tails.
- Stitch Markers: To aid alignment.
- Measuring Tape: For sizing and customization.
- Tapestry Needle: To weave in ends.
Abbreviations
Here are the abbreviations for commonly used stitches:
- ch: Chain
- st: Stitch
- sl st: Slip Stitch
- sc: Single Crochet
- dc: Double Crochet
- fpdc: Front Post Double Crochet
- bpdc: Back Post Double Crochet
- r: Row
Step-by-Step Pattern
Step 1: Create the Panels
Measure and Start:
Measure the distance across your collarbone to determine the initial chain length.
For reference, a medium size may use approximately 30 chains for the first row. Adjust to fit your body size.
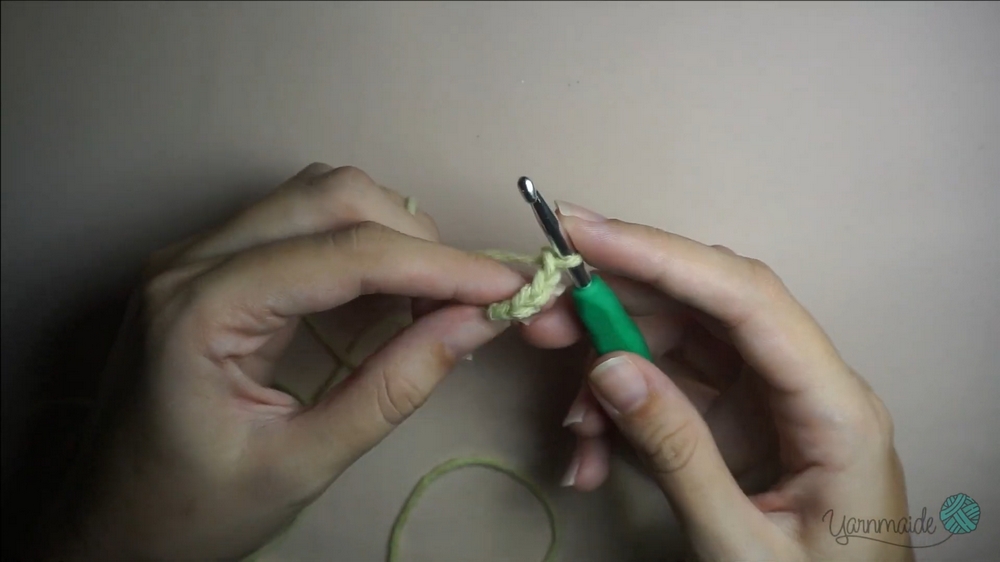
First Row:
Create 30 loose chain stitches (ch 30).
Use the Herringbone Stitch (herringbone dc) throughout the row:
Yarn over, insert hook into the 3rd chain from hook.
Pull through the chain and immediately pull through the first loop on the hook.
Yarn over, pull through one loop. Yarn over again and pull through the remaining loops.
Repeat the stitch across the entire row.
Increasing Rows:
Row 2: Chain 2 (counts as dc), turn your work. In the first stitch space, make 2 herringbone stitches. Continue stitching normally across the row but add 2 herringbone stitches at the last stitch space to increase.
Row 3 (and alternate rows): Chain 2, turn your work, and stitch normally without increasing.
Continue alternating increasing rows with normal rows until the width of the panel reaches under the armpit.
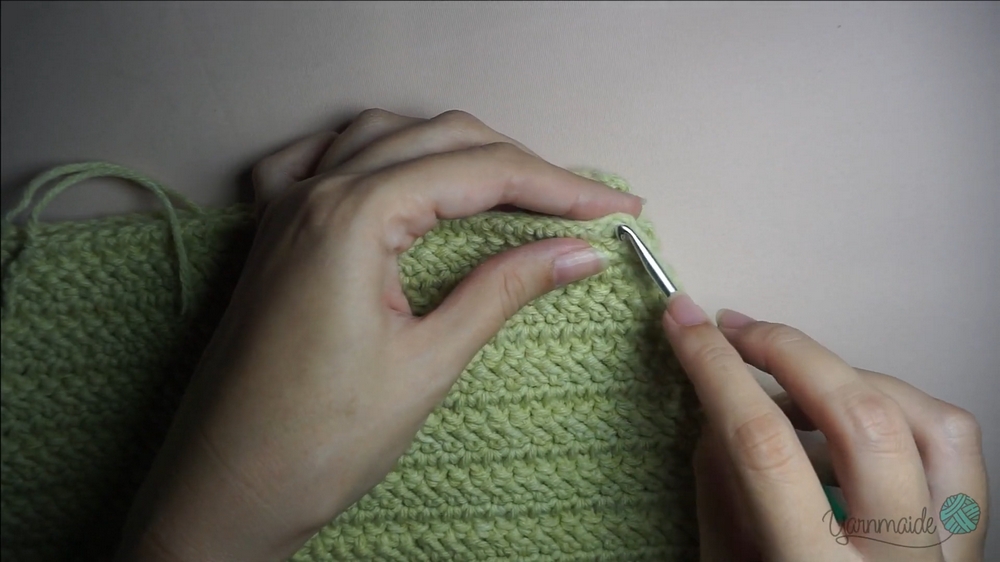
Straight Rows:
Once the panel reaches under your armpit, stop increasing and work straight rows until the desired length for your top. Repeat for the second panel.
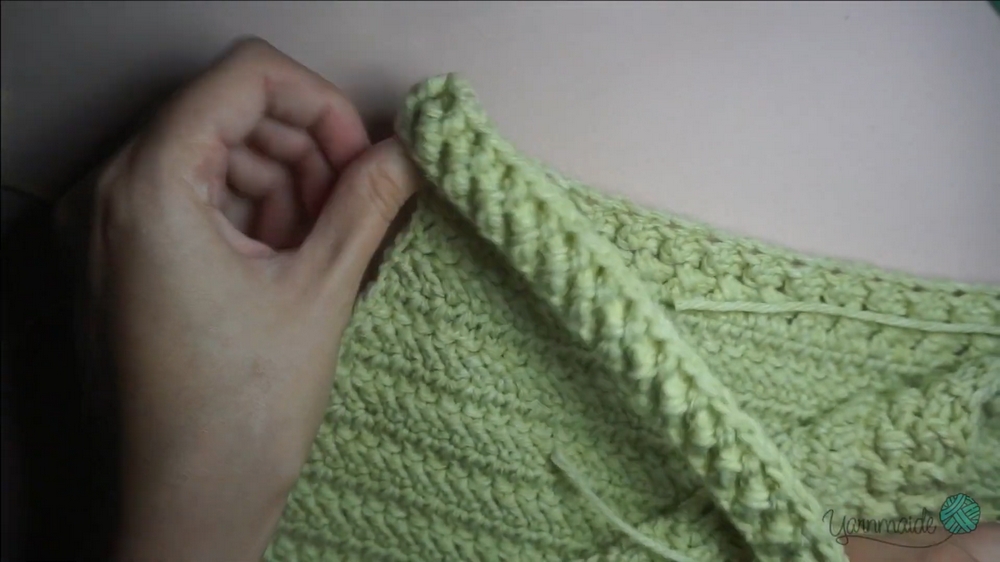
Step 2: Assemble the Panels
Align the Panels:
Place both panels side by side and ensure the wrong sides are facing you.
Use stitch markers to ensure edges are aligned.
Seam the Panels:
Begin at the bottom corner.
Use Single Crochet (sc) to join the edges:
Insert your hook into one panel’s edge and the corresponding edge of the other panel.
Yarn over and pull through both edges, then pull through the two loops on the hook.
Repeat until the panels are fully joined, leaving armholes free at the top.
Step 3: Create the Neckline
Attach Yarn:
Begin at one of the corners of the neckline.
Attach yarn with a slip stitch (sl st).
Work Double Crochets:
Row 1: Chain 3 (counts as dc), then work double crochets evenly along the edge of the neckline. This includes both back and front neckline areas.
Straps:
Chain 30 (or the number of chains that fit comfortably on your shoulder).
Attach the chains to the opposite side of the neckline with a slip stitch.
Repeat for the second strap.
Ribbing:
Work Front Post Double Crochet (fpdc) and Back Post Double Crochet (bpdc) around the neckline to create ribbing.
Repeat for 2 rows to finish the neckline.
Step 4: Create the Sleeves
Start the Wrist Ribbing:
Chain 15 (or desired thickness for ribbing).
Begin working Single Crochet (sc) into the back loops only on the second chain from the hook.
Chain 1, turn, and continue back loop sc until the ribbing fits around your wrist.
Increase the Sleeve Width:
Work 2 single crochets per row around the edges of the ribbing.
Begin Puff Design:
Row 1: Chain 4 (counts as dc and chain 1). Work dc, ch 1 in each stitch across. This creates slight ruffling.
Row 2: Repeat the previous row, working dc into the dcs of the previous row.
Row 3 Onward: Increase the chain between each dc to chain 2 (ch 2 instead of ch 1). Continue this for multiple rows until the sleeve reaches the shoulder.
Attach Sleeve to Main Body:
With the top turned inside out, slip stitch the sleeve edges to the armhole.
Ensure symmetry by counting spaces on both sides before seaming.
Seam Sleeve:
Fold the sleeve and seam with slip stitches along its length. Cut off yarn.
Step 5: Add Bottom Border
Attach Yarn:
Slip stitch to the bottom edge.
Work Ribbing:
Work Front Post Double Crochet (fpdc) and Back Post Double Crochet (bpdc) alternately along the bottom edge.
Repeat for 2 rows to create the border.