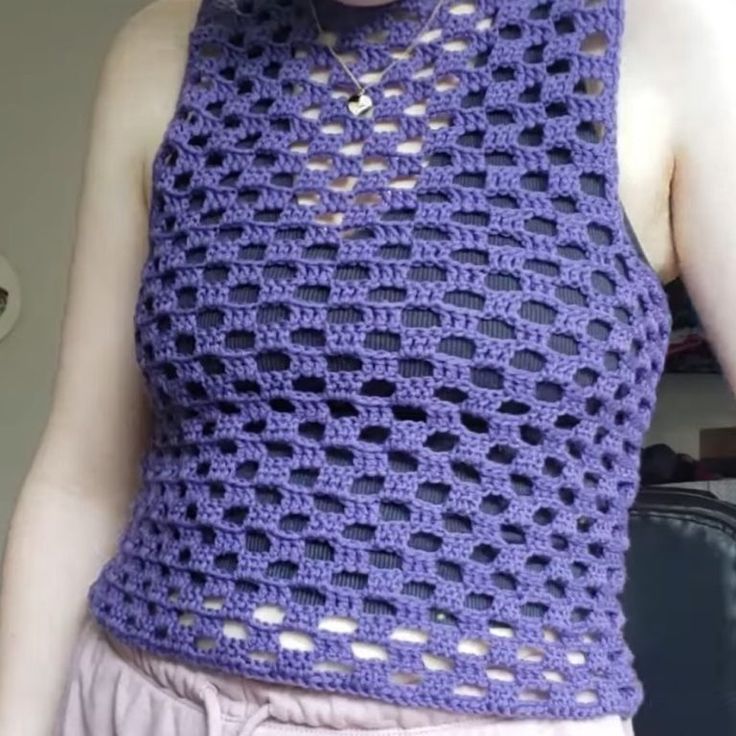
Crochet Sleek And Stylish Summer Mesh Top
Get ready to slay this summer with the Crochet Sleek And Stylish Summer Mesh Top! This trendy piece is perfect for adding a touch of elegance to your warm-weather wardrobe. The intricate crochet design and breathable mesh fabric make it ideal for staying cool and looking fabulous on those hot summer days. Pair it with your favorite shorts or denim and you're all set for a chic and comfortable summer look. Don't forget to accessorize with some fun jewelry and a cute hat for the ultimate beach-ready ensemble!
Supplies:
- Yarn:
- For the brown top: 2 balls of KC Cotton (160g) – Size Medium
- For the purple top: Less than one ball of Loops and Threads Wool (very soft)
- Crochet Hooks:
- 4.5 mm for the brown top
- 4 mm for the purple top
- Scissors
- Yarn Needle
Measurements:
Chest Circumference:
Measure around the chest and subtract 2 inches for a tighter fit (recommendation)
Example: Chest measurement is 38 inches, 38 – 2 = 36 inches, divide by 2 (Since it’s worked in two panels), W = 18 inches
Pit to Pit: 12 inches
Length: 19 inches (can vary depending on your preference)
Main Body Length: (Length from underarm to the end of the top) – 10 inches
Neck Hole Depth: 2.5 inches (can vary between 2 to 4 inches)
Shoulder Width: 4 inches
Pattern:
Front Panel:
Foundation Row:
Create a foundation single crochet of length W (e.g., 18 inches)
Ensure the number of stitches in this row is a multiple of 3 plus 2 (e.g., 74 stitches total)
Row 0:
Foundation single crochet of length W and multiple of 3 + 2 for later steps
Example: 74 stitches

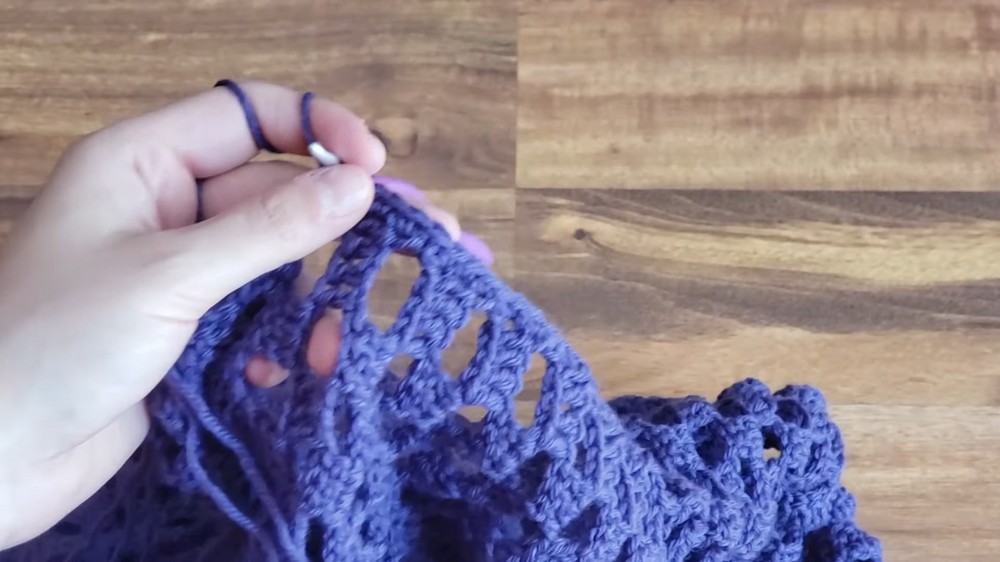
Row 1:
Chain 2, turn, double crochet into the first stitch
Alternate pattern:
3 double crochet, chain 3, skip 3 stitches, repeat until the row ends
End with a double crochet in the last stitch
Row 2 onward:
Chain 2, turn
First stitch: double crochet
Continue the pattern where:
Double crochets fall on previous row chain spaces
Chains fall on previous row double crochets
Continue until the main body height (M) is reached (e.g., 20 rows for M = 10 inches)
Armhole Shaping:
Place stitch markers such that P stitches (distance) is centered and there are blocks of 3 stitches between.
Example: 51 stitches divided into blocks of 3 stitches (17 squares total)
Skip stitches till the stitch marker:
Chain 2 at the starting point and attach yarn
Start crocheting the mesh pattern from the stitch marker
Continue the mesh pattern until your height minus collar length is reached.

Collar / Neckline:
Creating Shoulder Flaps:
Work number of spaces and rows specified for the shoulder flap
Example: work 5 rows for shoulder
Neckline Shaping:
Only consider half the width for back panel collar depth (e.g., consider 3 spaces for this part)
Back Panel:
Follow similar steps as Front Panel.
Initiate by starting with chain spaces initially instead of double crochets to align with front panel
Work back neckline with collar depth much lesser than front
Seaming:
Align front and back panels ensuring the mesh patterns match up.
Single crochet to seam along:
Sides of the top
Top shoulder seams
Final Touches:
Single crochet around armholes and neckline for a finished look.
Consider using a smaller hook size for tighter finish around sleeves and neckline.
Weave ends as you crochet to minimize final weaving.
Finished Product:
Your check mesh top is completed.