Crochet Adorable Hedgehog
Crocheting an adorable hedgehog is a delightful and heartwarming project that brings so much joy and cuteness into your creations. The soft yarn and intricate stitches come together to create a charming little critter that will surely bring a smile to anyone's face. With each stitch carefully made, you can infuse your hedgehog with personality and character, making it a one-of-a-kind piece that you'll be proud to display or gift to a loved one. So, pick up your crochet hook, select your favorite yarn colors, and embark on a creative journey filled with warmth and happiness as you craft your very own lovable hedgehog companion.
Materials needed:
- dark brown (24/7 cotton Cafe Au Lait and Ecru, Lion brand yarn),
- 10mm and 6mm black mushroom shank buttons – for the nose
- 4mm black glass beads – for eyes
- H 5.0 mm crochet hook
- E 3.5 mm crochet hook – I love Clover crochet hooks
- yarn hand needle or hot glue gun
- regular hand needle
- fiberfill – I use and love Fairfield brand
ABBREVIATIONS:
- ch – chain
- sc – single crochet
- sc2tog – single crochet two together
- st(s) – stitch(es)
- sl st – slip stitch
- hdc – half double crochet
- dc – double crochet
- dc2tog – double crochet two together
I will teach you how to crochet a hedgehog that is approximately 4.5″ and 3″ in diameter.
You need to remember, that this easy hedgehog pattern is worked in rounds.
Let’s follow the pattern for the hedgehog bigger in size.
STEP 1. BODY
Start at the front of the body with ecru color yarn, and that will be the hedgehog’s face.
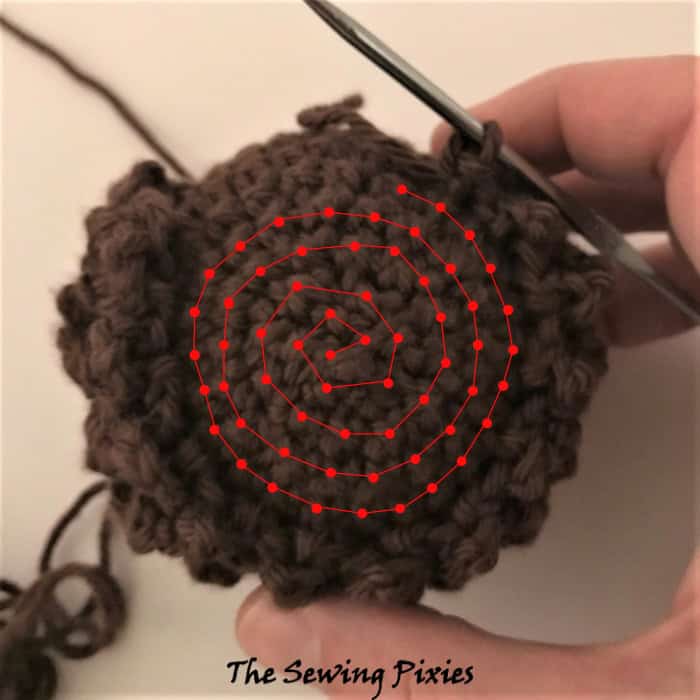
1: Make a magic ring using H hook and chain 6sc in the ring, and ss to the first sc (6sc)
2: 2sc in each sc around (12sc)
3: (sc in next sc, 2sc in next sc) around (18sc)
4: (sc in next 2 sc, 2sc in next sc) around (24sc)
5: sc in every sc around (24sc) – work last sc with dark brown
6: (sc in next 3 sc, 2sc in next sc) around (30sc)
7: (sc in next 4 sc, 2sc in next sc) around (36sc)
8-14: sc in each sc around (36sc)
15: (sc in next 4 sc, sc2tog) (30sc)
16: (sc in next 3 sc, sc2tog) (24sc)
17: (sc in next 2 sc, sc2tog) (18sc)
18: (sc in next sc, sc2tog) (12sc)
Stuff the body with fiberfill until moderately firm.
19: sc2tog around (6sc)
Sew the 6sc together and finish off.
Sew on the nose and eyes to the face.
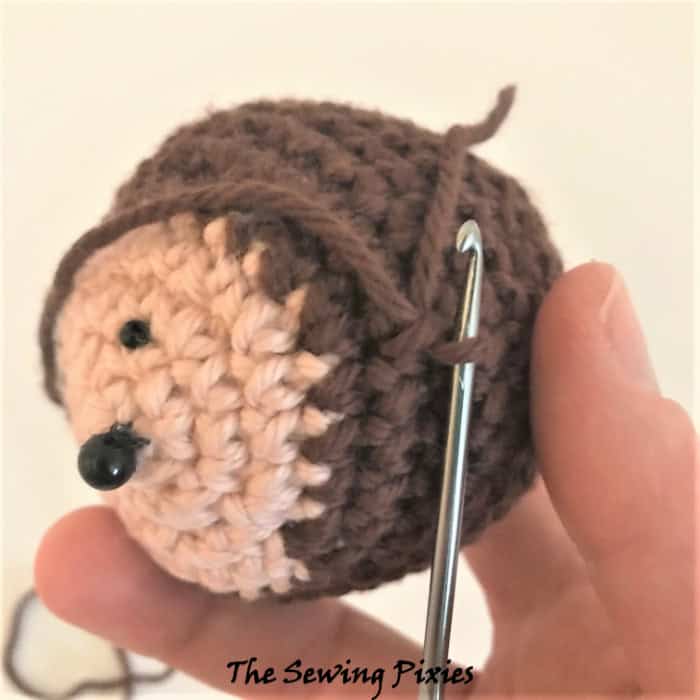
Now, use 3.5 mm crochet hook to crochet spikes. You will be slip stitching to the top stitches of single crochets. Start on the lower side of the face, in the first brown row.
1: *Sl st to the sc top st, Ch 5, sl st in same sc top st, Sl st in next sc top st – repeat from
* 16 times (16 spikes) to the other lower side of the face. Finish the row with a spike.
2: Start the next row with sl st and repeat round 1 17 times crocheting in the opposite direction.
3: repeat R1
4: repeat R2
5: repeat R1
6: repeat R2
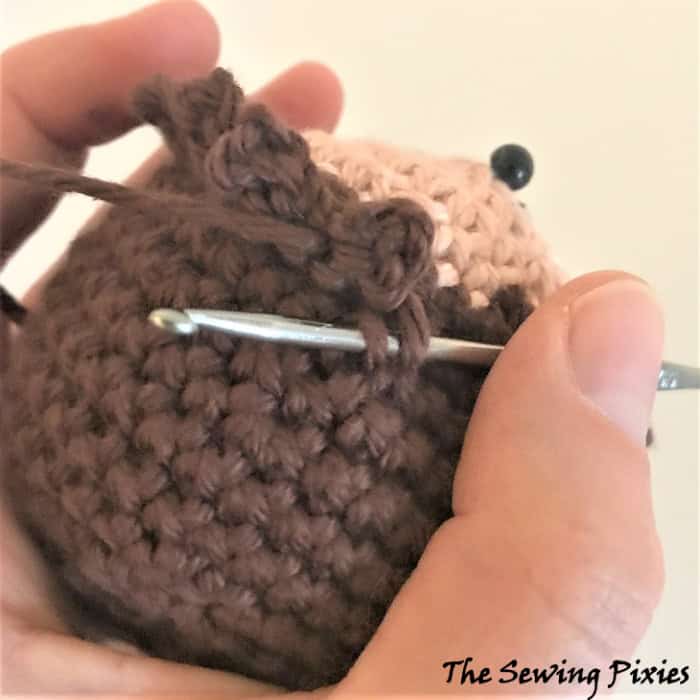
7: work in rounds (Sl st to the sc top st, Ch 5, sl st in same sc top st, Sl st in next sc
top st) repeat until the middle finishing with a spike.
Finish off and weave in ends.
STEP 2. EARS
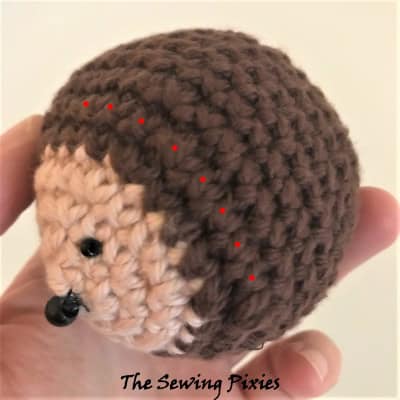
Hold the hedgehog facing you and you will work in the top sts as marked on the picture.
(Sl st, ch2, dc2tog in the same st, ch2, sl st in next sc top st) once for each ear. Finish off and weave in ends.
STEP 3: FEET – make 4
Make a magic ring and chain 8sc, sl st in first sc.
You can leave a yarn tail and sew on the feet to the hedgehog’s body. Or make a knot with the yarn ends, snip access yarn, and hot glue the feet. I chose the second easier option.
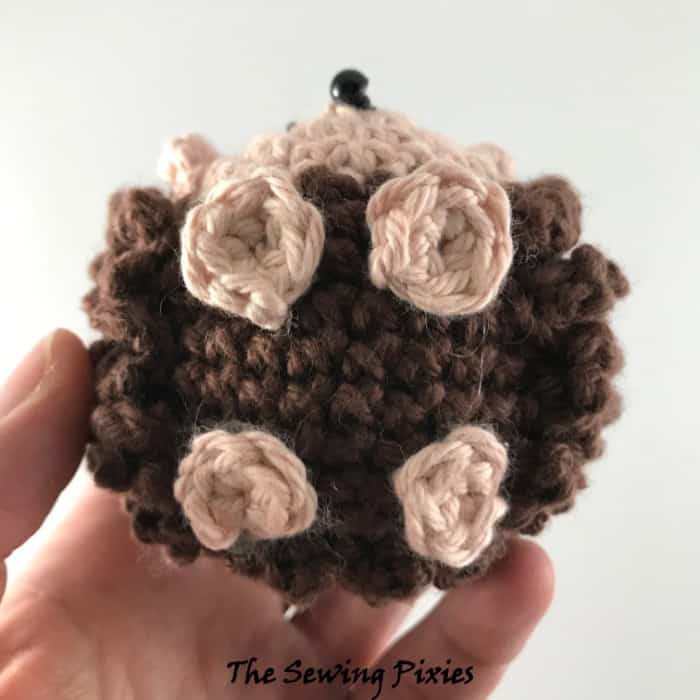
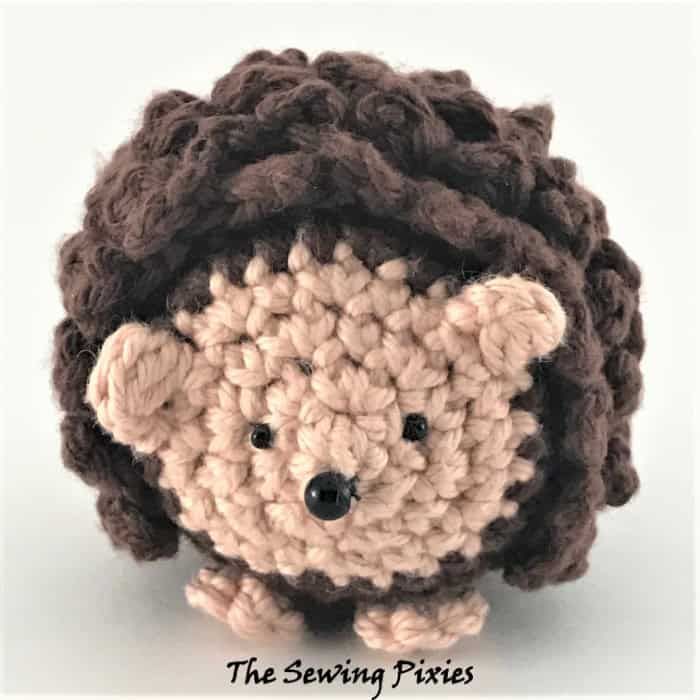
Look at that cute hedgehog you just made!

Now, let’s learn how to crochet the hedgehog smaller in size.
Below are the differences in crocheting the small hedgehog and the rest of the steps are the same as in the large hedgehog pattern.
Step 1: Body
1: Make a magic ring using H hook and chain 6sc in the ring, and ss to the first sc (6sc)
2: 2sc in each sc around (12sc)
3: (sc in next sc, 2sc in next sc) around (18sc)
4: sc in every sc around (18sc) – work last sc with dark brown
5: (sc in next 2 sc, 2sc in next sc) around (24sc)
6: sc in every sc around (24sc) – work last sc with dark brown
7: (sc in next 3 sc, 2sc in next sc) around (30sc)
8-12: sc in every sc around (30)
13: (sc in next 3 sc, sc2tog) (24sc)
14: (sc in next 2 sc, sc2tog) (18sc)
15: (sc in next sc, sc2tog) (12sc)
Stuff the body with fiberfill until firm.
16: sc2tog around (6sc)
Sew the 6sc together and finish off.
Step 2: Spikes
*Sl st to the sc top st, Ch 4, sl st in same sc top st, Sl st in next sc top st – repeat
from * 13 times (13 spikes) to the other lower side of the face. Finish the row with a spike.
In the next row, you will make 14 spikes and start working in the rounds in 7th spike row.
Step 3: Ears
(Sl st, ch1, 2hdc in the same st, ch1, sl st in next sc top st) once for each ear.
Step 4: Feet
Make a magic ring and chain 6sc, sl st in first sc.