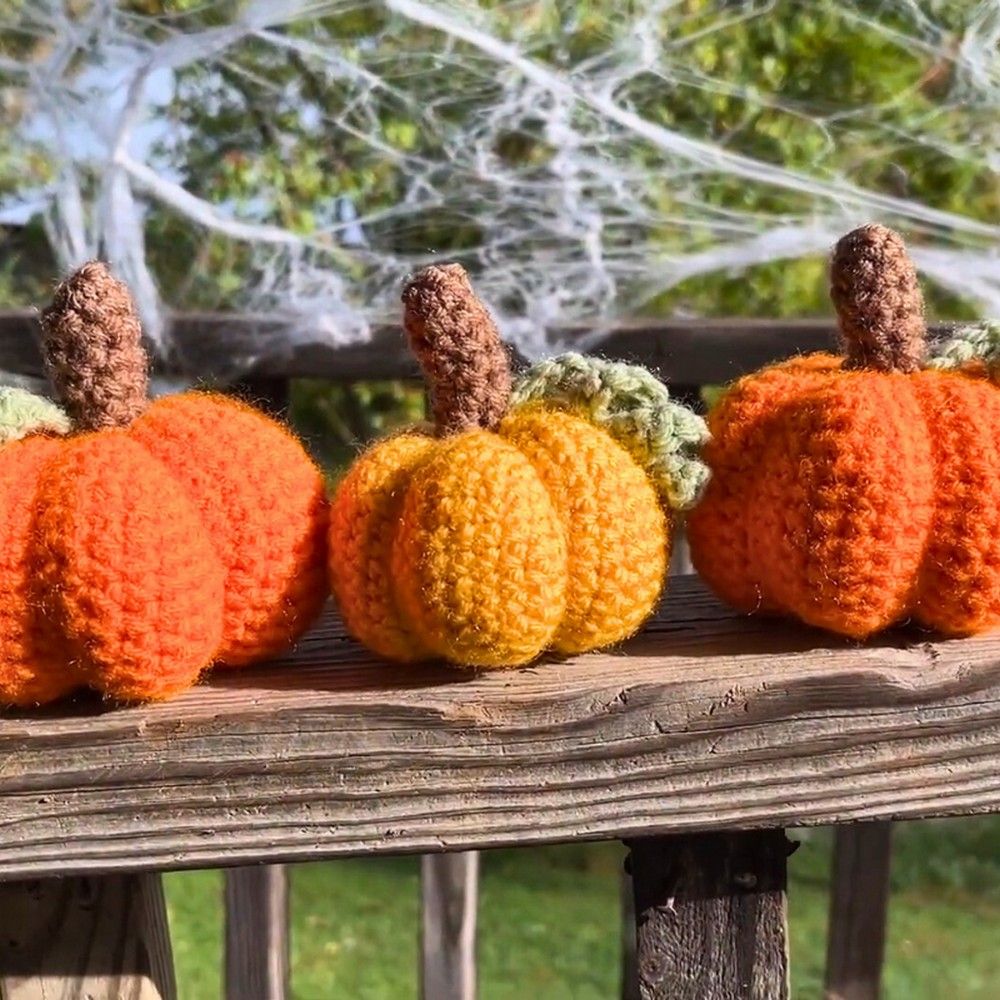
Crochet Beautiful Fall Pumpkin
Crocheting beautiful fall pumpkins can be such a delightful project to work on! With their warm, earthy colors and charming texture, these handmade decorations add a lovely touch to your home during the cozy autumn season. Whether you're a seasoned crocheter or just starting out, creating these pumpkins is not only fun but also a great way to express your creativity. You can choose different yarn colors to customize each pumpkin and experiment with various stitches to give them unique personalities. Once finished, these adorable crochet pumpkins make fantastic additions to your fall decor, bringing a touch of handmade warmth to your surroundings. So grab your crochet hook, pick out some yarn, and let's get crafting some beautiful fall pumpkins!
Materials and Preparation
To crochet this adorable fall pumpkin, you will need the following materials:
Materials:
- Main yarn color: Red Heart Super Saver in “Pumpkin” (Weight 4 yarn).
- Stem yarn: Red Heart Super Saver in “Café Latte” (Weight 4 yarn).
- Vine yarn: Red Heart Super Saver in “Frosty Green” (Weight 4 yarn).
Tools:
- Crochet hooks:
- 5.5mm crochet hook (for working on the pumpkin and stem).
- Optional: A smaller hook for the vine to create tighter curls.
- Scissors.
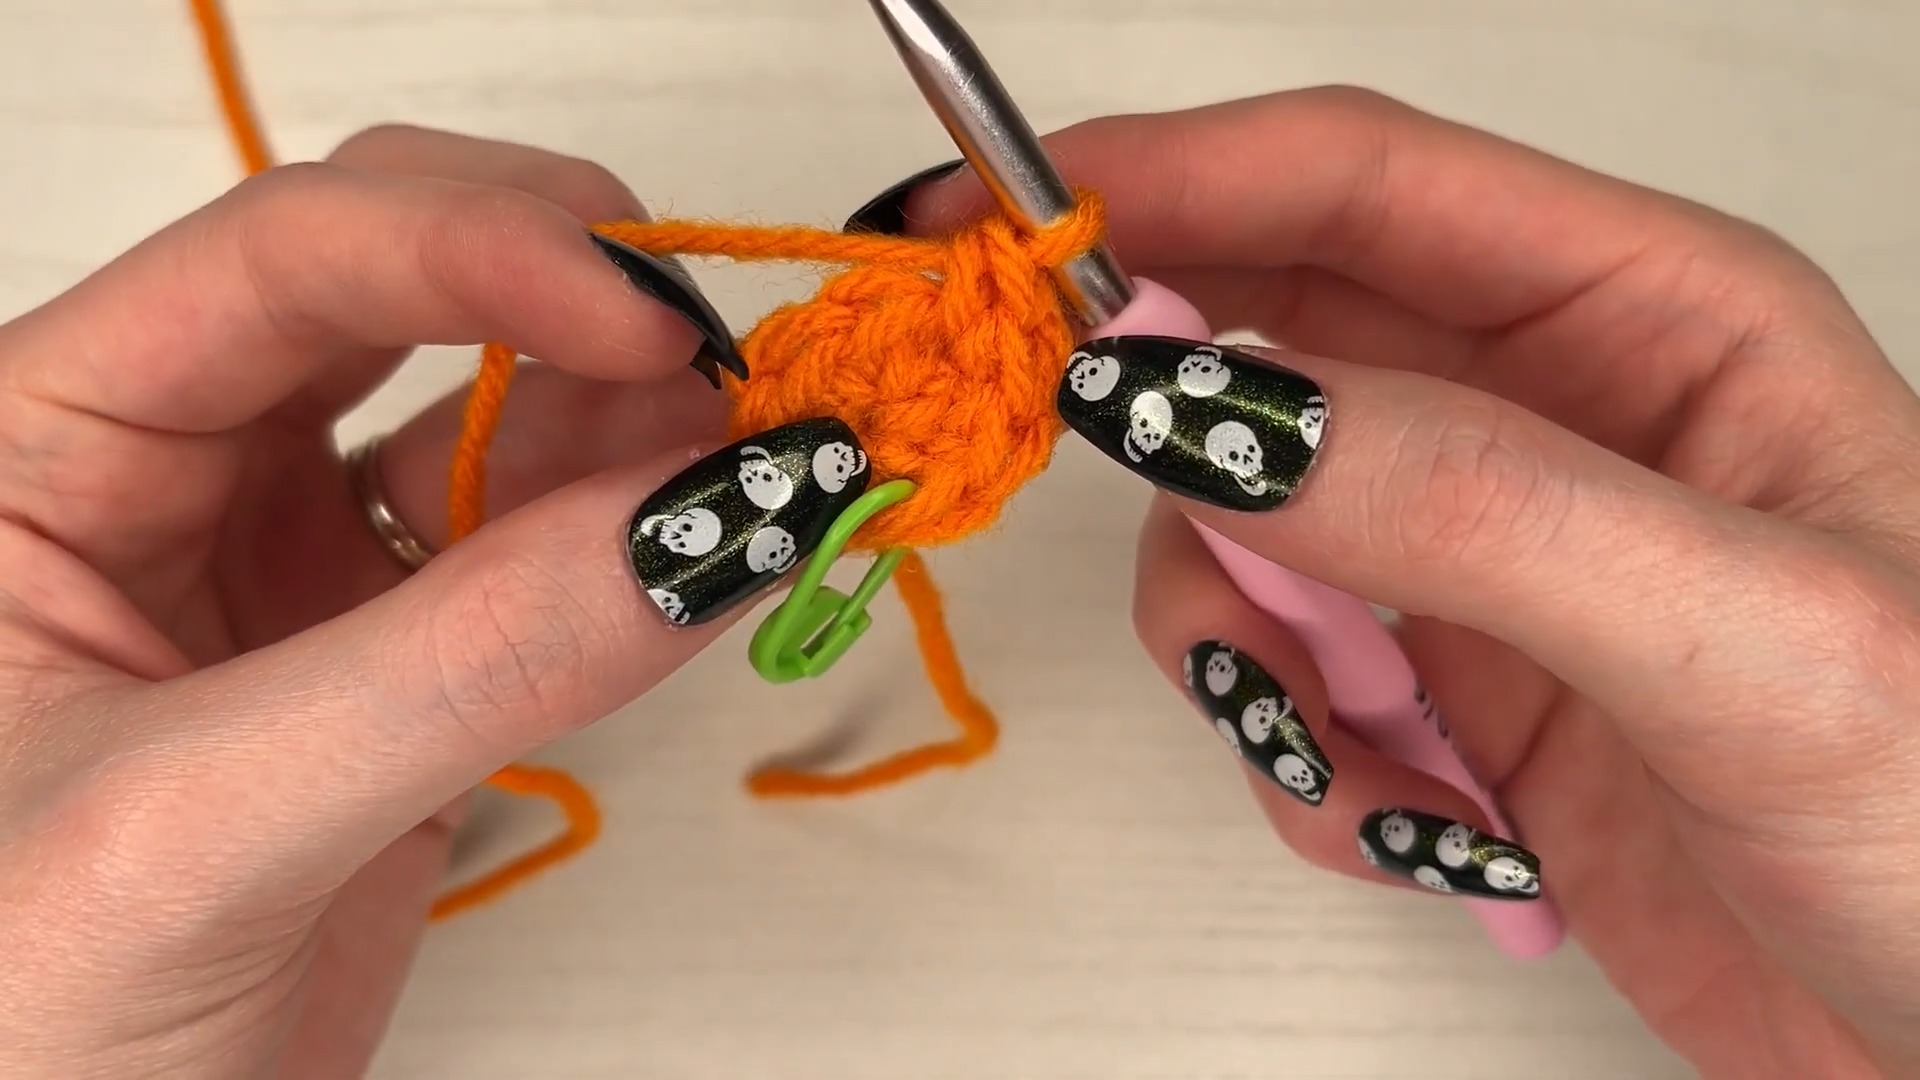
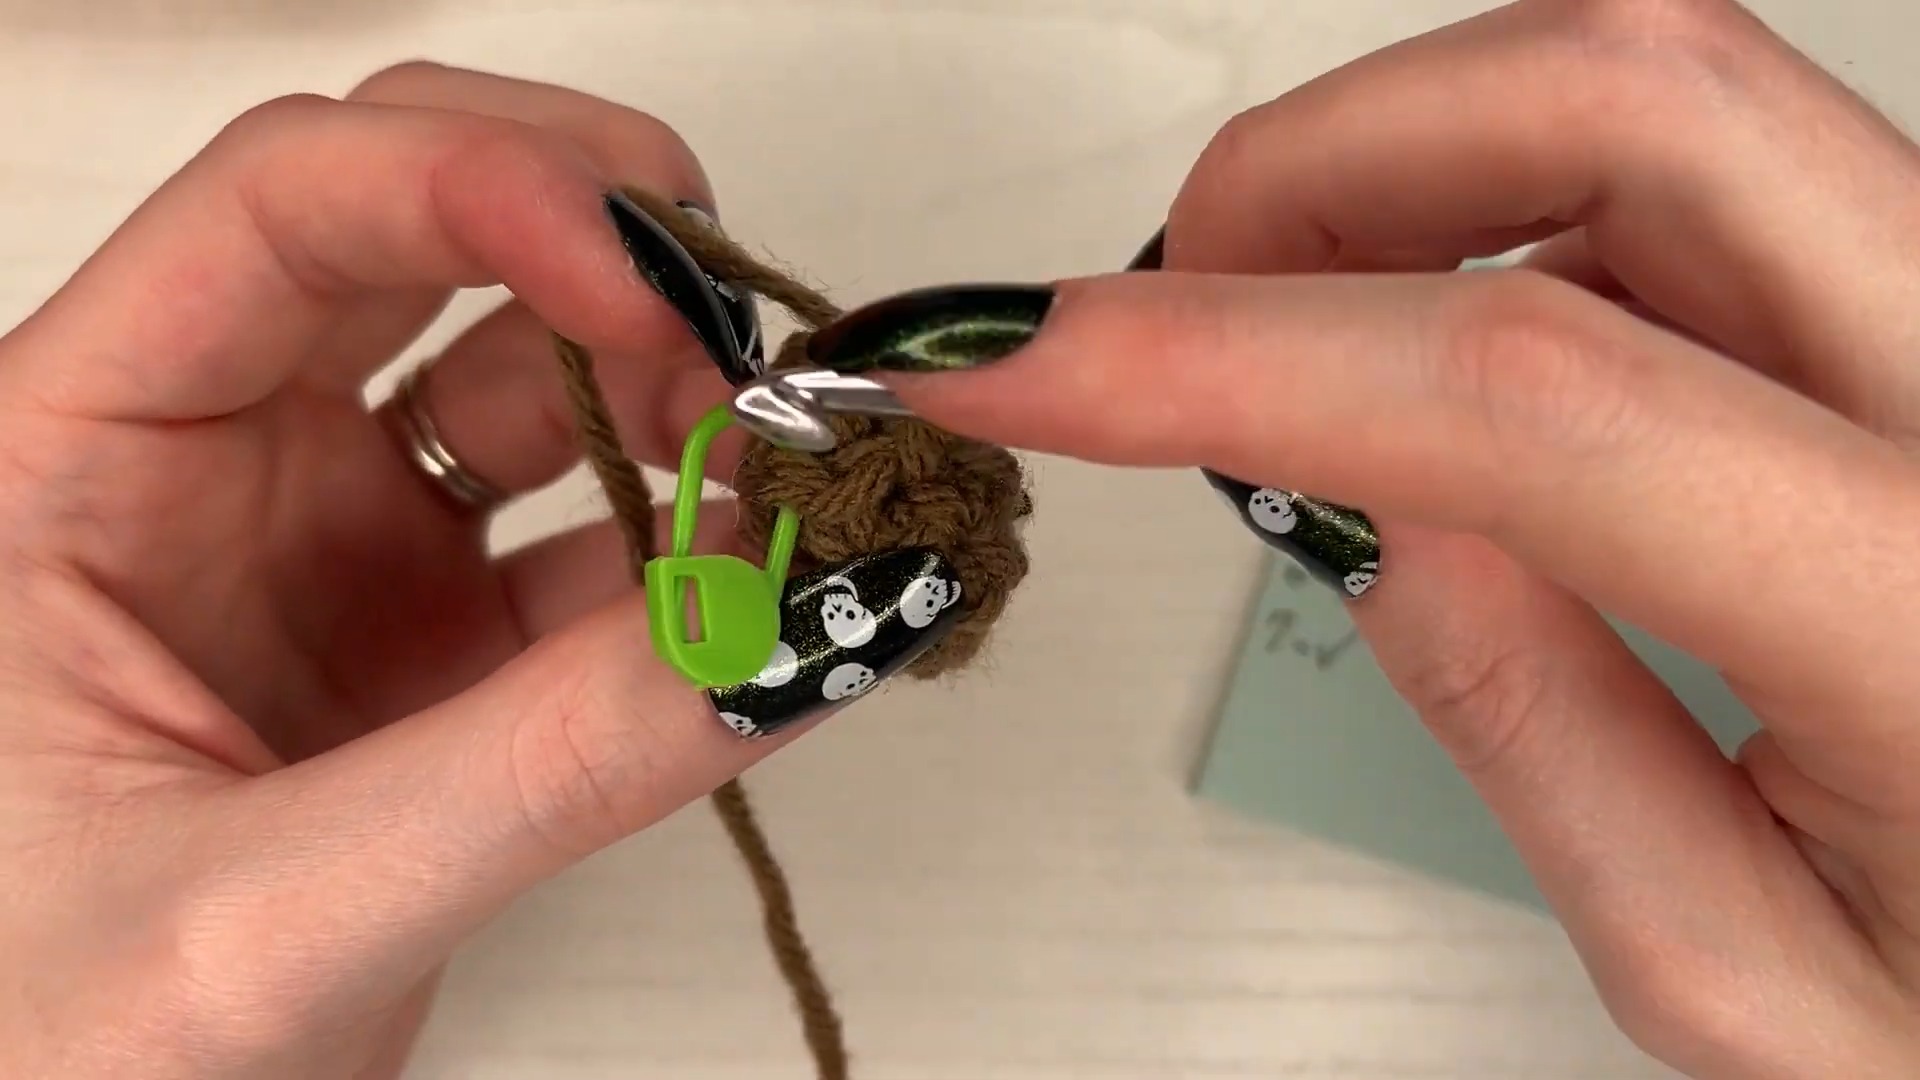
- Stitch marker/placeholder: Paperclip or scrap yarn can be used as an alternative.
- Yarn needle: Metal or plastic, for sewing the pieces together.
- Stuffing: Poly-Fil or other craft stuffing.
Optional:
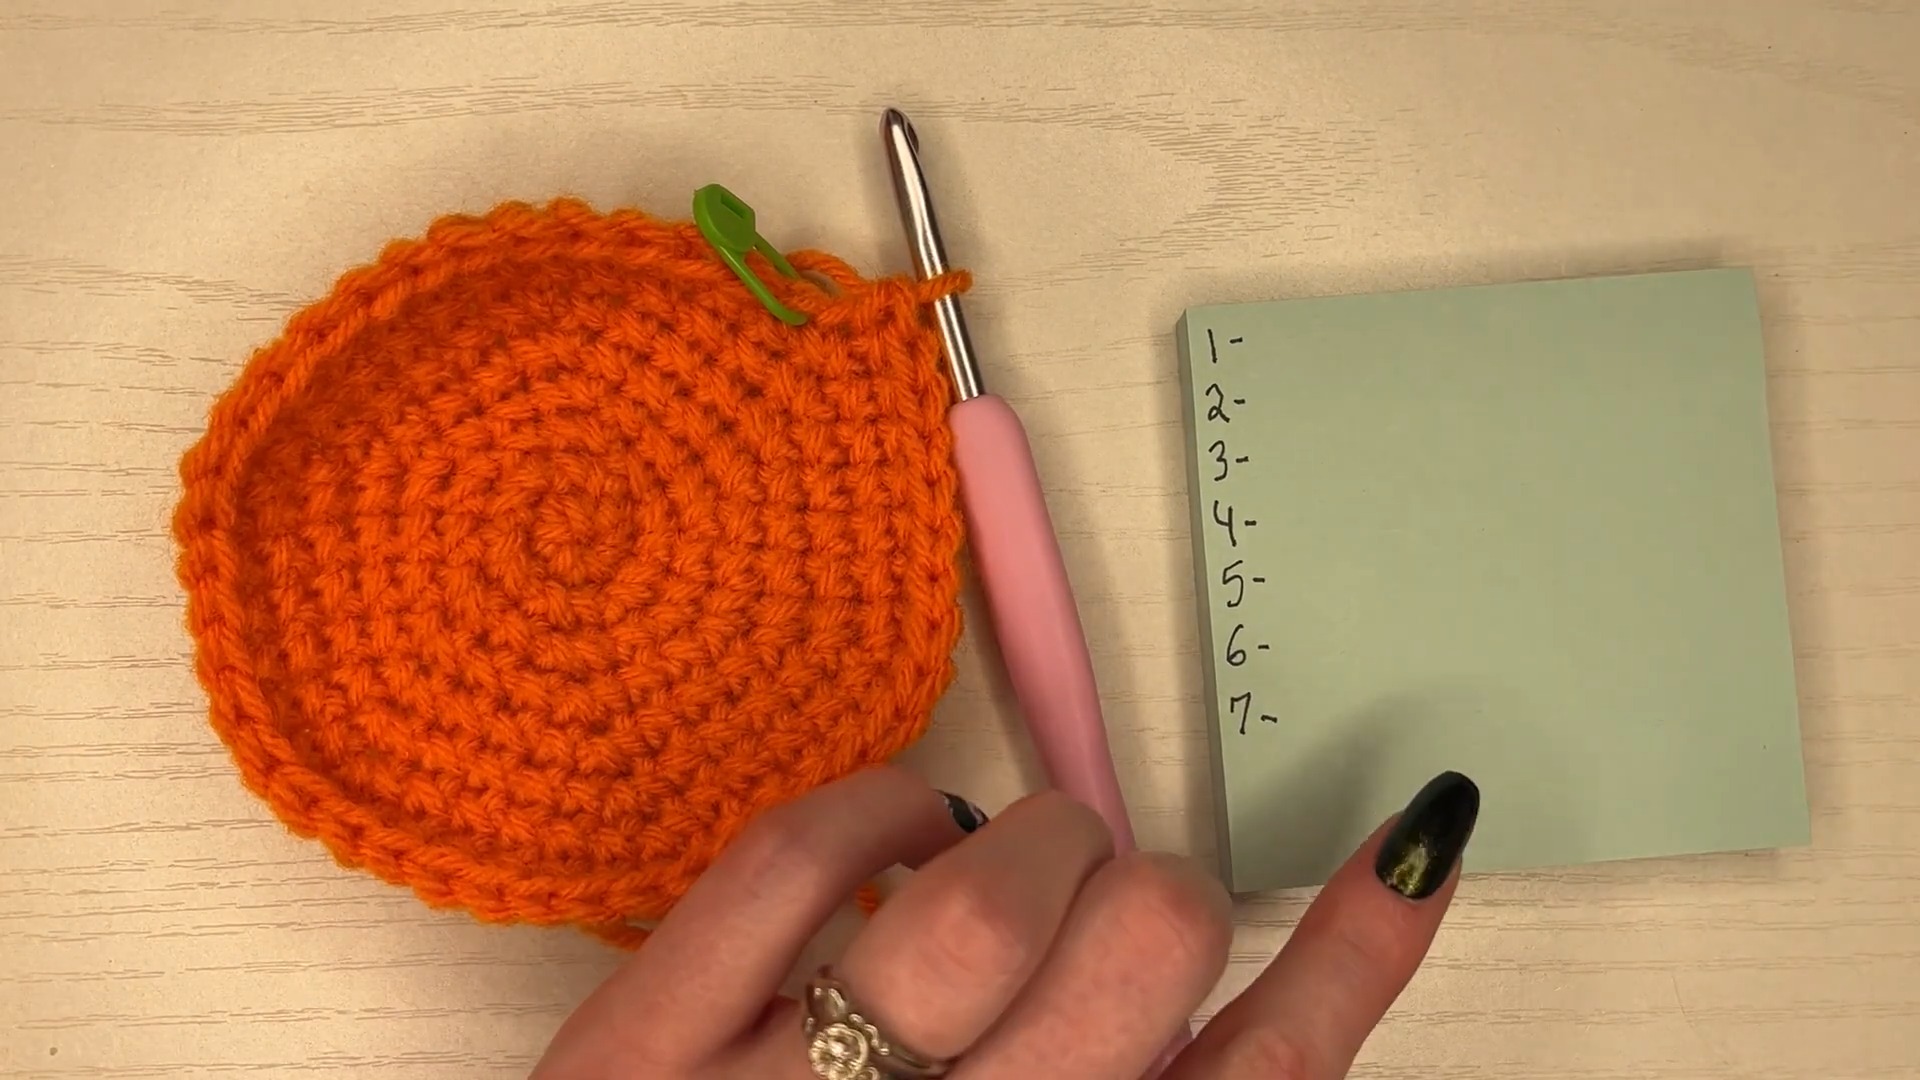
A note-taking method, such as a checklist, to track your crochet rounds.
Abbreviations and Notes
Abbreviations:
- SC: Single Crochet.
- Increase (INC): Two SCs in the same stitch.
- Decrease (DEC): Turning two stitches into one stitch.
- YO: Yarn Over.
Special Notes:
This pattern is worked in rounds, so keeping track of rounds with a stitch marker is crucial.
The Magic Circle technique is used to begin the pumpkin shape. Rewind and replay the video if you’re new to this technique.
Ensure stitches are evenly tightened, especially during the later rounds when closing the pumpkin.
Gauge, Approximate Size, and Pattern Notes
Gauge:
Gauge is not critical for this project, but using a consistent tension ensures your pumpkin is proportional.
Finished Dimensions:
The finished pumpkin will measure approximately 4–5 inches in diameter.
Techniques:
Magic Circle: Used to start the pumpkin and stem (practice makes perfect!).
Invisible Decreases: Recommended for the top closure to keep it seamless.
Step-by-Step Pattern
Pumpkin Body:
Start with the Magic Circle:
Wrap yarn around your fingers to create a circle. Pull the loop through and secure with your hook. Chain 1.
Round 1:
SC 6 into the Magic Circle. Pull the circle closed tightly.
Round 2:
INC in each of the 6 stitches (12 stitches total).
Round 3:
SC 1, INC across the round (18 stitches).
Round 4:
SC 2, INC across the round (24 stitches).
Round 5:
SC 3, INC across the round (30 stitches).
Round 6:
SC 4, INC across the round (36 stitches).
Round 7:
SC 5, INC across the round (42 stitches).
Rounds 8–14:
SC in each stitch around (42 stitches per round).
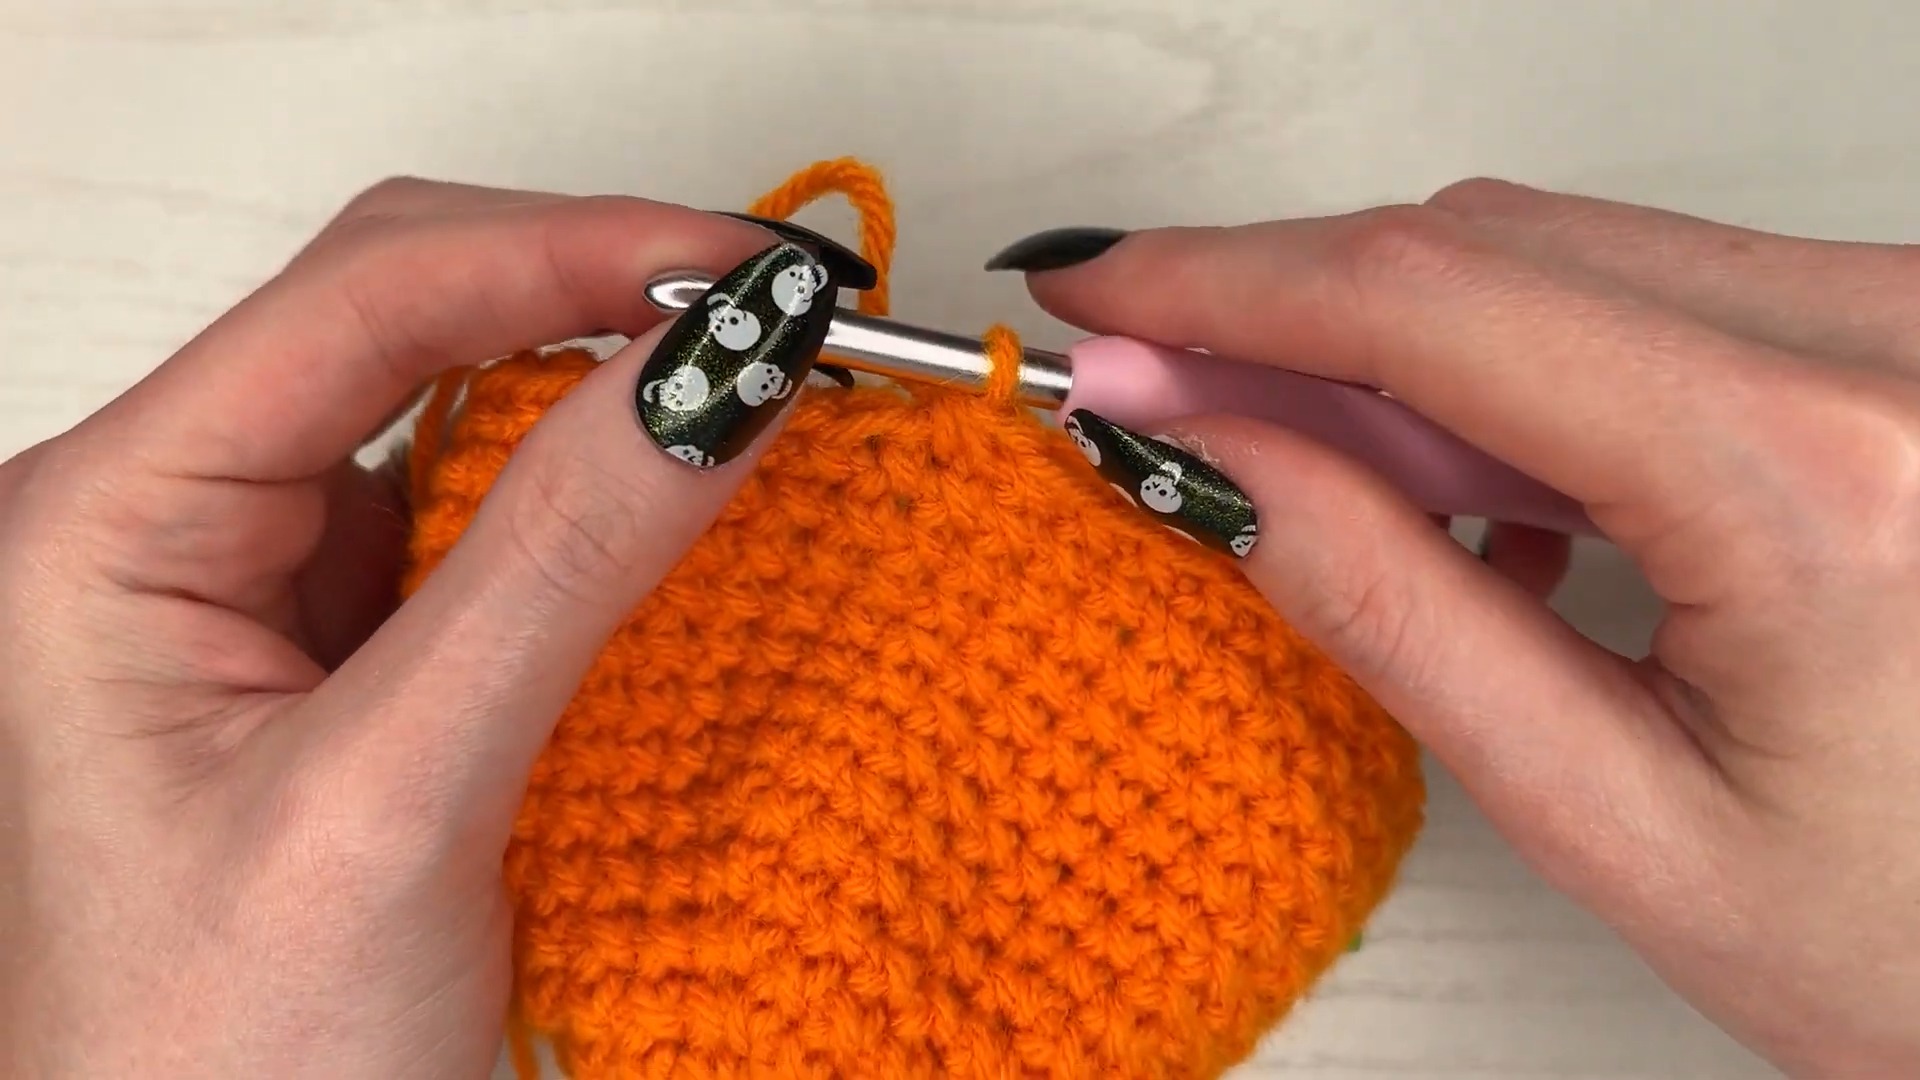
Round 15:
SC 5, DEC around (36 stitches).
Round 16:
SC 4, DEC around (30 stitches).
Round 17:
SC 3, DEC around (24 stitches).
Stuff the pumpkin firmly with Poly-Fil at this stage.
Round 18:
SC 2, DEC around (18 stitches).
Round 19:
SC 1, DEC around (12 stitches).
Round 20:
DEC in every stitch around (6 stitches).
Using a yarn needle, sew the small hole closed and secure the tail by hiding it within the pumpkin.
Shaping the Pumpkin:
Create the pumpkin ridges:
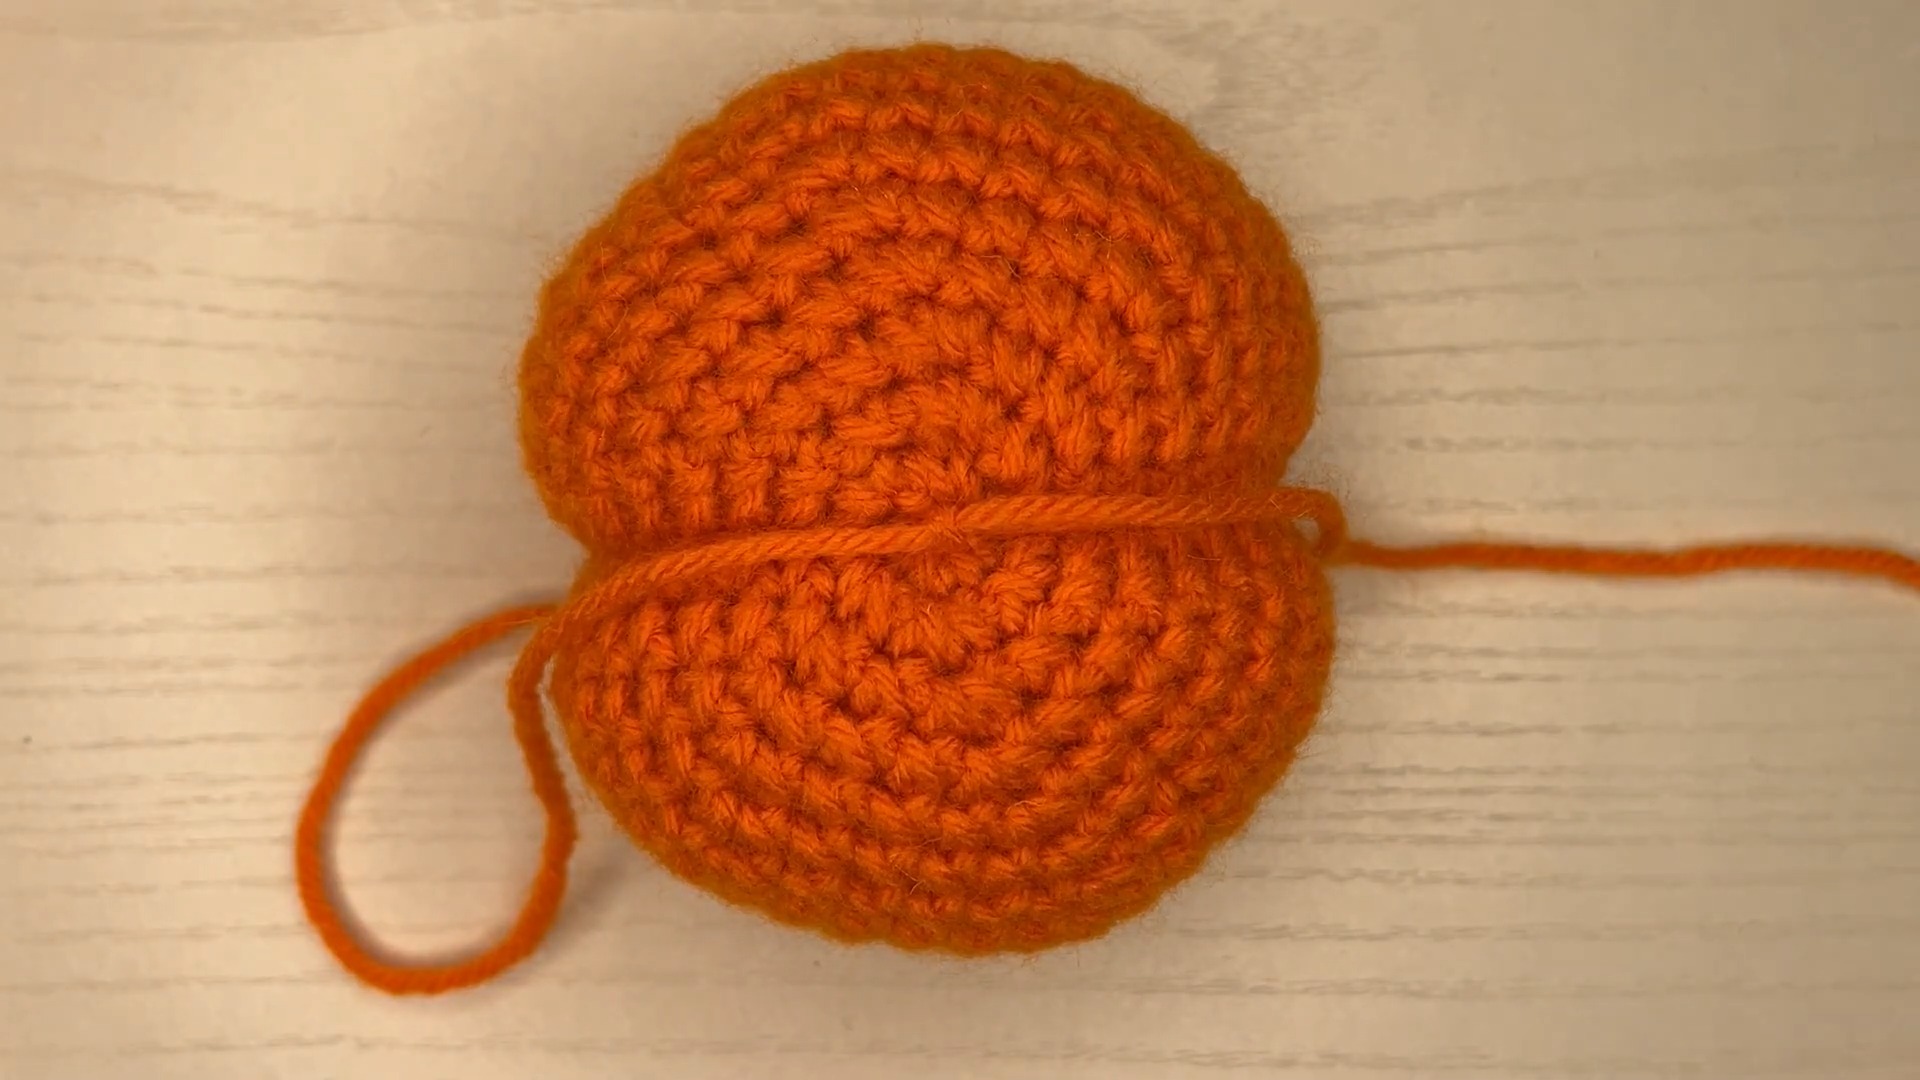
Cut a long strand of orange yarn. Wrap the strand tightly around the pumpkin, dividing it into six equal sections.
Tie knots securely at the base of the pumpkin, and pull tightly to form indentations resembling a real pumpkin.
Hide and secure the loose ends within the pumpkin body.
Stem:
Start with the Magic Circle:
Use brown yarn to create a Magic Circle. Crochet 6 SC into it, then pull it closed.
Rounds 1–4:
SC in each stitch (6 stitches per round).
Round 5:
SC 1, INC twice (8 stitches).
Stuff the stem lightly to hold its shape while leaving space to attach it to the pumpkin.
Finish off:
Leave a long tail for sewing. Slip stitch to close the round and secure the tail.
Attach the stem to the pumpkin’s top:
Sew the stem securely to the pumpkin’s center. Hide the tail in the body.
Vine (Optional):
Switch to green yarn and create a slip knot.
Chain 25.
Single crochet (SC) across the chain, starting in the second chain from the hook.
The chain will naturally start curling into a vine-like shape.
Leave a long tail for sewing.
Attach the vine:
Sew one end securely into the pumpkin’s stem. Hide the tail inside the pumpkin.
Key to Success:
Use weight 4 yarn in your favorite pumpkin-inspired colors.
Master the magic circle—it’s the trickiest part for beginners.
Single crochet steadily for neat and even stitches.
Carefully follow the increase and decrease patterns for shaping details.
Stuff and shape your pumpkin with precision to maintain its form.
Sew the stem and vine securely for a polished finish.