

Textured Granny Square Crochet Tutorial — Raised Ridges & Easy Border
Learn to crochet a textured granny square that adds depth and interest to blankets, cushions, and garments. This pattern combines front-post and back-post stitches with basic stitches to create bold raised ridges and a neat framed border. Suitable for adventurous beginners and experienced crocheters looking for a quick, textured motif.
Crochet Texture Granny Square is a fabulous and versatile pattern that adds depth and dimension to your crochet projects. This square combines different crochet stitches to create a unique texture that really pops. It's a fun and creative way to add some flair to your blankets, pillows, or even garments. Whether you're a crochet newbie or a seasoned pro, working up a few of these granny squares is sure to bring a smile to your face and a touch of handmade charm to your creations. Enjoy the process of crocheting and experimenting with colors and textures to make your projects truly one-of-a-kind!
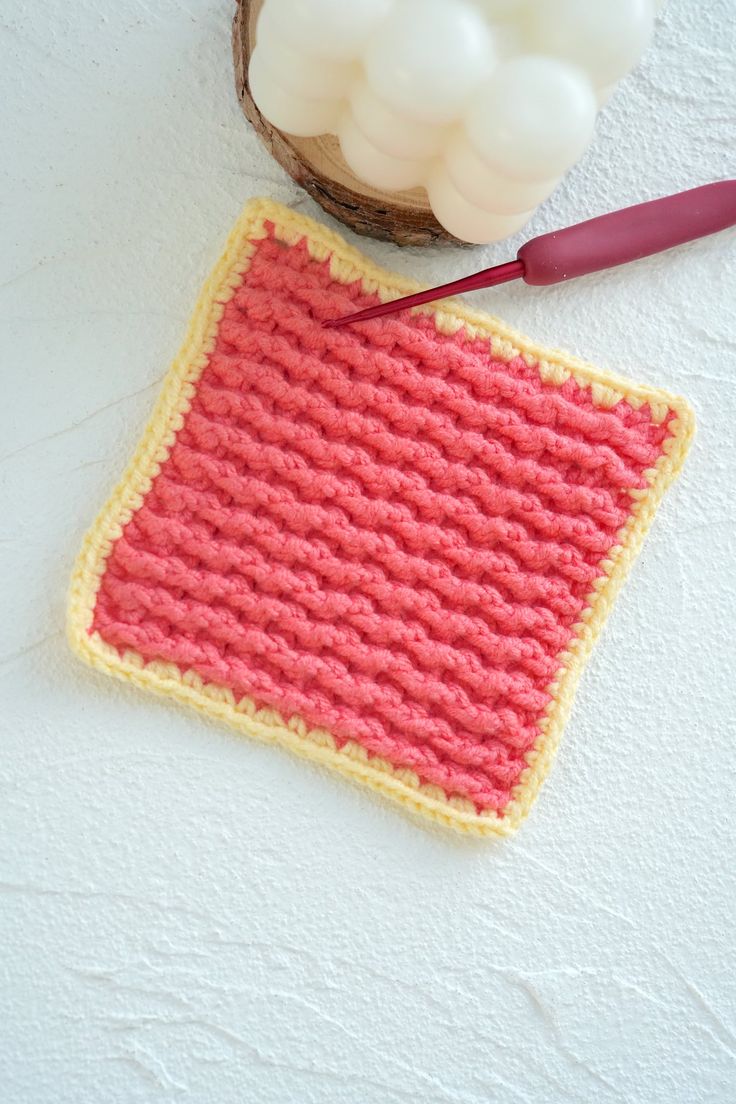
Textured granny square in yellow with a red border—raised ridges are created by alternating front-post and back-post stitches.
Materials Needed
- Yarn – Loopara 4ply combed cotton (Yellow 39 and Red 61)
- Hook – 2.3mm
- Stitch marker
- Scissors
Step By Step Tutorial
How to Crochet a Texture Granny Square
- R1: Ch 28, 25 dc in 4th ch from hook, sl
- R2-15: Ch 2, (turn),(FPdc, BPdc) 12 times, hdc, sl
- R16: Change color, (25 sc, ch 2) 4 times, sl
Notes
Crochet Tips:
1. Maintain consistent tension throughout for even texture.
2. The alternating Front Post (FPdc) and Back Post (BPdc) stitches create the raised ridges—make sure each post stitch wraps around the correct post from the previous row.
3. When working the border, keep tension even to prevent curling. Block your square if needed for crisp edges and perfect shape.
Finishing tips: Weave in ends neatly on the wrong side after changing colors. If joining multiple squares, lay them flat and use a slip-stitch or mattress stitch join to preserve the texture. Press or steam-block each square gently to square up corners and even out stitches.