


DIY Crochet Fusion Crop Top Dress — Step-by-Step Pattern & Tips
The Crochet Fusion Crop Top Dress is a stylish, versatile piece that combines a crop top base with crochet skirt detailing. This guide walks you through the materials, stitch abbreviations, and step-by-step instructions used to attach and crochet the dress skirt to a crop top. The finished length in this sample is 15 inches, and you can easily lengthen it by repeating the pattern rows.
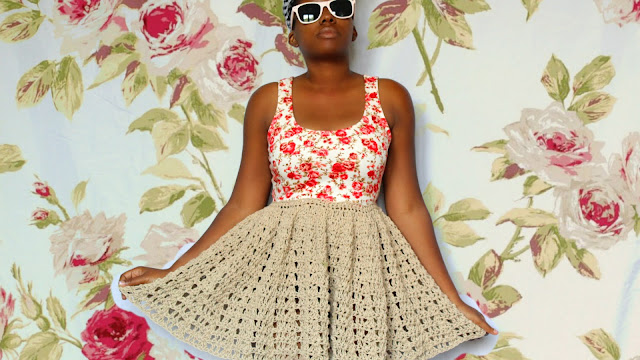
Materials:
- Crochet hook: H/8 (5.50 mm)
- Craft scissors
- Tapestry needle
- 5 skeins of Sugar N Cream yarn, medium (4)
- A crop top (used as the base to sew the crochet skirt onto)
- Needle and thread for sewing
- Measuring tape
Stitch guide: HDC = half double crochet // SC = single crochet // DC = double crochet // SS = slip stitch // ST(S) = stitch(es) // CH = chain R[number] = Row
STEP ONE — Measure
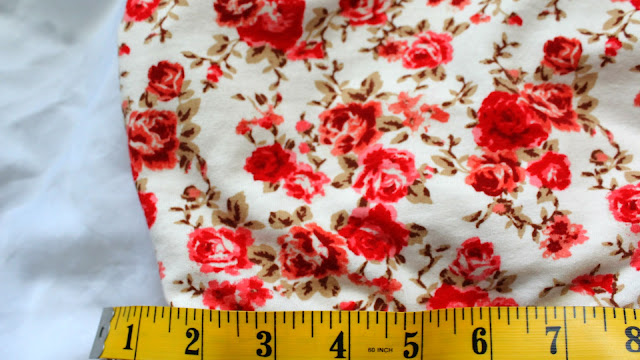
Measure the bottom circumference of the crop top—the exact measurement determines your starting chain length. In this sample the measurement is 25.5 inches.
STEP TWO — Start the skirt
Chain 73 (this number was chosen to match the sample top circumference—use the number of chains required to match your measurement). R1: HDC into every stitch across the row. At the end of the row, SS to connect the first row. Pause here to attach the crochet to the crop top.
Attach Row 1 to the crop top
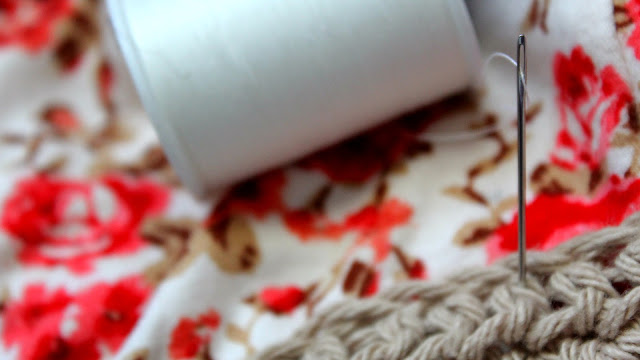
Using the tapestry needle and thread, place Row 1 about a 1/2 inch below the bottom edge of the crop top and sew the HDC stitches onto the fabric to secure the crochet to the garment. (Note: the creator sewed the crochet on top of the fabric rather than underneath it.) Once sewn securely, continue crocheting the skirt from the attached row.
STEP TWO — Increase pattern (R2)
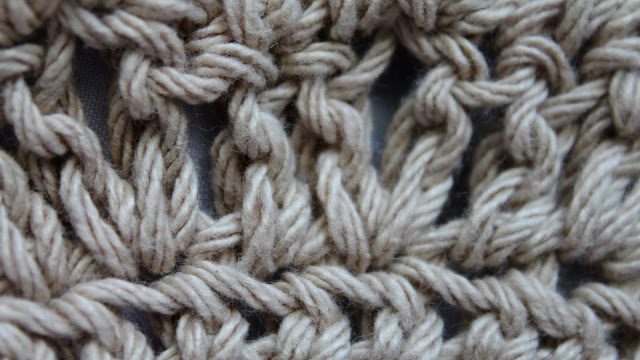
Starting the increase row: CH 2, DC into the first stitch, DC into the following stitch and into the third stitch. Then in the next stitch work [DC, CH 1, DC] (a DC–ch1–DC cluster). Continue: DC into the next two stitches once each, then in the next stitch work another [DC, CH 1, DC] cluster. Repeat this sequence across the row and SS to connect.
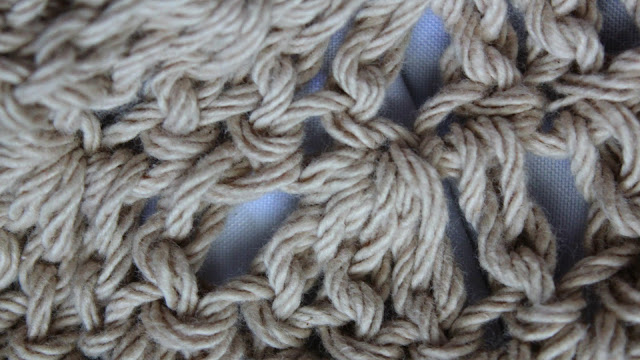
R3–R15 — Continue pattern
R3–R15: CH 2, DC into the first stitch, DC into the next stitch, then into the middle chain-1 space from the previous row work [DC, CH 1, DC] (you will work three DCs into that space as described). Continue the established repeat: DC twice into the next two stitches, then into the next middle chain-1 space work [DC, CH 1, DC]. Repeat across the row and SS to connect each row. Repeat this for rows 3 through 15.
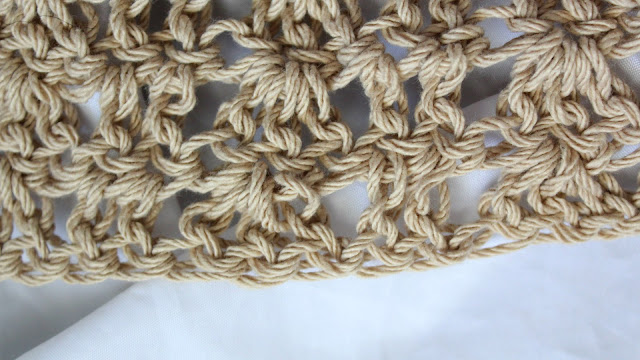
At the end of row 15, SS to complete the work. The sample final length from attachment point is 15 inches.
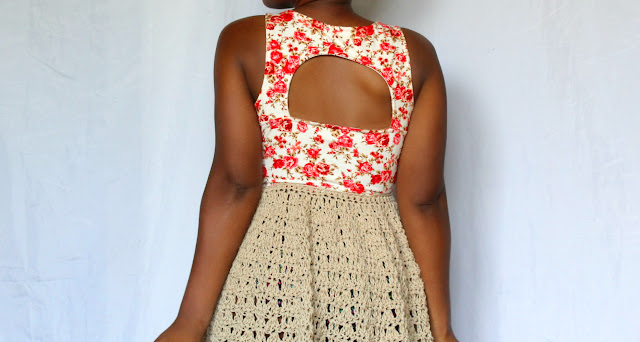
Notes and tips:
- If you want a longer dress, continue repeating the established row pattern from Row 4 onward until you reach your desired length.
- Keep your tension even so the skirt flares consistently. Adjust the starting chain count if your crop top circumference differs from the sample.
- Finishing: weave in ends with the tapestry needle and press lightly if needed (follow yarn care instructions).