


Crochet Chic Tote Bag — Step-by-Step Pattern to Make a Stylish Market Tote
Introducing the Crochet Chic Tote Bag, your new favorite accessory for the season. This versatile tote blends practicality with a touch of elegance — perfect for the farmer's market, a beach day, or everyday errands. Below is a clear, step-by-step pattern and assembly guide to help you crochet a stylish tote with a decorative bow and sturdy handles.
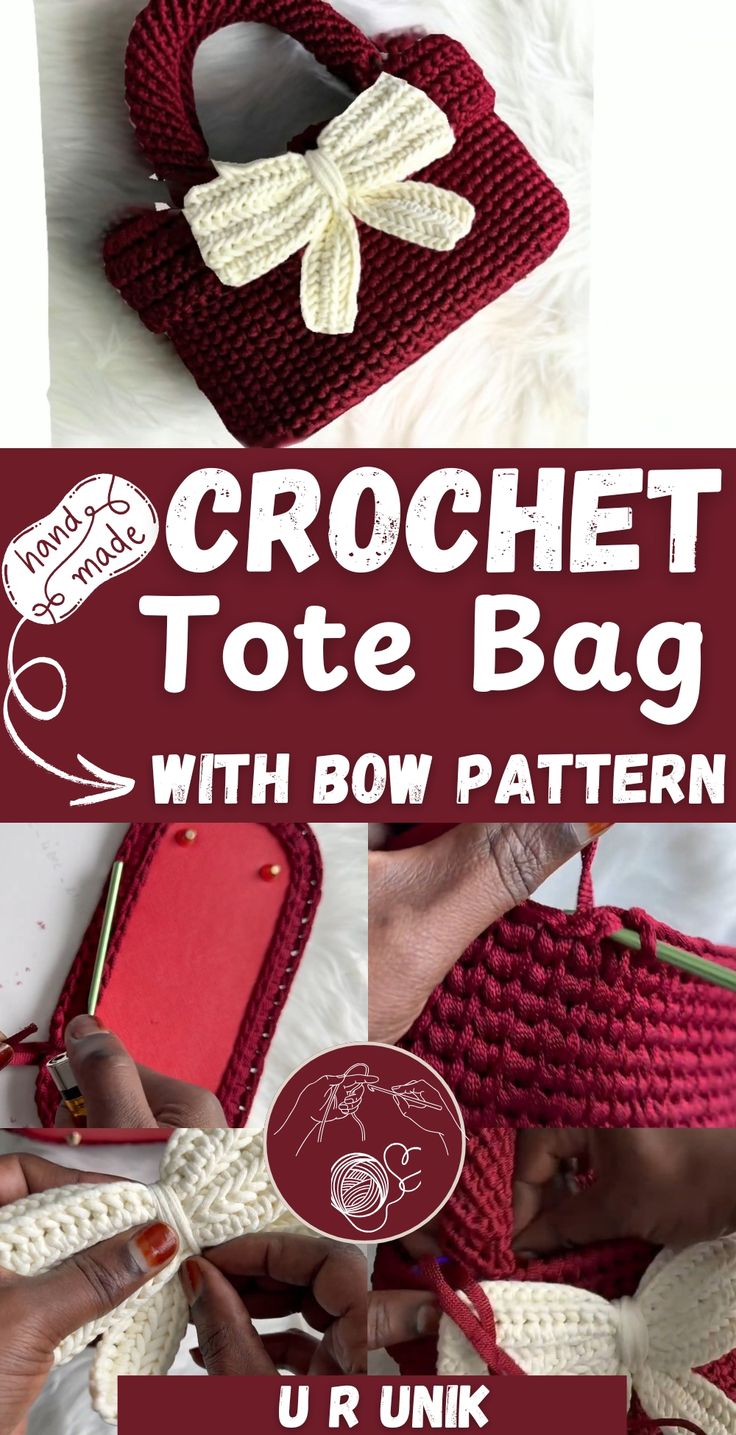
Finished Crochet Chic Tote Bag — a stylish, textured tote ready for everyday use.
Materials Needed
- Base (approx. 6.5 inches round or oval)
- 4.5 mm crochet hook
- Ribbon yarn
- Scissors
- White or off-white yarn for the bow
- Fluff stuff yarn (or similar texture yarn)
- 3.75 mm crochet hook for bow
Base of the Bag
Round 1: Single crochet around the base. Follow the pattern: 1 single crochet (sc), then 2 sc in the same hole. Repeat around.
Round 2: Continue with the same pattern as Round 1 using single crochets.
Close Holes: Slip stitch around any holes using the same yarn to seal them.
Next Rounds: Crochet into the middle of the stitches rather than the top loops.
Repeat: Continue crocheting in rounds until the tote reaches your desired height.
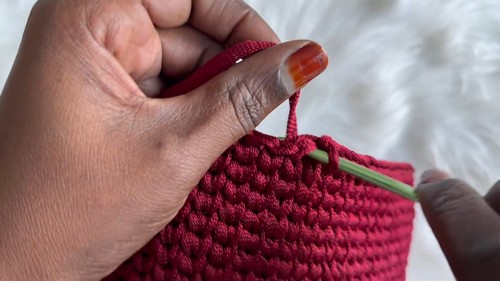
Close-up of the bag base showing the initial rounds and stitch placement.
Band
Count & Chain: Count the stitches around the top of the bag. Chain the same number.
Rows: Work 6 rows of single crochet back and forth.
Attach Band: Find the center front of the bag and use backwards single crochet to attach the band securely.
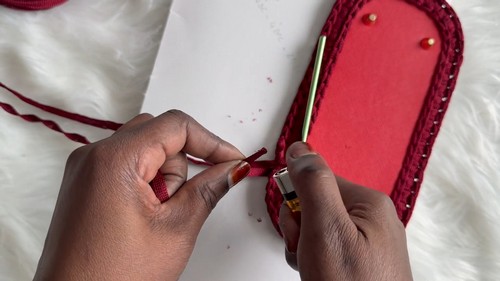
The crocheted band measured and attached to the top edge of the tote.
Handles
Start with 8 Chains
Work Single Crochets: Single crochet into each stitch, continue around.
Length: Crochet into the loops and continue until you reach your preferred handle length.
Repeat: Make a second handle the same way.
Fasten Off.
Bow
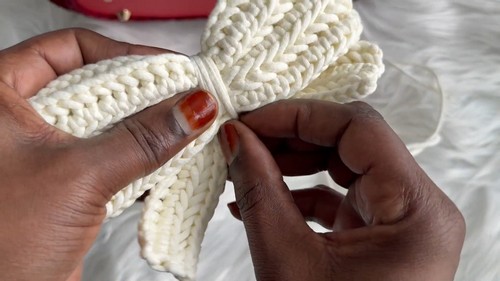
Long and short rectangular pieces prepared for assembling the bow.
Long Piece:
Chain 50.
Single crochet starting from the second chain.
Make 7 rows in total (including the initial chain).
Short Piece:
Chain 25.
Repeat the same as above, making 4 total rows.
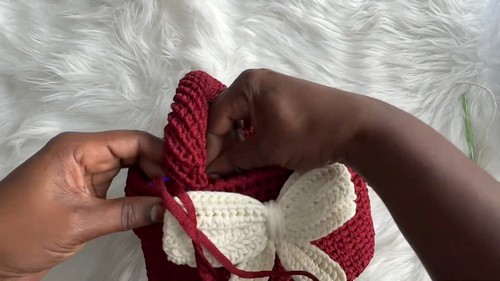
Bow assembly: short piece layered on the long piece and sewn at the center to form the bow.
Assembly:
Place the short piece on top of the long one.
Sew together at the center to create the bow shape.
Final Assembly
Attach the Bow: Sew the finished bow onto the center of the tote bag’s band.
Attach Handles: Position handles aligned with the bow’s corners and sew them securely to the bag.
Finishing Tips: Weave in all loose ends and reinforce handle attachment points with extra stitching for durability. Adjust the bag height and handle length as desired to customize the tote to your needs.