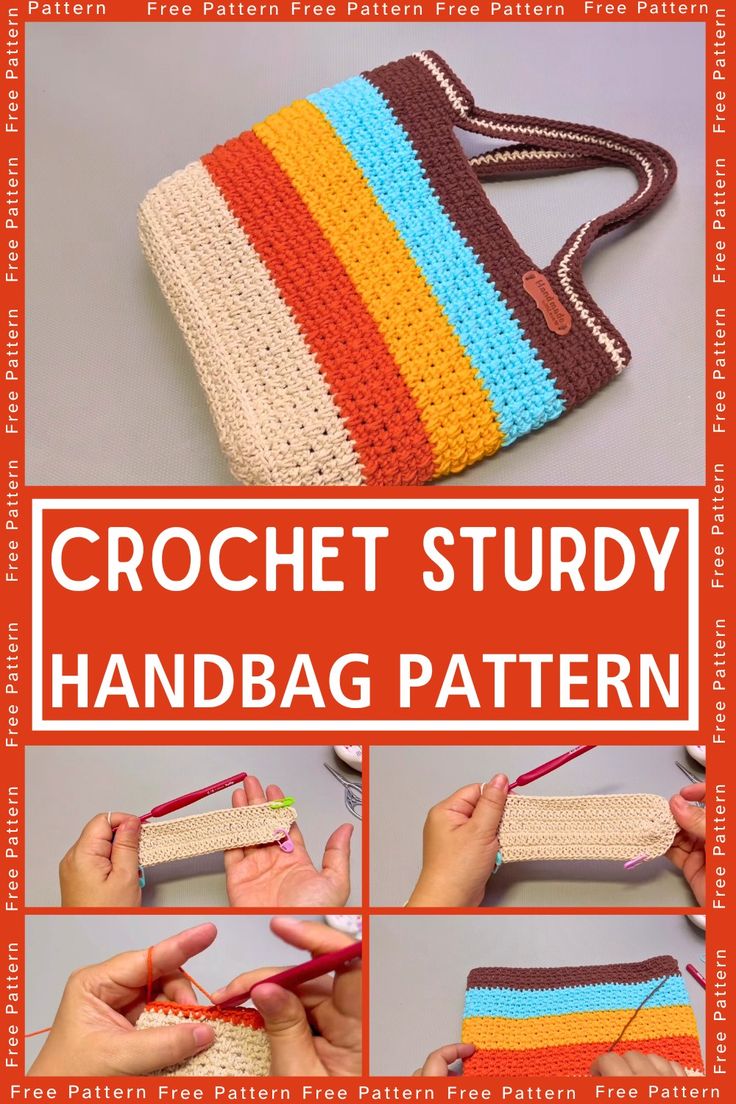
Crochet Stylish Handbag
This stylish crochet handbag combines elegance with functionality, making it a perfect accessory for various occasions. Crafted with attention to detail, it showcases intricate patterns and a unique design that enhances its aesthetic appeal. The durable materials ensure longevity, while the spacious interior provides ample room for essentials. This handbag not only serves as a practical item but also as a fashionable statement piece that complements any outfit.
Materials and Preparation
For this crochet handbag project, you’ll need:
Yarn: Bulky weight yarn (cotton or polyester blend for durability).
Hook: Crochet hook size 5.5mm (I/9) or as recommended for the yarn.
Additional Tools: Scissors, stitch markers, and a darning needle for weaving in ends.
Optional: Magnetic snap closure, handbag straps, or lining fabric (for extra sturdiness).
Check your yarn label for specific weight recommendations and adjust as needed.
Abbreviations and Notes
Common Abbreviations Used:
- CH: Chain
- SC: Single Crochet
- HDC: Half Double Crochet
- DC: Double Crochet
- SLST: Slip Stitch
Important Notes:
Always count your stitches at the end of each row to ensure accuracy.
Use stitch markers to mark the start of each round or row, especially for large sections.
For a sturdier base, consider crocheting with two strands of yarn held together.
Gauge, Approximate Size, and Pattern Notes
Gauge (optional): 8 SC stitches x 10 rows = 4 inches using bulky weight yarn and a 5.5mm hook.
Finished Size: Approximately 12 inches wide, 10 inches tall, and 4 inches deep when assembled.
Special Techniques: The pattern uses a durable reinforced bottom and sturdy sides achieved through tight stitches.
A gauge swatch is helpful if you want an exact fit, but not strictly required for this pattern.
Step-by-Step Pattern
1. Create the Base
Foundation Round:
CH 25.
Starting in the 2nd CH from the hook, SC across (24 SC).
CH 1, turn.
Reinforced Bottom:
Repeat SC rows for 8 rows total, creating a sturdy rectangle. Fasten off.
Optional: For extra durability, crochet with two strands of yarn held together for the base section
2. Build the Body
Round 1:
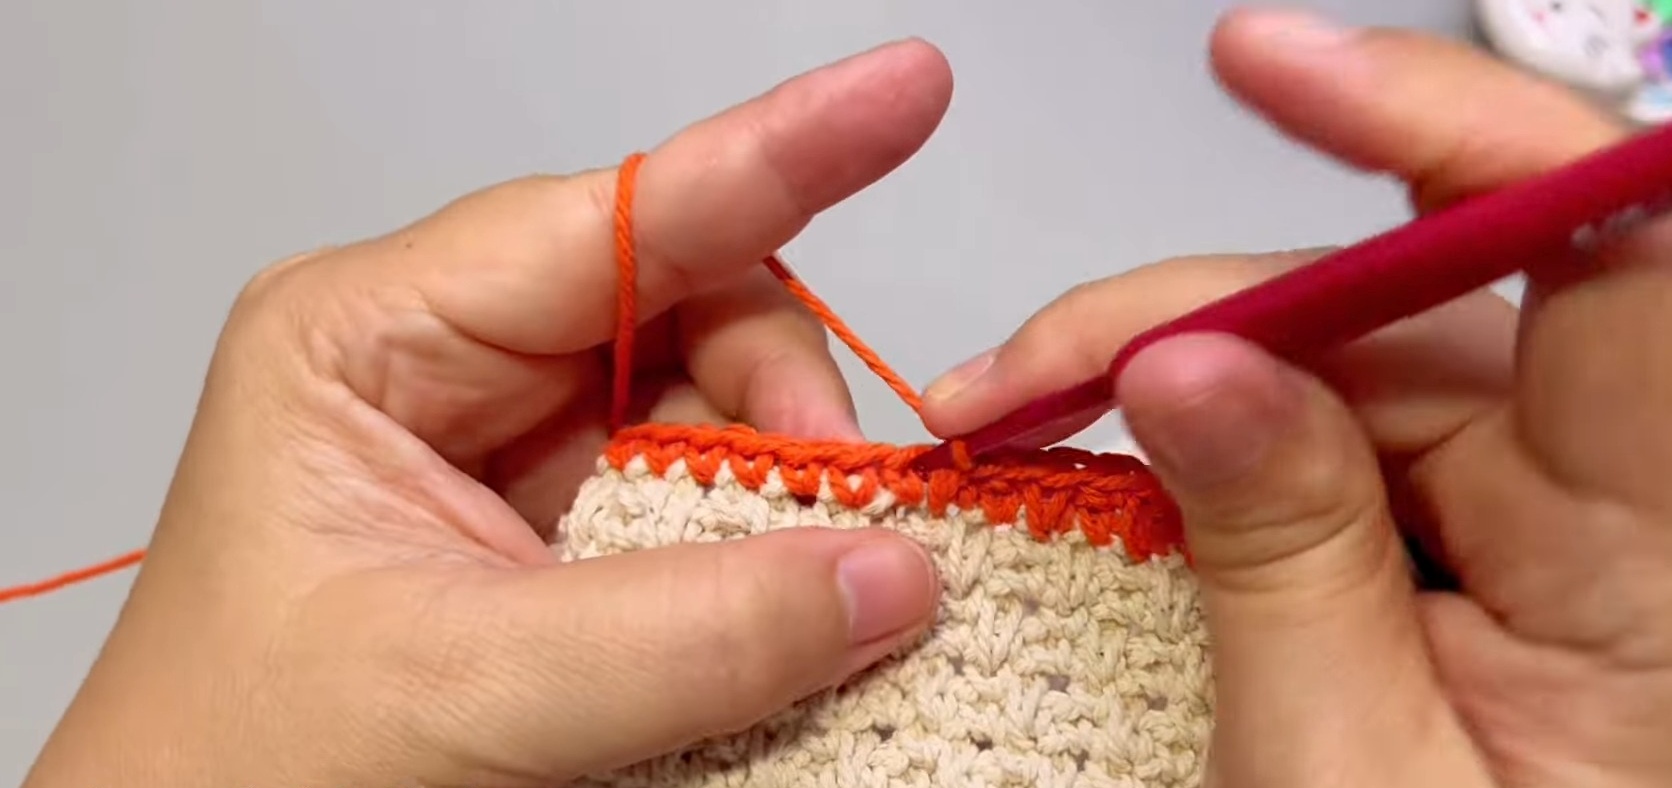
Attach yarn to any corner of the base. CH 1, and SC evenly around all edges of the base (work 3 SC into each corner to keep it flat). SLST to the first SC.
Round 2 — 30:
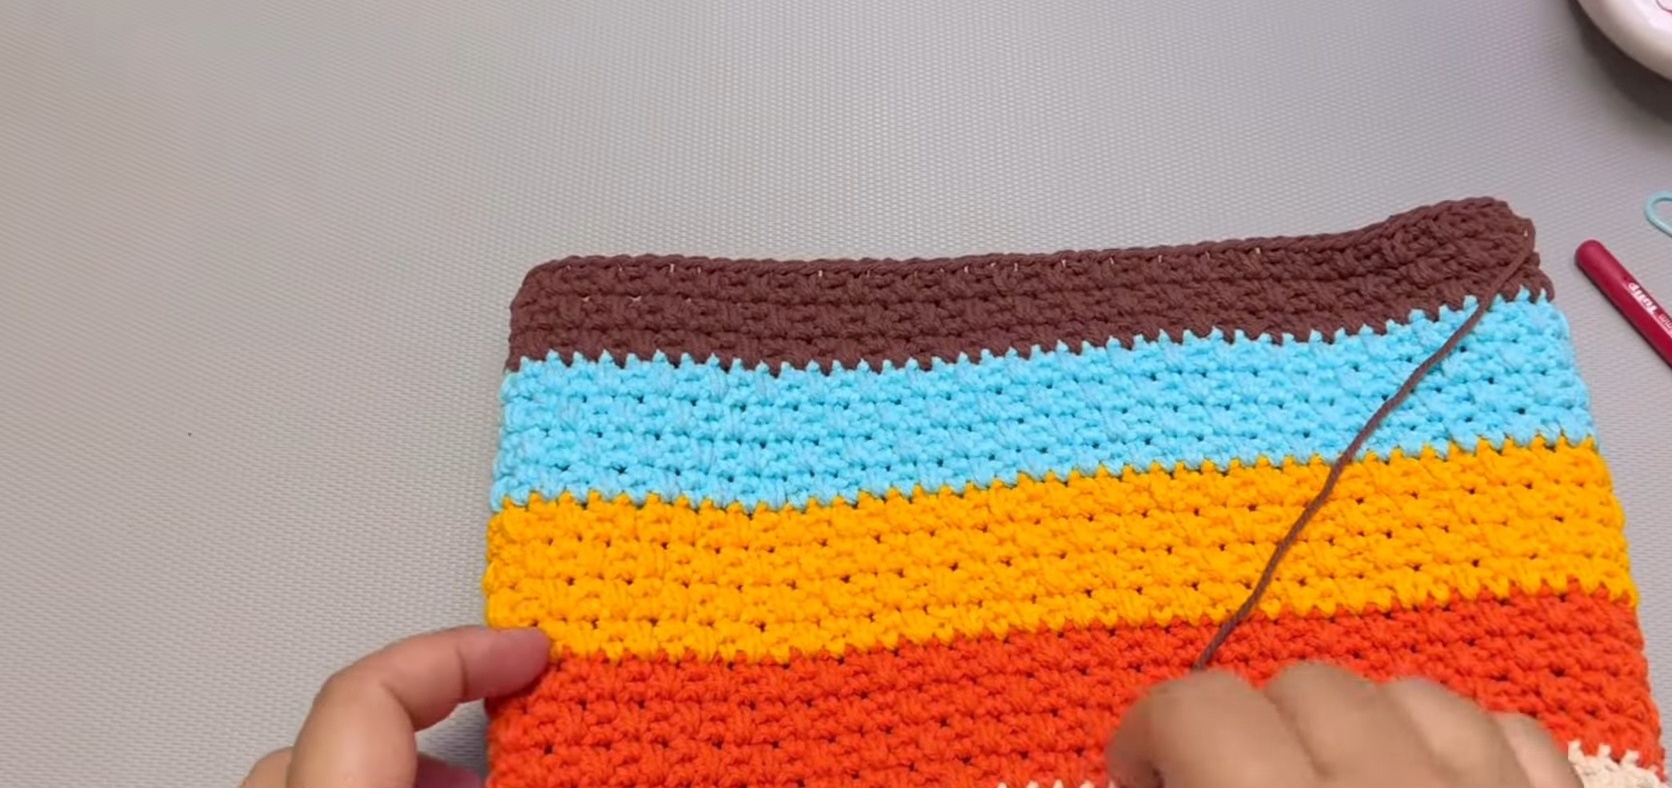
CH 1. HDC in each stitch around. SLST to the beginning HDC. Repeat for 30 rounds, or until your bag reaches your desired height.
Tip: Use stitch markers to track the start of each round for better organization.
3. Create the Handles
Handle Foundation:
Choose where you want the handles to start. Around the midpoint of the top edge, scissor off 5 stitches on both sides (this leaves a gap for handles). Attach your yarn.
Handle Rows:
CH 1, SC into the gap of 5 stitches, then work in rows back and forth until the handle is 16 inches long. Repeat for the other side.
4. Add Finishing Touches
Optional Enhancements:
Attach magnetic snaps or sew in a fabric lining for added sturdiness.
Use leather straps or crochet extra-thick handles for a professional finish.
Embellish with buttons or flowers for personalization.
Final Steps:
Carefully weave in all yarn ends using a darning needle. Block the bag with steam or light misting to shape it properly.