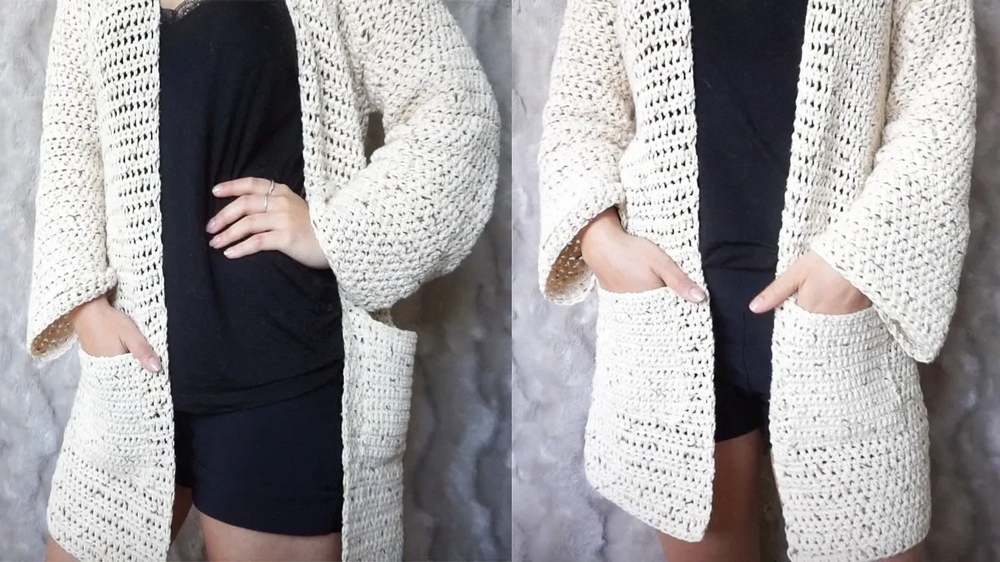
Crochet Summer Cardigan
Crochet summer cardigans are a must-have addition to any wardrobe for the warmer seasons! These lightweight and breathable garments not only add a stylish touch to your outfit but also provide the perfect extra layer for those cool summer evenings or overly air-conditioned spaces. The intricate crochet designs and vibrant color options make them a fun and versatile piece to pair with your favorite tank tops or dresses. Whether you're lounging at the beach or strolling through a park, a crochet summer cardigan is sure to keep you looking cute and feeling cozy all season long.

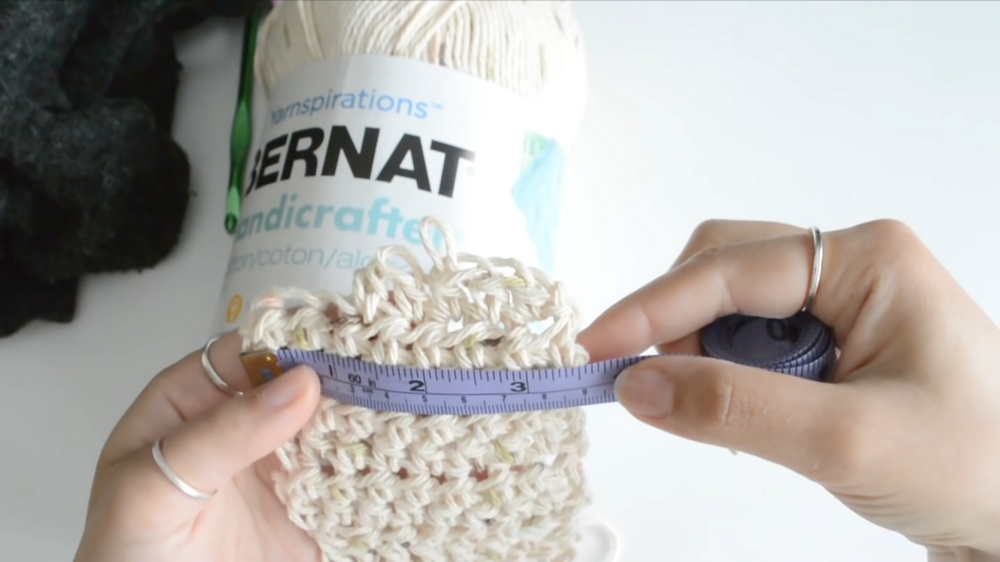
Materials Needed
- Yarn: Burnett Handicrafter Cotton (1.5 skeins for size small; adjust quantity for larger sizes)
- Crochet Hook: Susan Bates 6.5mm hook (recommended for cotton)
- Measuring Tape: To determine the size and length
- Scissors: For cutting the yarn
- Tapestry Needle: For sewing panels and edges together
- Stitch Markers (Optional): For marking key points like sleeve openings
Additional Cardigan or Sweater: To reference measurements, or use your own body measurements
Abbreviations of Stitches
- CH: Chain
- HDC: Half Double Crochet
- SC: Single Crochet
- ST: Stitch
Steps to Crochet the Cardigan
Step 1: Taking Measurements
Measure across your back from shoulder to shoulder.
Alternatively, use a cardigan or sweater to determine the back panel width.
Example: For a back panel size of small, the width is approximately 20 inches (19 inches adjusted up for a looser fit).
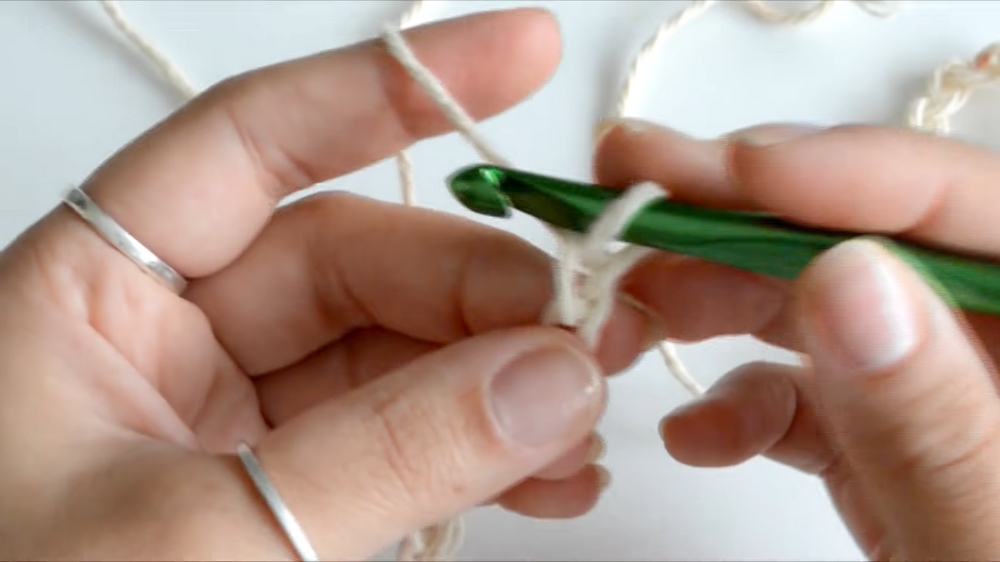
Step 2: Back Panel
Foundation Chain: Chain the number of stitches required for your desired width (ensure the count is an even number). For 20 inches, you’ll chain 48 stitches.
Chain 1 extra stitch for turning.
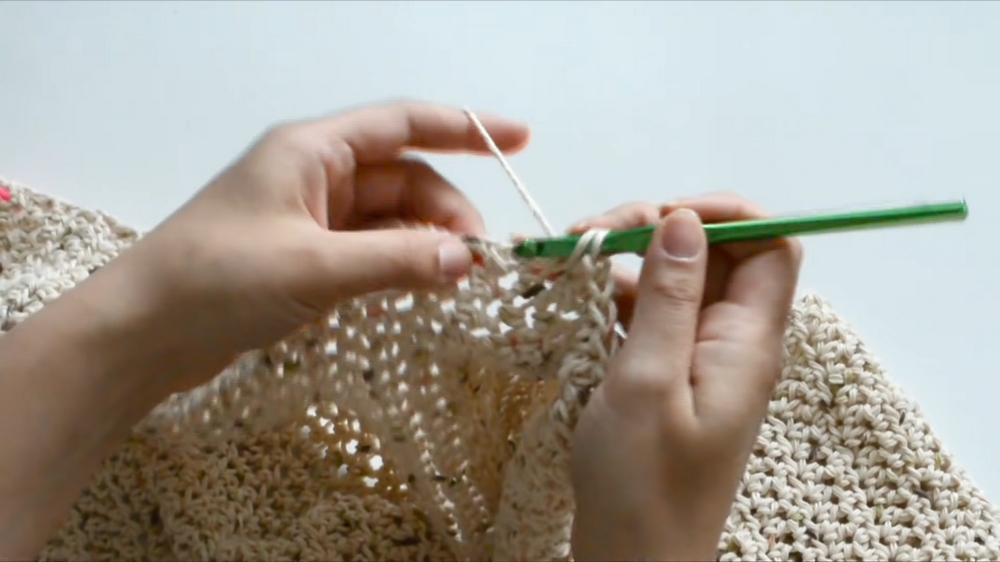
Work HDC across the foundation chain to complete Row 1.
Chain 1 or 2 (up to personal preference) to begin Row 2. Continue using HDC across each row.
Repeat until the back panel reaches the desired length (example: 58 rows for the author’s cardigan).
Set the panel aside.
Step 3: Front Panels
Divide the total stitch count from the back panel in half (e.g., 48 stitches ÷ 2 = 24 stitches).
Work one front panel at a time.
For the first panel:
Create HDC for 23 stitches (leave 1 stitch for shoulder to maintain symmetry).
Chain 1 or 2 and continue working HDC rows until the front panel matches the length of the back panel (58 rows).
For the second panel:
Skip 2 stitches at the neckline to ensure an open space. Begin HDC at the 3rd stitch.
Crochet 23 stitches for the second side.
Complete rows in the same manner until the second front panel matches the back panel’s length.
Step 4: Sleeves
Determine the largest circumference of the sleeve area (e.g., 8 inches).
Mark the sleeve opening with stitch markers on both sides of the cardigan:
Example: Measure 8 inches at the top of each armhole and place markers.
Count the rows between markers to ensure symmetry (e.g., 16 rows on each side of the armhole).
Attach yarn to one marker and work HDC stitches across the row to the opposite marker. The total number of stitches should equal the number of rows in the opening (e.g., 33 stitches for 16 rows on both sides and one additional stitch at the center marker).
Continue working rows in HDC until the sleeve reaches the desired length.
Repeat the process for the second sleeve.
Step 5: Assembly
Lay the cardigan panels flat on the wrong side (inside out).
Use a tapestry needle and leftover yarn to sew:
Side seams: From the bottom of the front panels to the sleeve openings.
Sleeves: Seam from underarm to the cuff.
Once sewn, flip the cardigan right side out.
Step 6: Adding Pockets (Optional)
Create pocket panels:
Use a smaller hook (5.5mm) for a tighter fabric.
Foundation chain 18 stitches and work rows in SC until a square is formed.
Use pins to secure pockets onto the front panel.
Sew the pockets onto the cardigan using straightforward stitches with a tapestry needle.